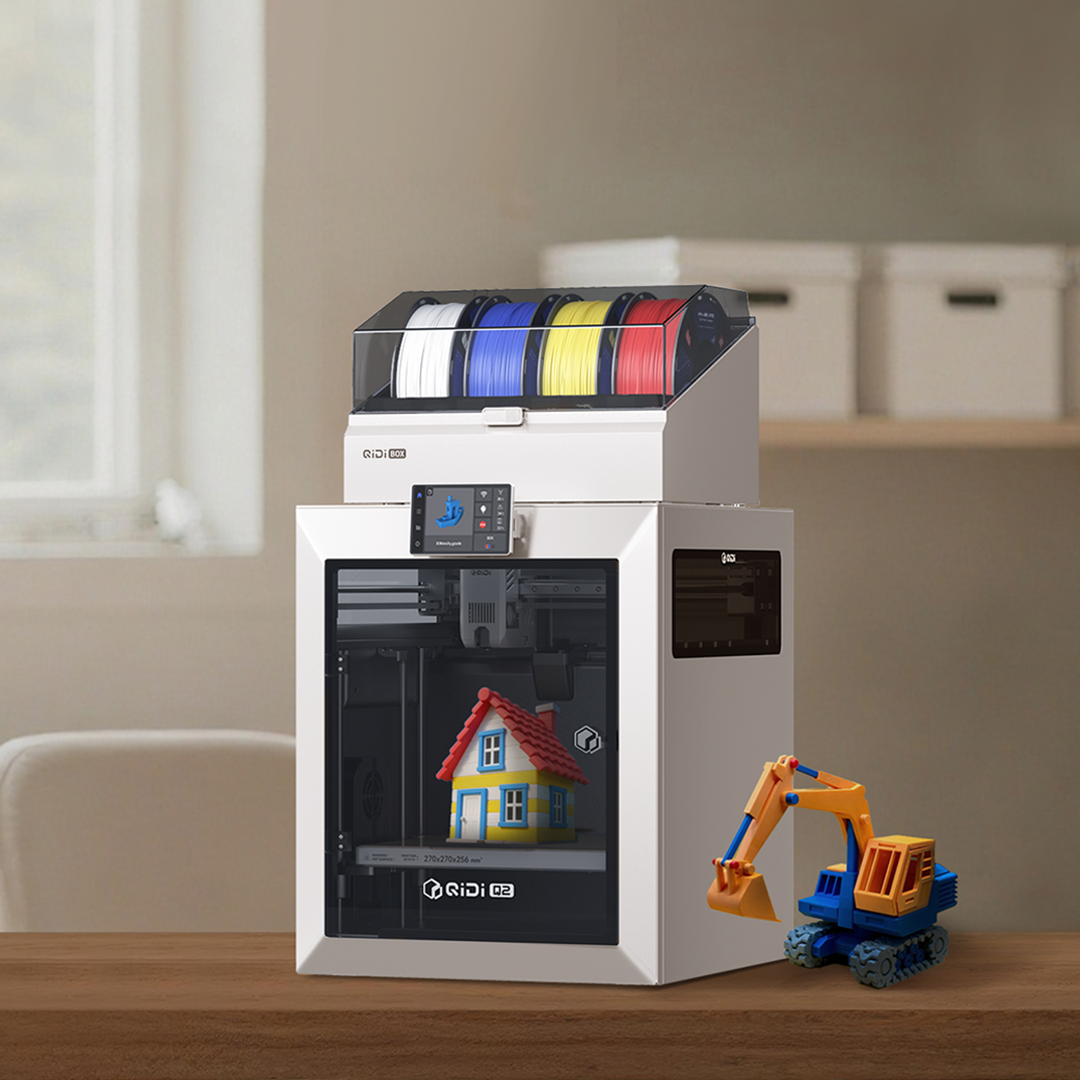
 Q2
Q2
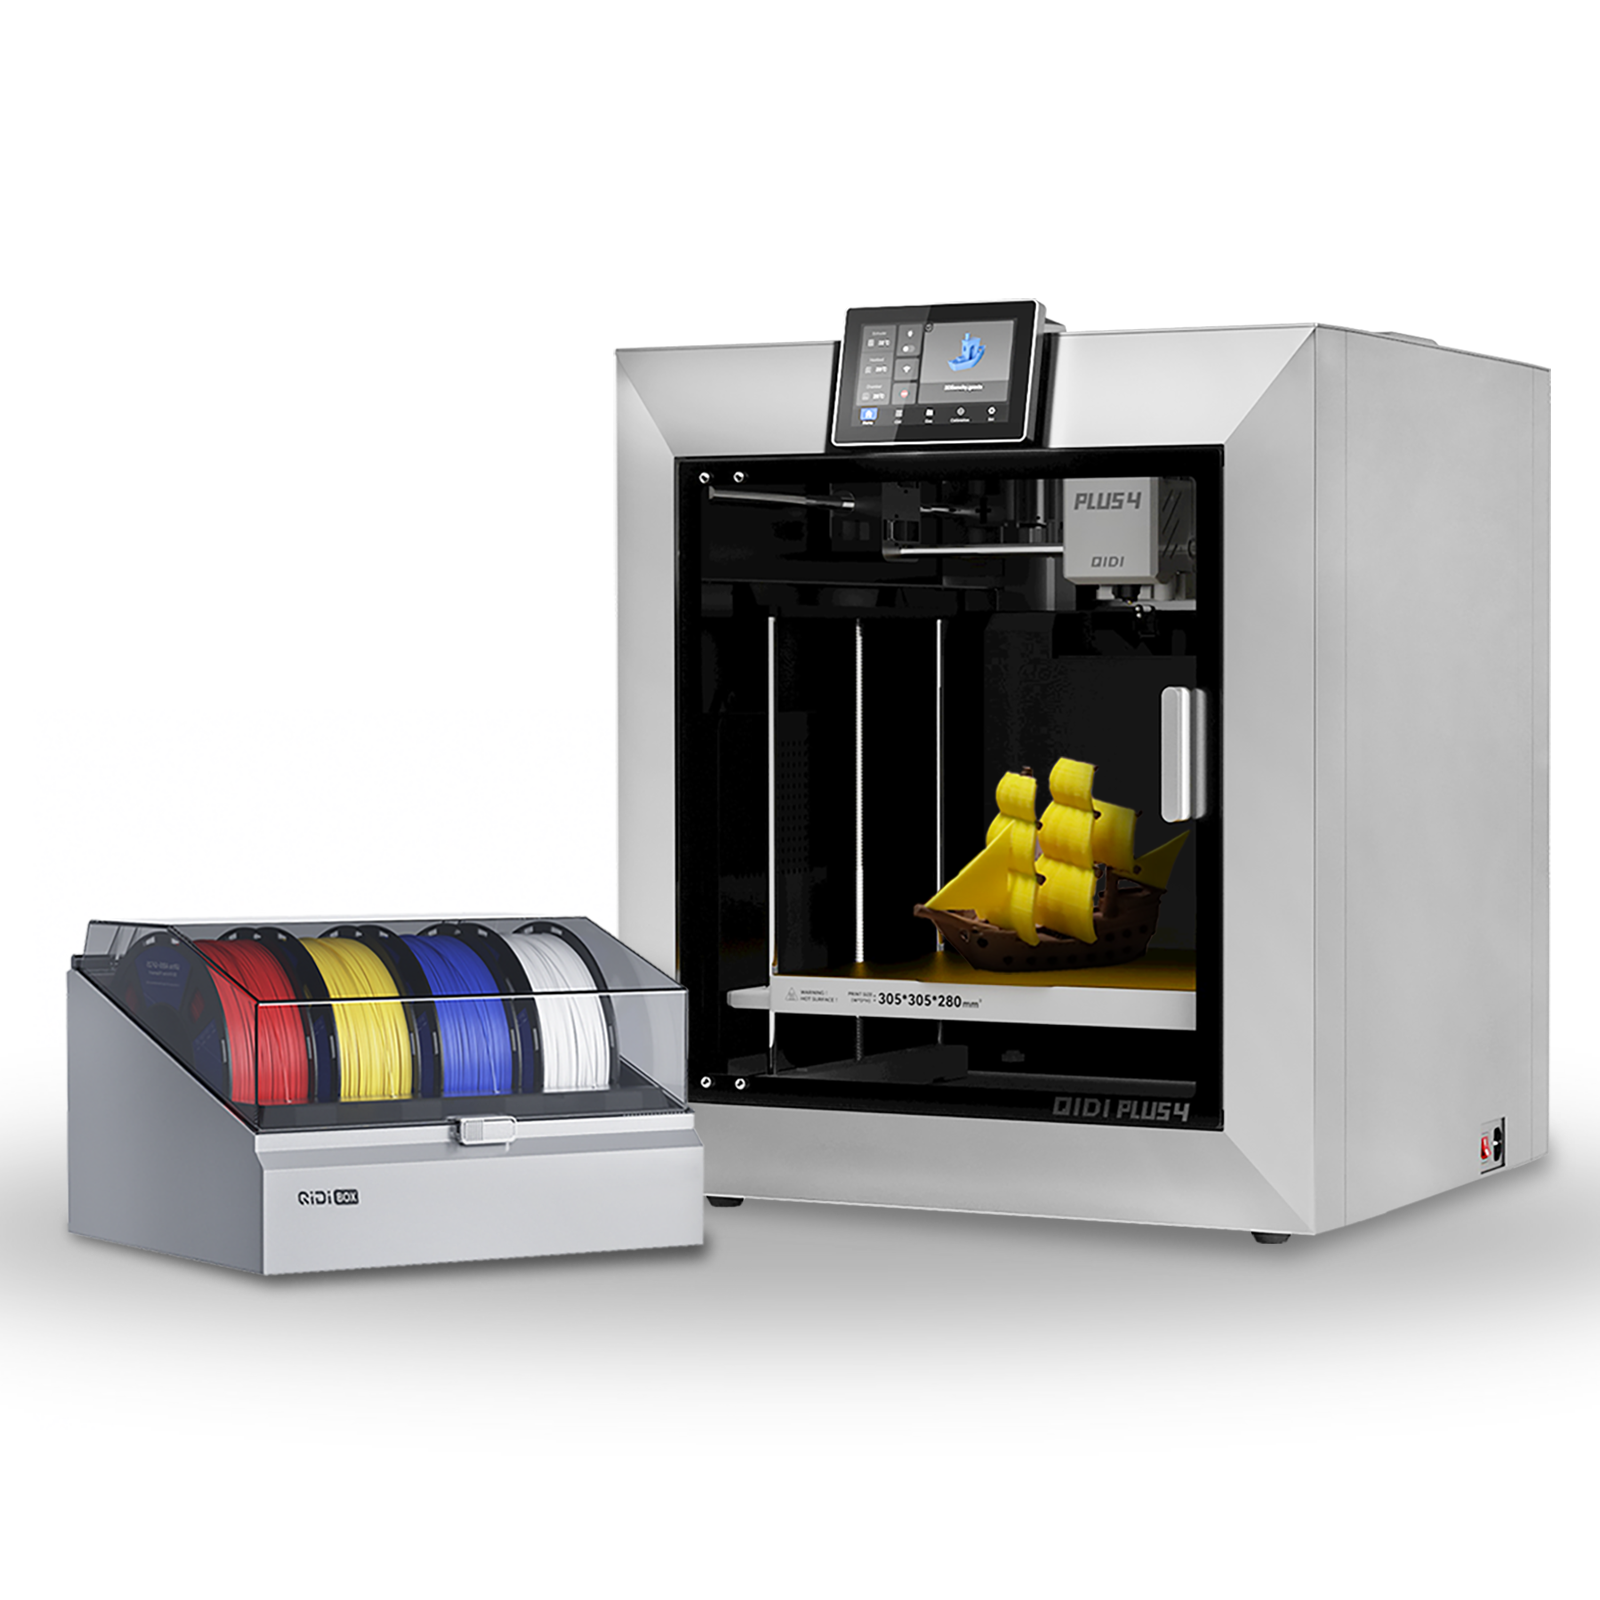 Plus4
Plus4
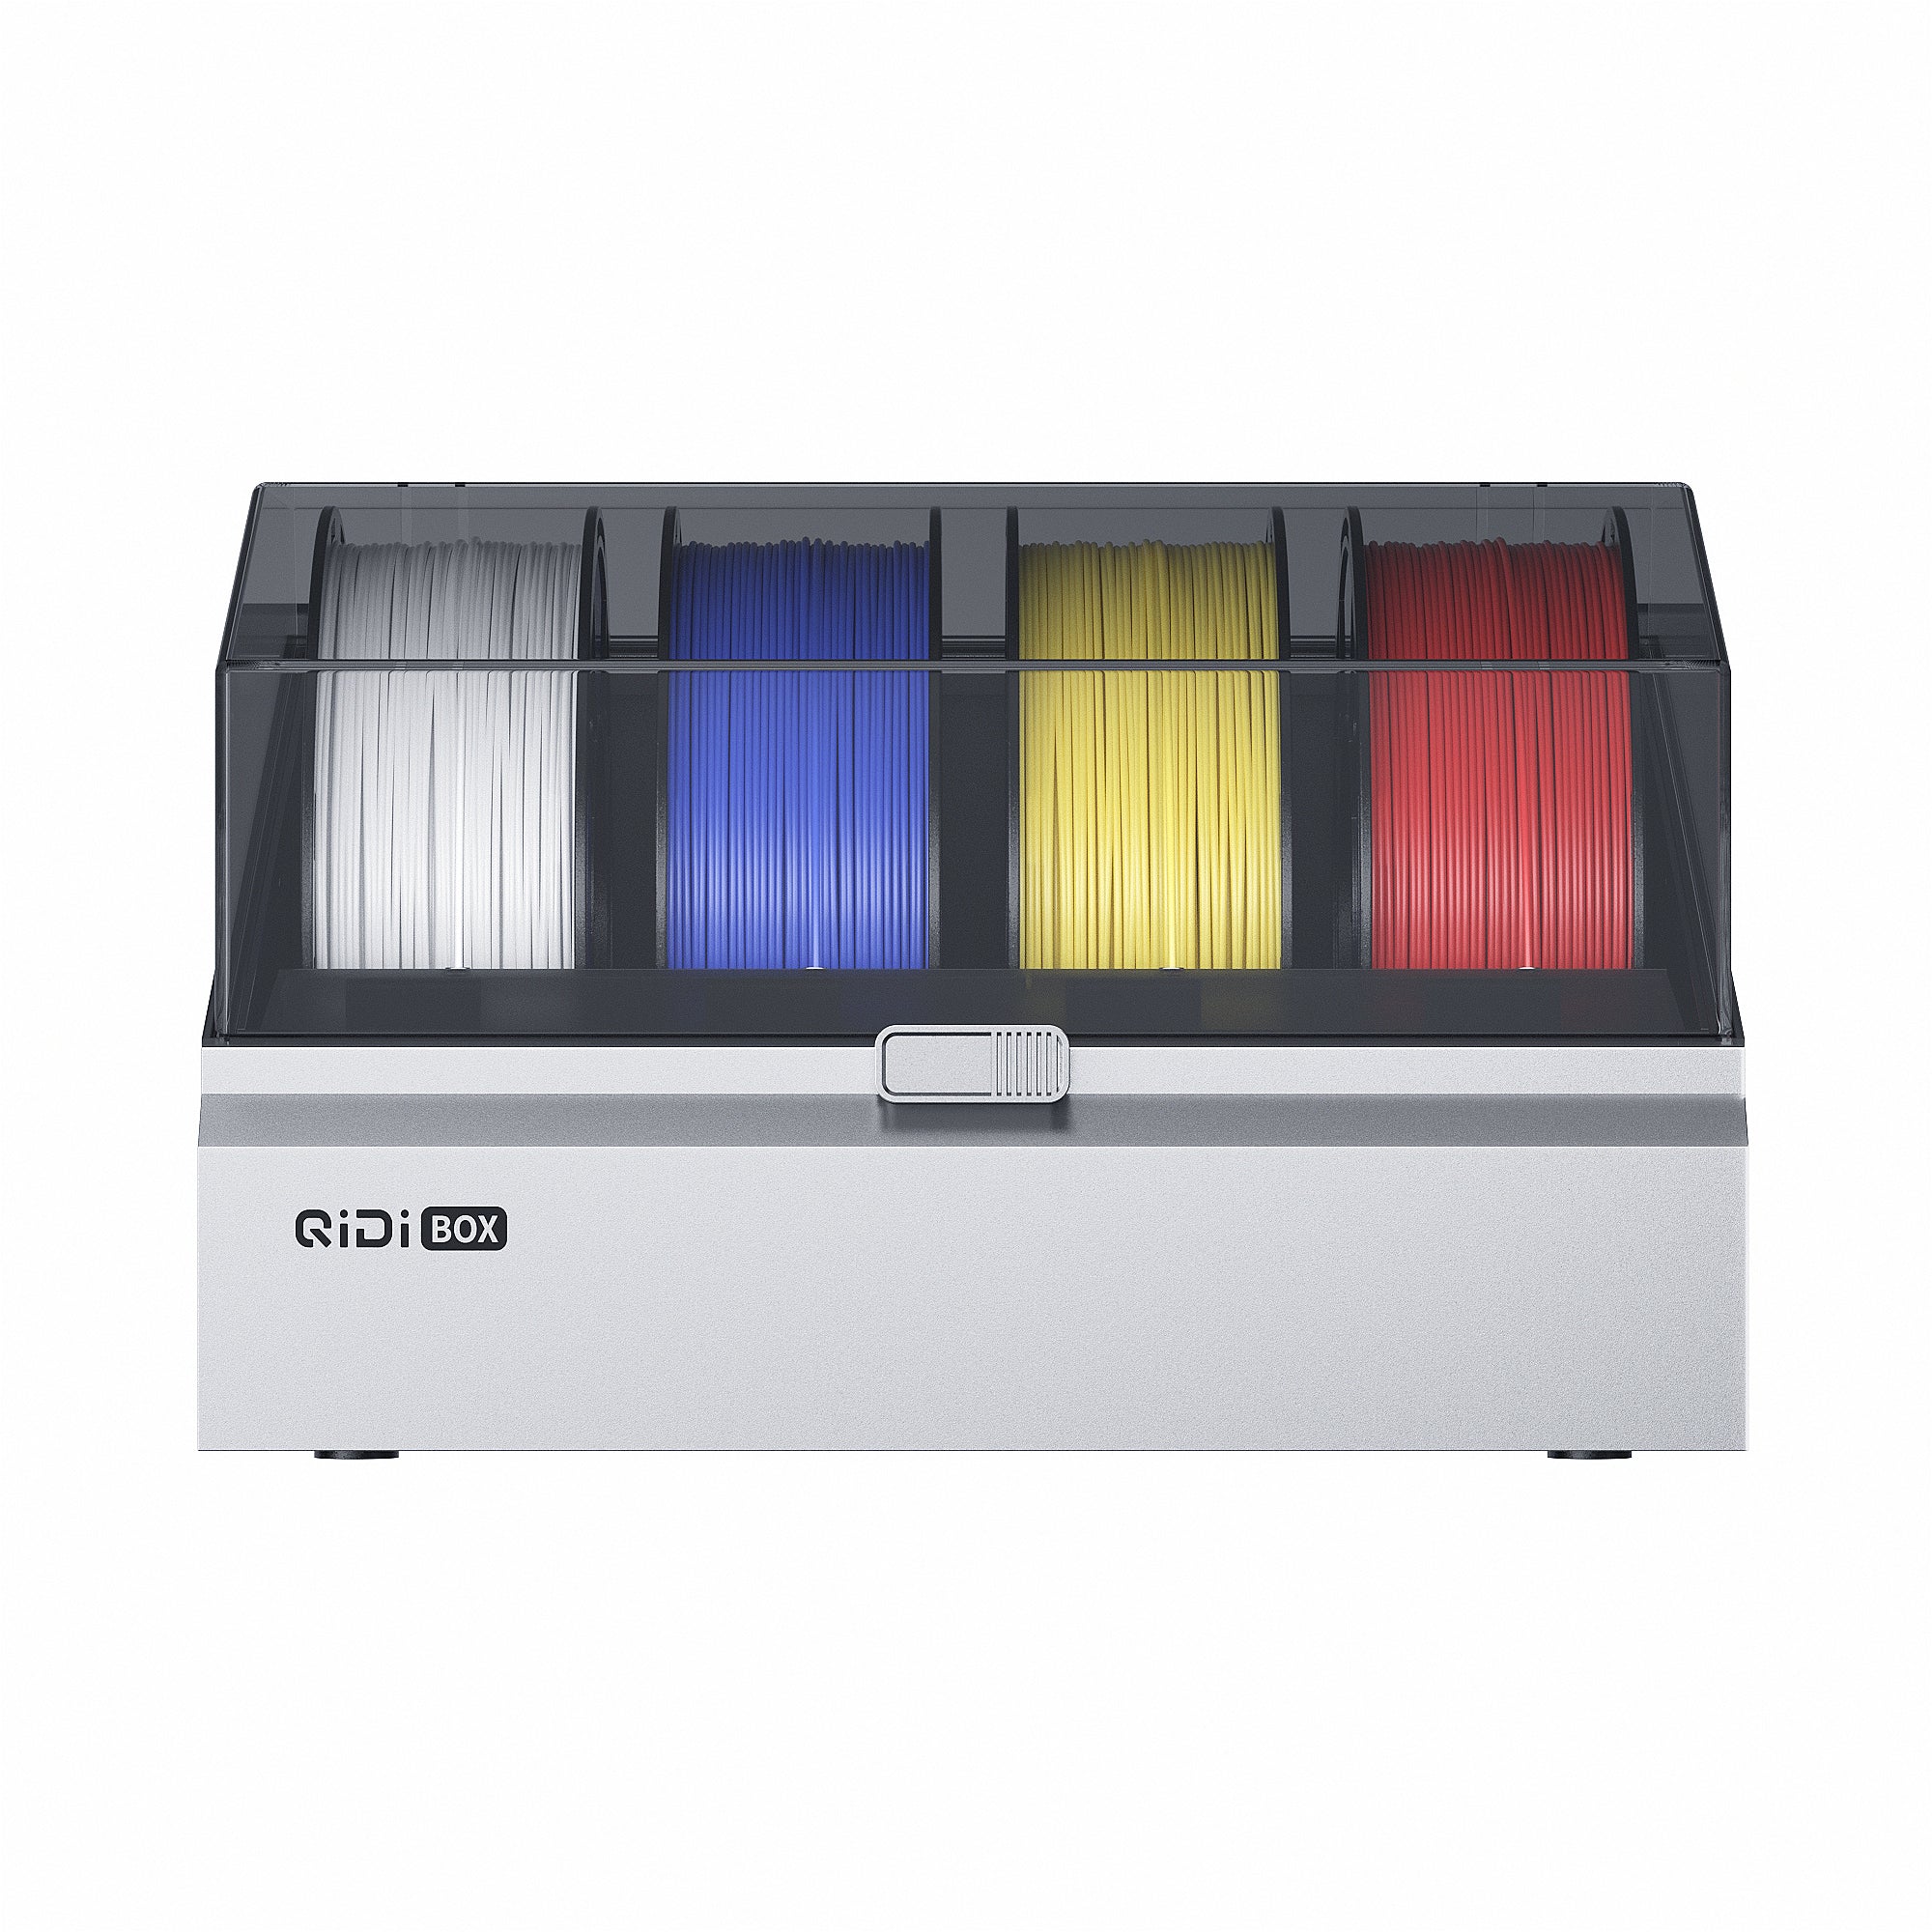 Qidi Box
![[Qidi X-CF Pro, speziell für den Druck von Kohlefaser und Nylon entwickelt] - [QIDI Online Shop DE]](http://eu.qidi3d.com/cdn/shop/files/3034a1133efe01daba919094b70c6310.jpg?v=1750300120) Q1Pro
Q1Pro
![[Qidi X-CF Pro, speziell für den Druck von Kohlefaser und Nylon entwickelt] - [QIDI Online Shop DE]](http://eu.qidi3d.com/cdn/shop/products/X-MAX3-3D-Printer-02.png?v=1750300138) Max3
Max3
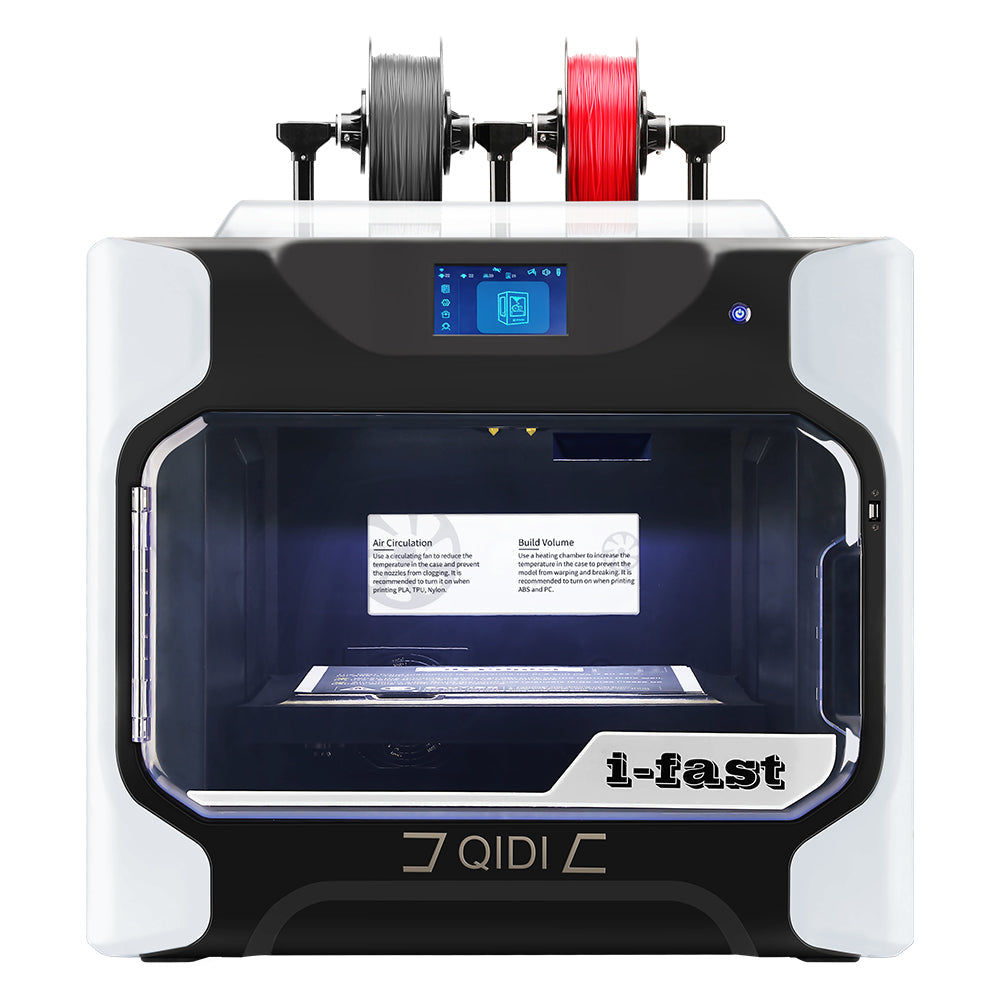 I-Fast


How to Add Text to a Model in QIDI Studio?
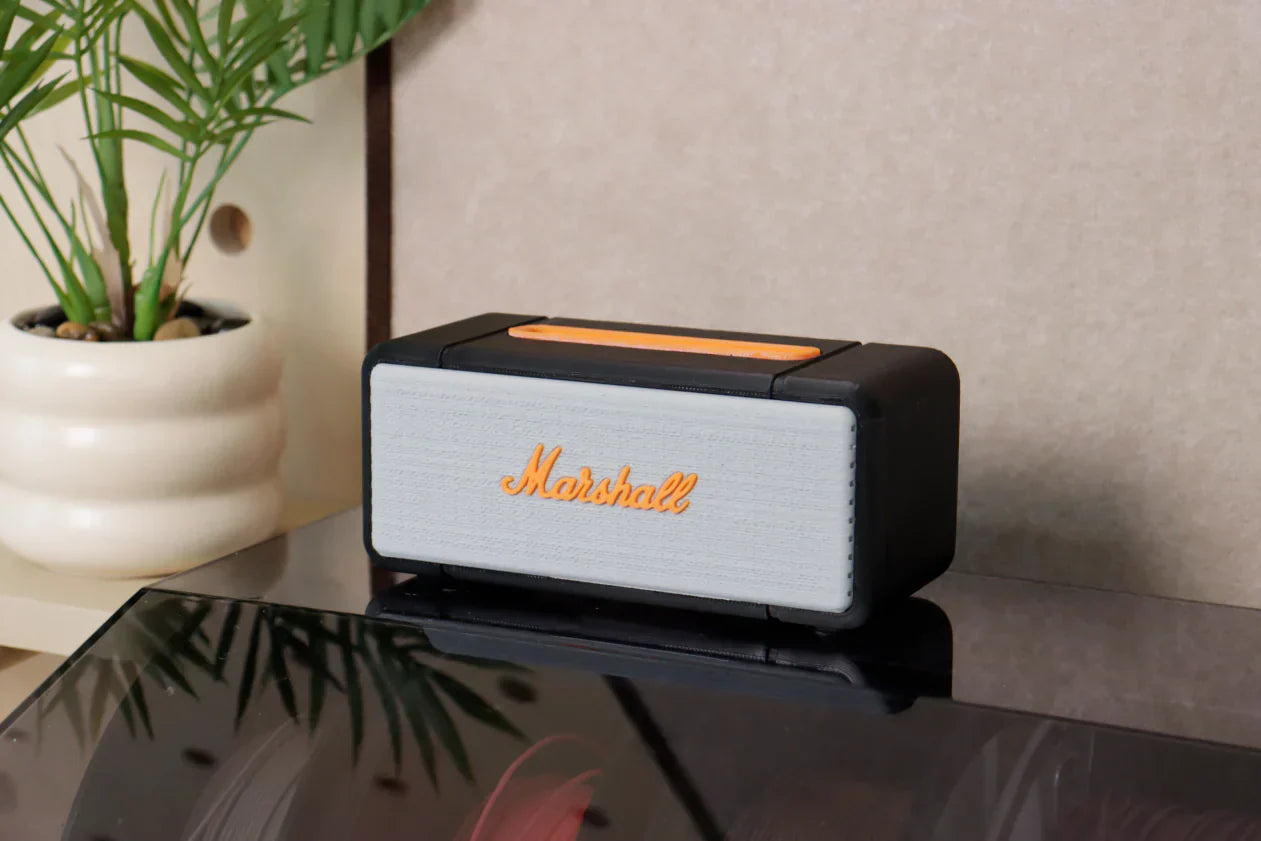
Whether for personalized labeling, functional descriptions, or purely decorative purposes, the text shape tool in QIDI Studio will help you efficiently handle text during the slicing phase. Using the text tool, you can add text to any model surface and modify the text's attributes, color, and specific placement.
Illustration


Step-by-Step Guide: 5 Steps to Success
1.Add Text: Locate the button resembling the letter "T" in the top toolbar. A default text object will appear on the model.

2.Edit Text Content and Adjust Attributes: Drag the yellow square with your mouse to move the text to the desired position. In the text settings panel, you can modify the text content, adjust the font, size, thickness, inset depth, and spacing.


3.Color the Text: Change the filament or use the coloring tool to modify the text color.

4.Adjust Text Mode: There are four text modes to choose from. The illustration below shows a comparison of the commonly used "Surround Surface" and "Not Surround" modes.


5.Convert Text to a Negative Part or Modifier:
If you choose to cut the model, the text will become a negative part embedded into the model, creating an indented text effect.


If you change the text type to a modifier, a 2D text shape will be generated on the model surface, keeping the text flush with the model. This is because the modifier's function is to adjust the parameters of the overlapping area with the model.

Leverage the Power of the Text Shape Tool
The text tool is a simple yet powerful feature. It allows you to bypass complex modeling steps and effortlessly add information, personality, and functionality to your 3D printed models. Next time you prepare a print, consider whether adding text could enhance your project!