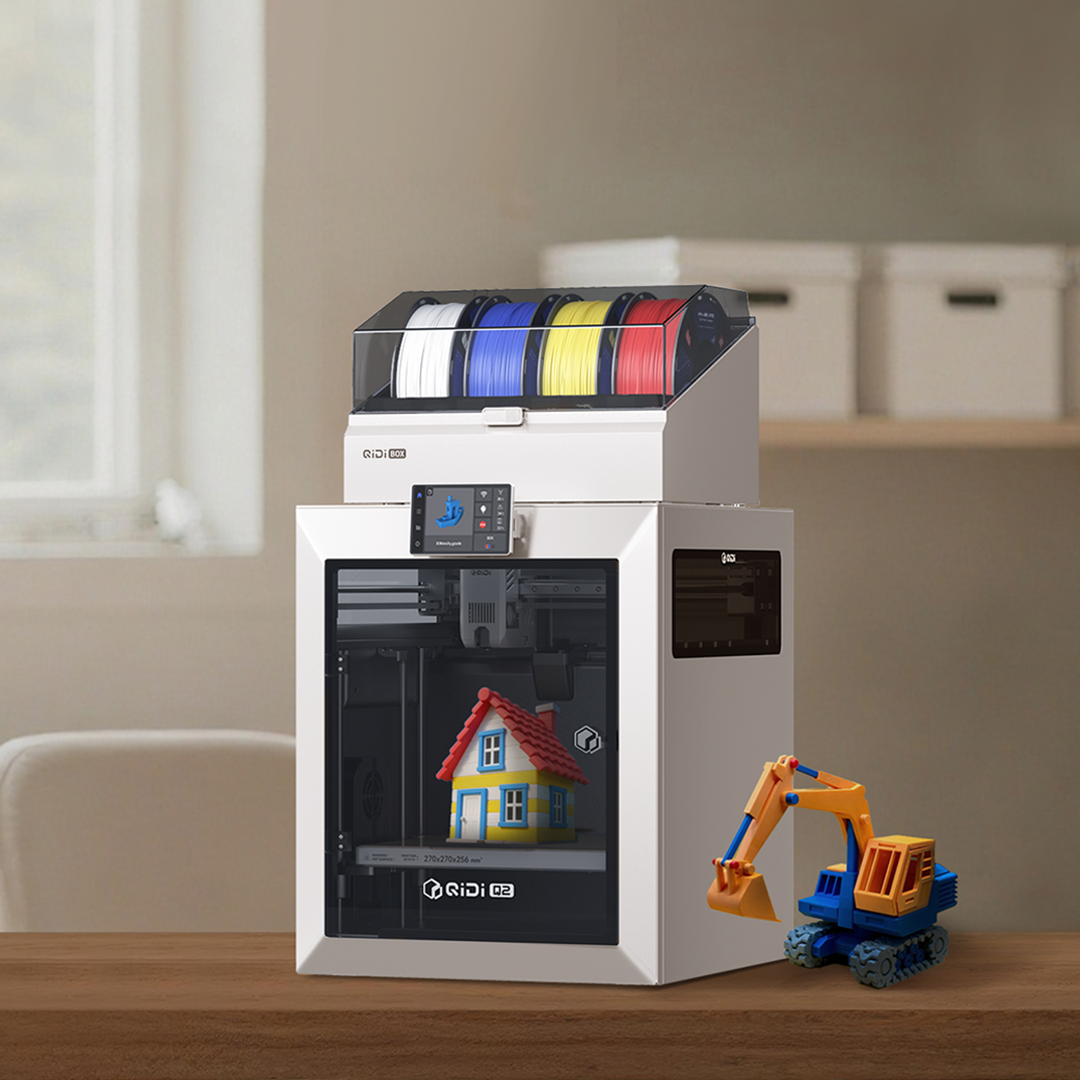
 Q2
Q2
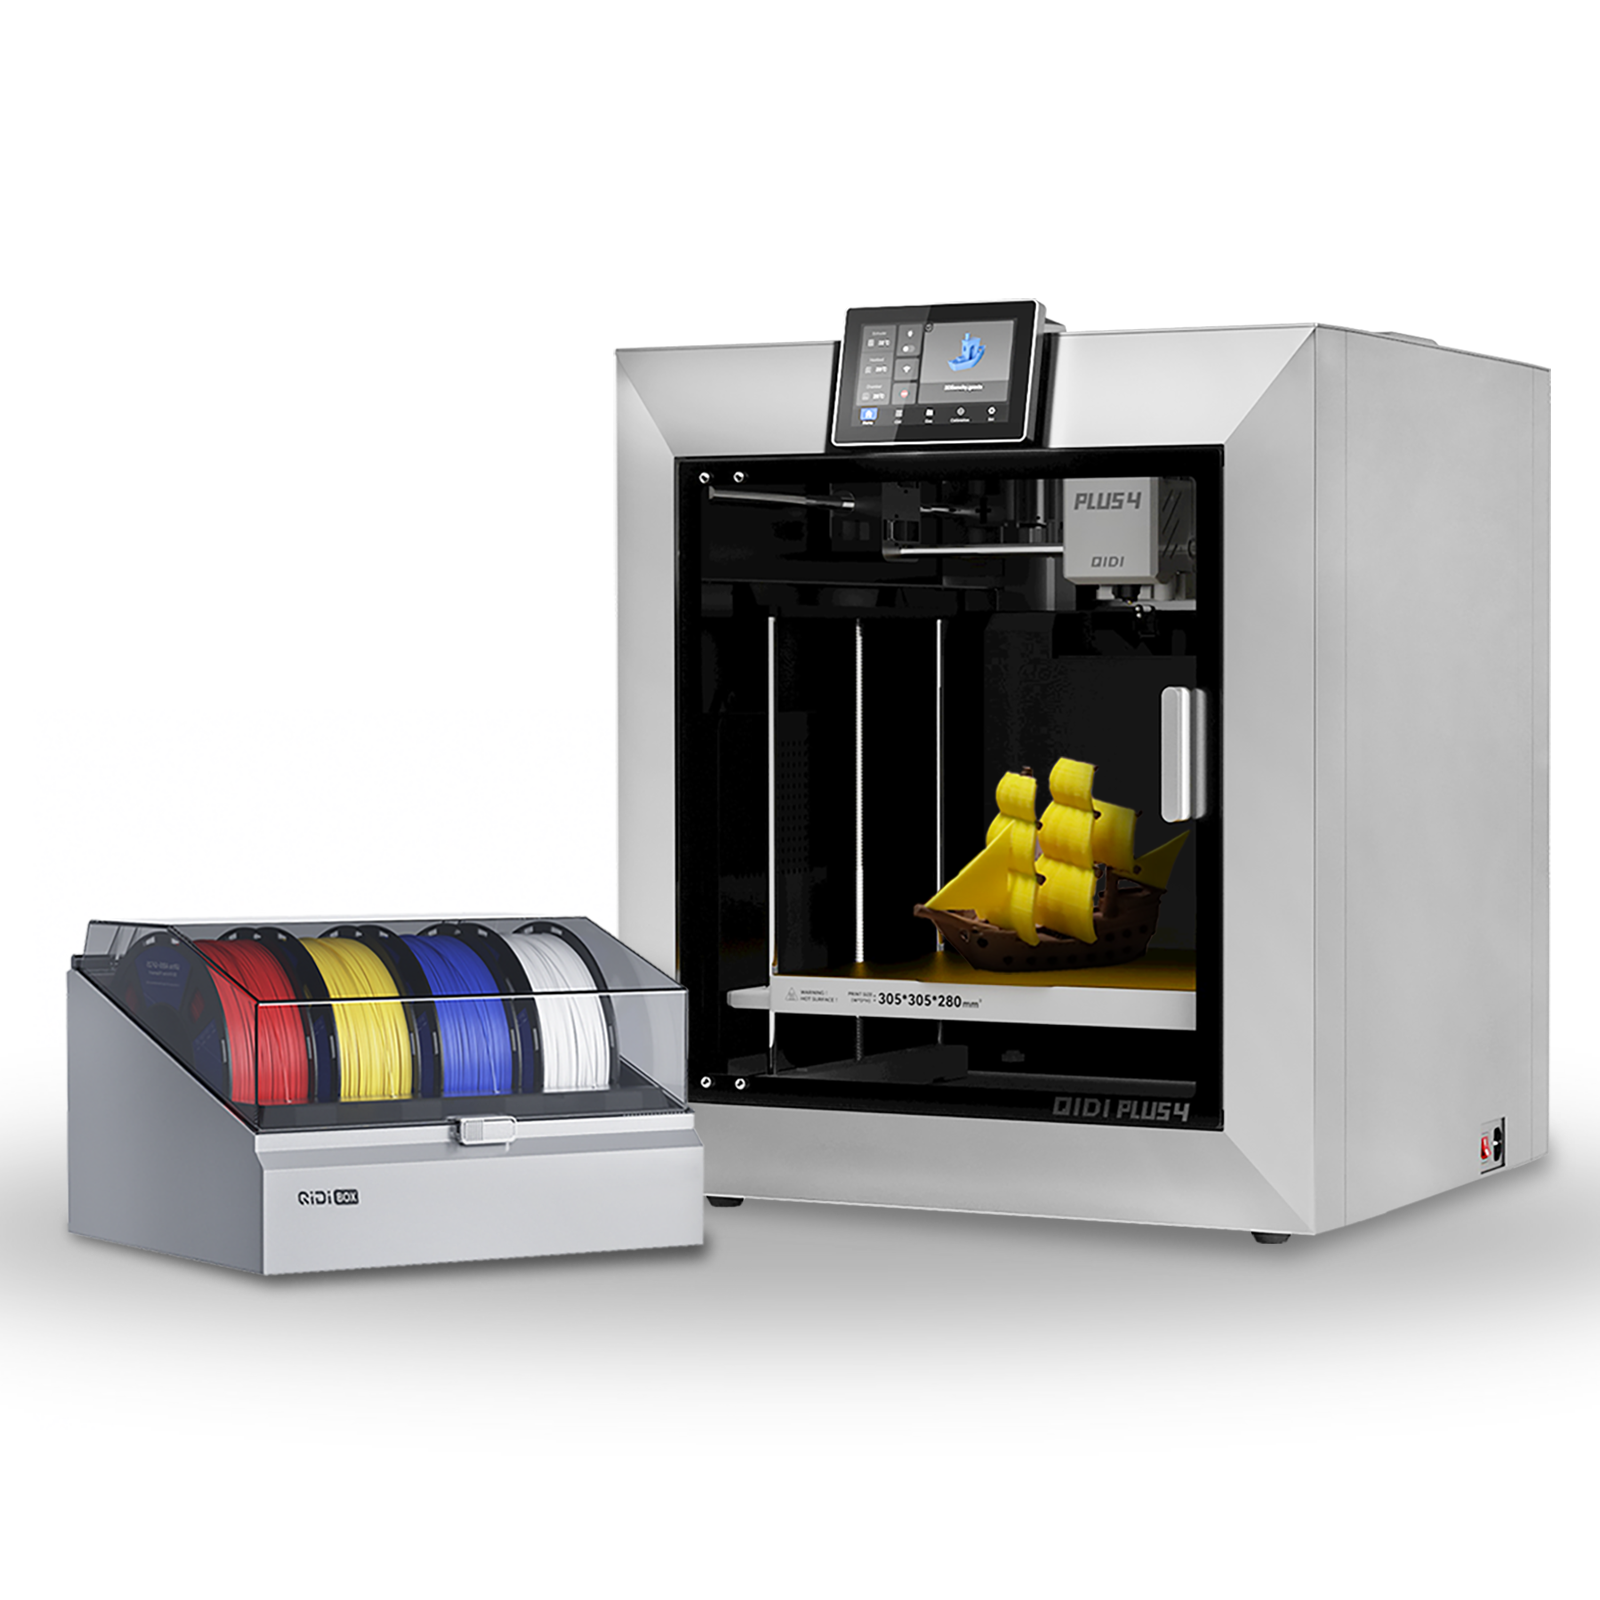 Plus4
Plus4
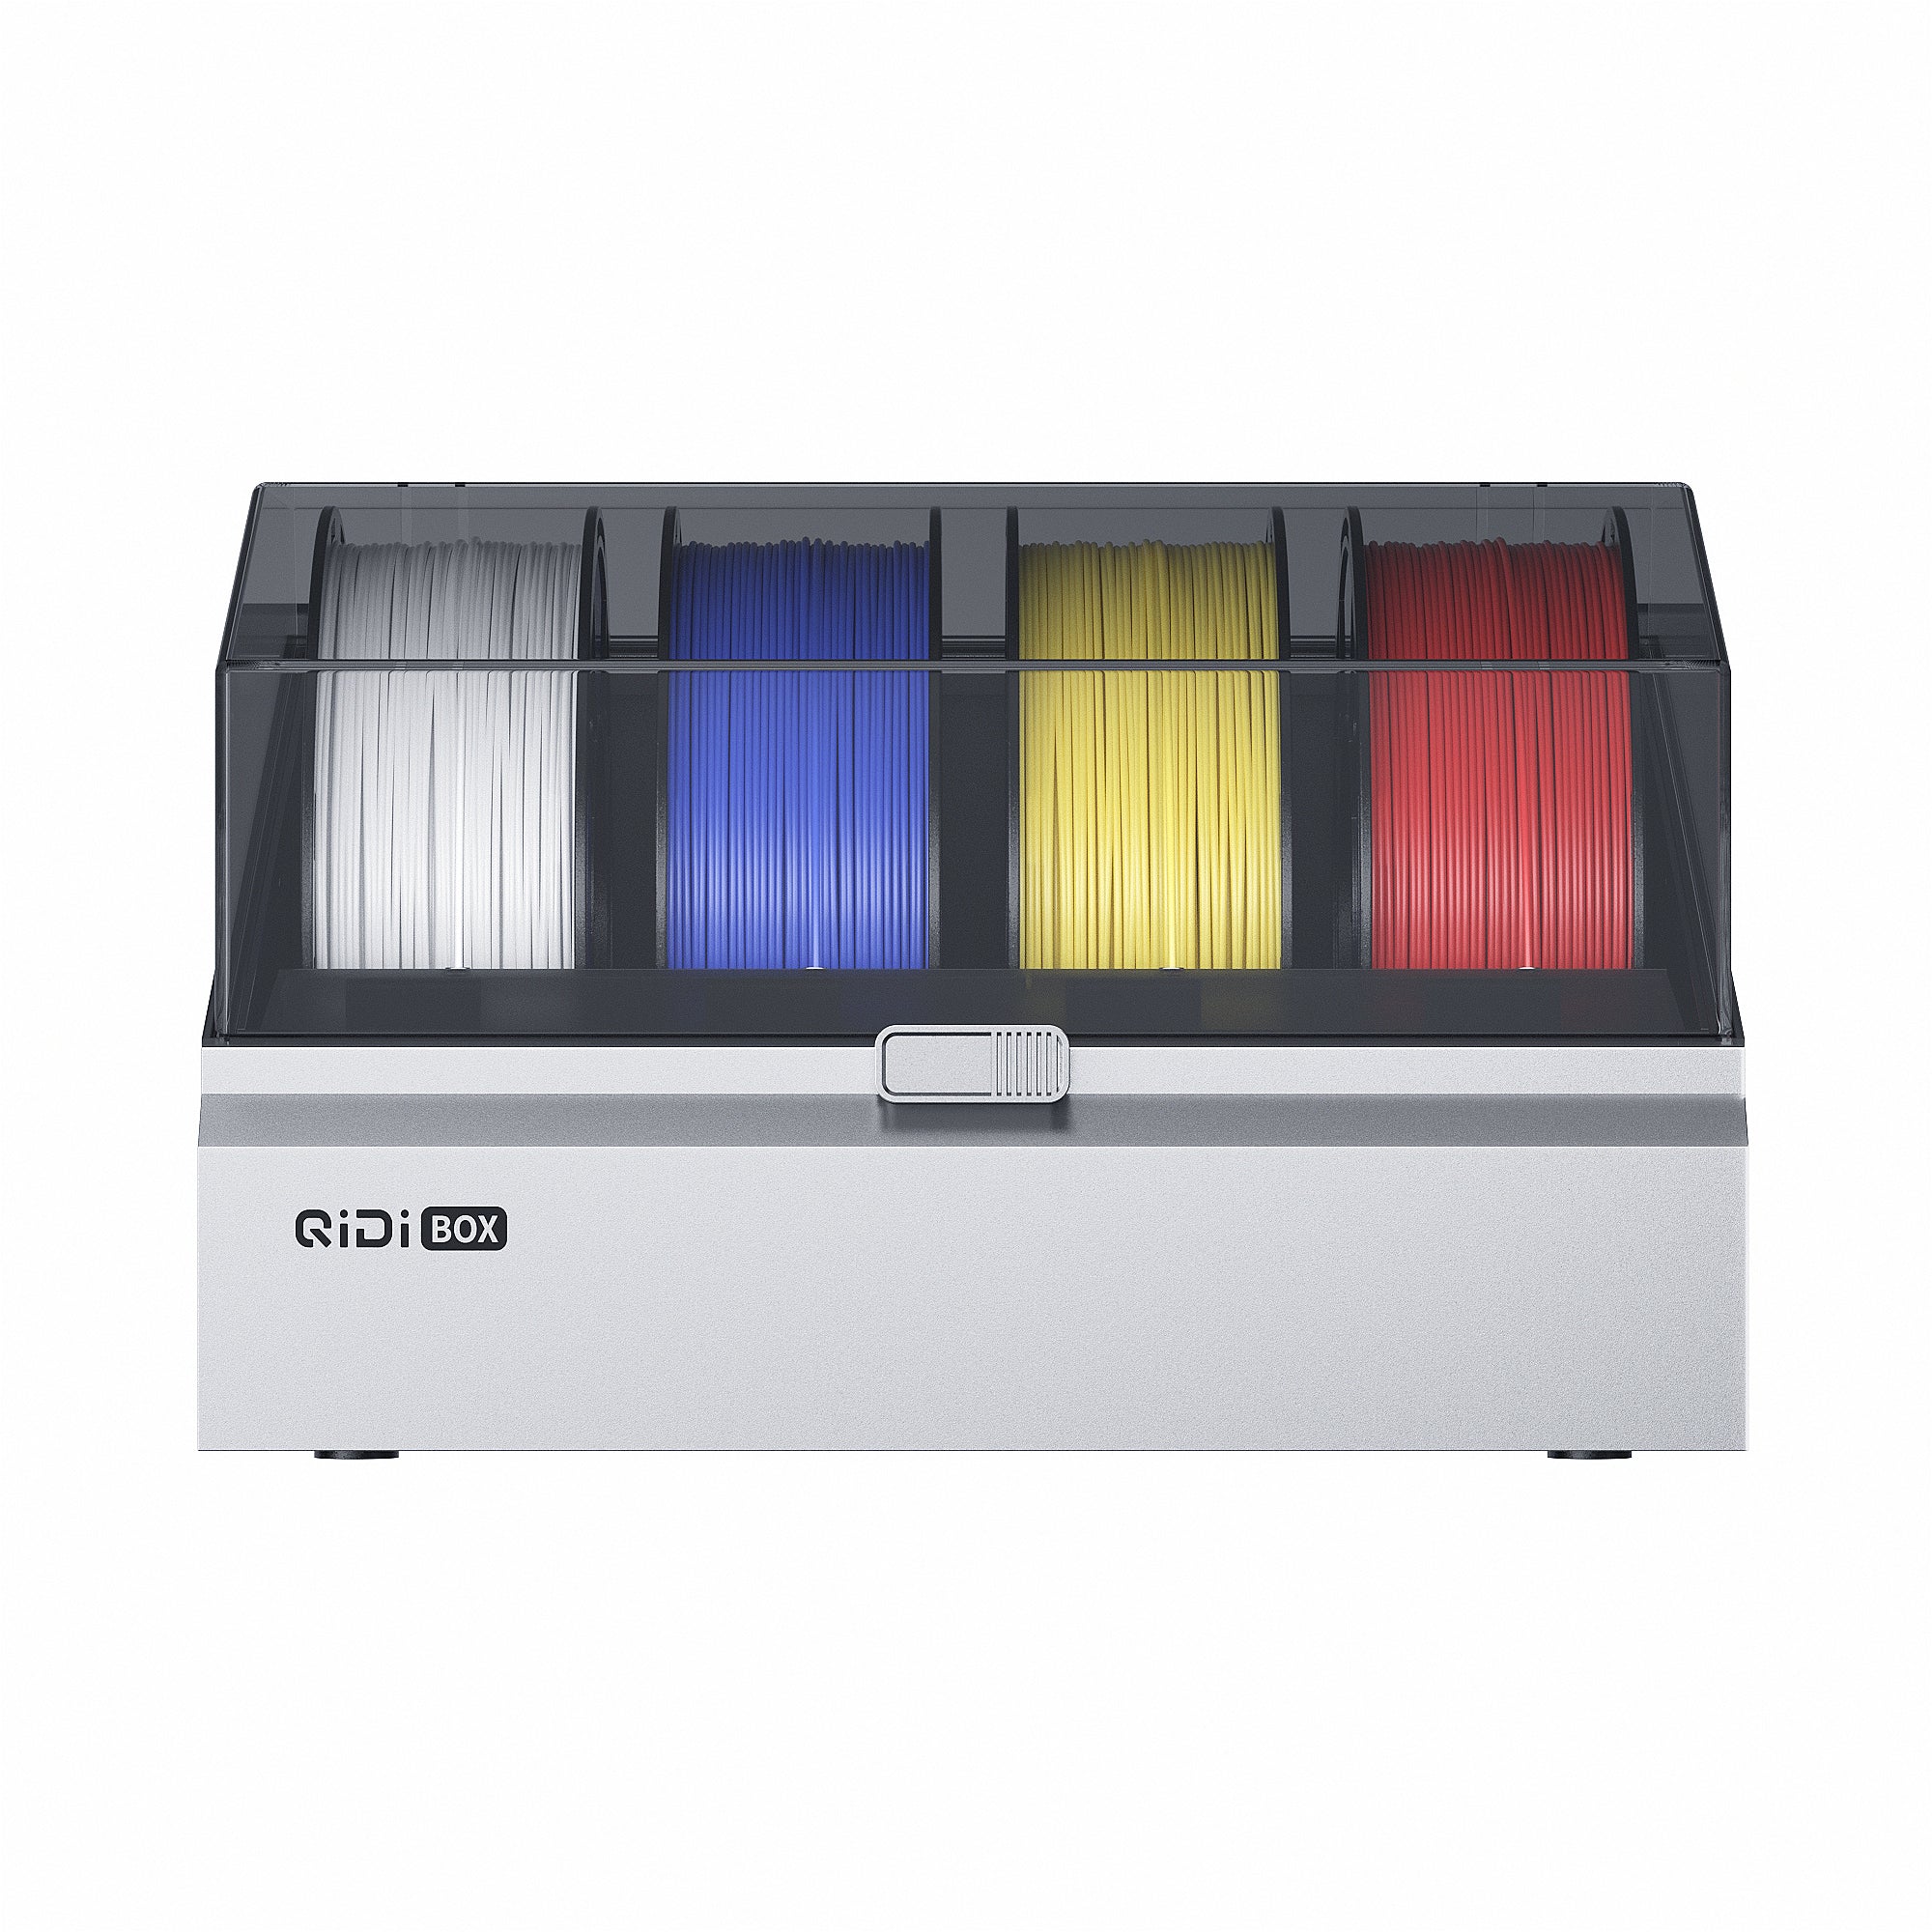 Qidi -laatikko
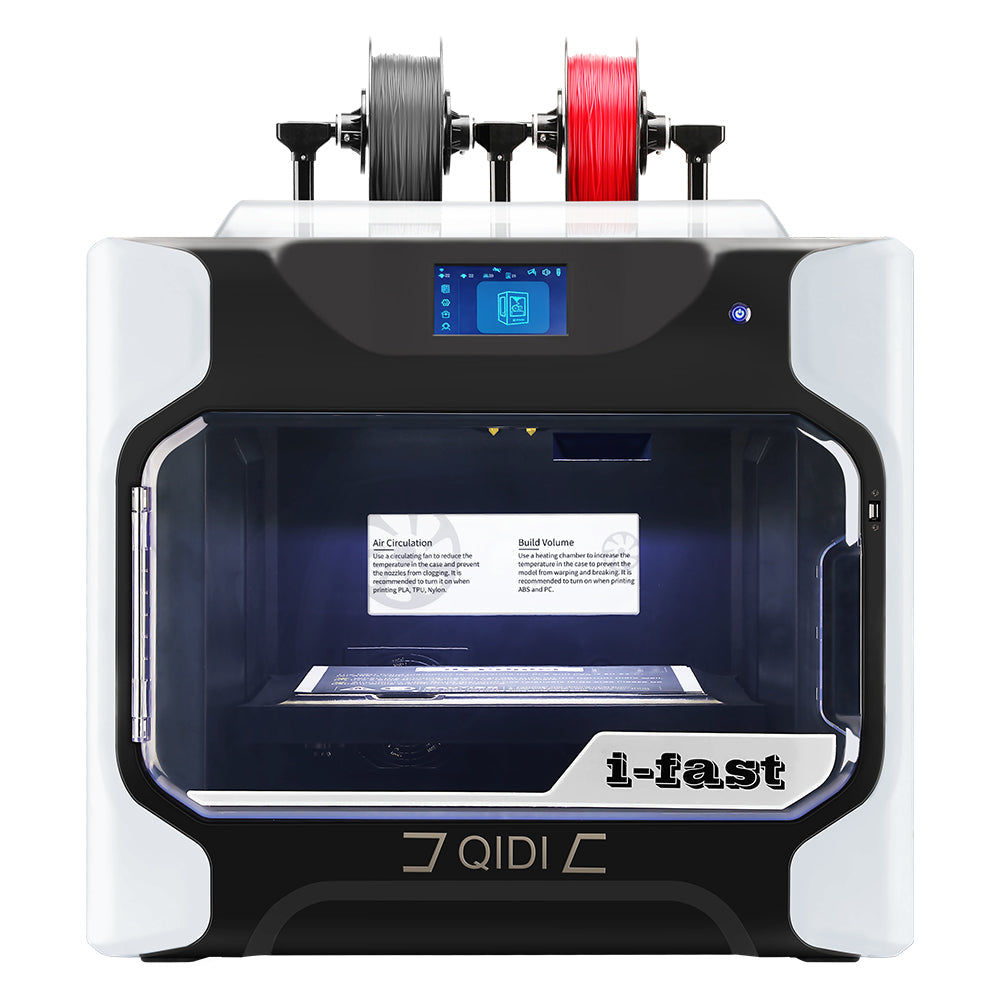
![[Qidi X-CF Pro, speziell für den Druck von Kohlefaser und Nylon entwickelt] - [QIDI Online Shop DE]](http://eu.qidi3d.com/cdn/shop/files/3034a1133efe01daba919094b70c6310.jpg?v=1750300120) Q1Pro
Q1Pro
![[Qidi X-CF Pro, speziell für den Druck von Kohlefaser und Nylon entwickelt] - [QIDI Online Shop DE]](http://eu.qidi3d.com/cdn/shop/products/X-MAX3-3D-Printer-02.png?v=1750300138) Max3
Max3
 Minä
Minä


Onko kerroskuvio liian ilmeinen? Opi siirto käsittelemään sitä helposti
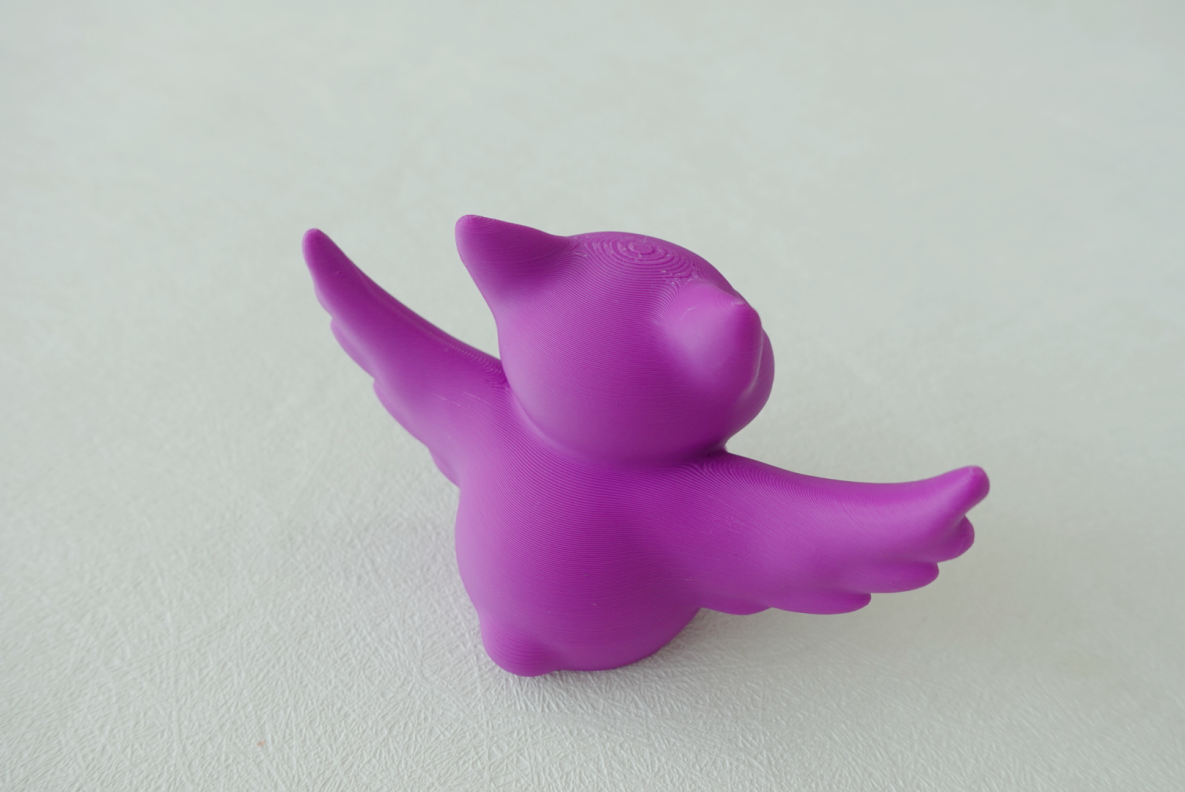
FDM-teknologian kerros kerrokselta -pinoamisominaisuuden vuoksi mallin pinnalla on vaikea välttää kerroskuvioita, mutta kaarevalla pinnalla helposti syntyvät "porrasmaiset" kerroskuviot vaikuttavat usein mallin ulkonäköön.
Miten mallille saadaan suhteellisen sileä tulostuspinta? Kiillotuksen ja hionnan lisäksi jälkikäsittelymenetelminä voidaan viipalointiohjelmistossa asettaa parametreja, kuten kerroskorkeus, seinämien järjestys ja tulostusnopeus. Tämä opetusohjelma tarjoaa yksityiskohtaisen johdannon kerroskorkeuden asettamiseen... QIDI-studio.
Kaaviokuva
Alkuperäinen malli:

Muokattu malli:

Jos haluat saavuttaa samanlaisen vaikutuksen, voit kokeilla seuraavia menetelmiä.
Johdanto - Kerroksen korkeuden säätäminen
1. Napsauta siivua, niin näet, että mallin yläosassa oleva tekstuuri on oletuksena paksumpi.

2. Prosessi-sarakkeessa voidaan valita eri kerroskorkeuksia tulostusta varten. Kunkin parametrin edessä oleva numero edustaa kerroskorkeuden arvoa. Teoriassa mitä pienempi kerroksen korkeus on, sitä pienempi on kerrosten välinen rako. Vaihda tässä '0.20mm Standard' arvoon '0.12mm Fine'.


3. Jälleen viipaloimalla voidaan havaita, että mallin yleinen tekstuuri, erityisesti yläosassa, on heikentynyt. Tässä vaiheessa mallin tulostettu pinta on tasaisempi. Mutta kerroksen korkeuden pienentämisen jälkeen saman mallin tulostusaika kasvaa merkittävästi.


Kuinka parantaa tulostuslaatua ja varmistaa samalla tehokkuus? Voit kokeilla 'Muuttuva kerroksen korkeus' -ominaisuutta.
Johdanto - Muuttuva kerroksen korkeus
1. Napsauta mallia ja etsi työkalupalkista "Muuttuva lattiakorkeus".

2. Napsauta peräkkäin "Mukautuva" ja "Tasainen", ja voit napsauttaa "Tasainen" useita kertoja debugataksesi, jolloin tasojen välinen siirtymä on tasaisempi. Alla olevassa kuvassa mallin vihreä osa edustaa matalampaa tasokorkeutta, kun taas oranssi osa edustaa korkeampaa tasokorkeutta.

3. Automaattisen virheenkorjauksen lisäksi on mahdollista asettaa myös manuaalisesti kohta, josta tason korkeutta on säädettävä. Vedä hiirtä oikealla olevassa esikatseluruudussa säätääksesi lattian korkeutta eri kohdissa. Vasen painike pienentääksesi tason korkeutta, jolloin malli näkyy vihreänä; oikea painike suurentaaksesi tason korkeutta, jolloin malli näkyy oranssina.

4. Napsauta siivua, niin näet, että mallin yläosan tekstuuri on parantunut merkittävästi verrattuna ennen muokkausta, kun taas tulostusaika on pidentynyt vain hieman.


Johtopäätös
Säätämällä tulostuskerroksen korkeutta QIDI Studiossa voit optimoida mallin yksityiskohdat ja varmistaa samalla tulostustehokkuuden. Opi tämä temppu hyvin, niin voit tulostaa entistäkin tyydyttävämpiä töitä! Tervetuloa jakamaan 3D-tulostuskokemuksesi kanssamme kommenttiosiossa!