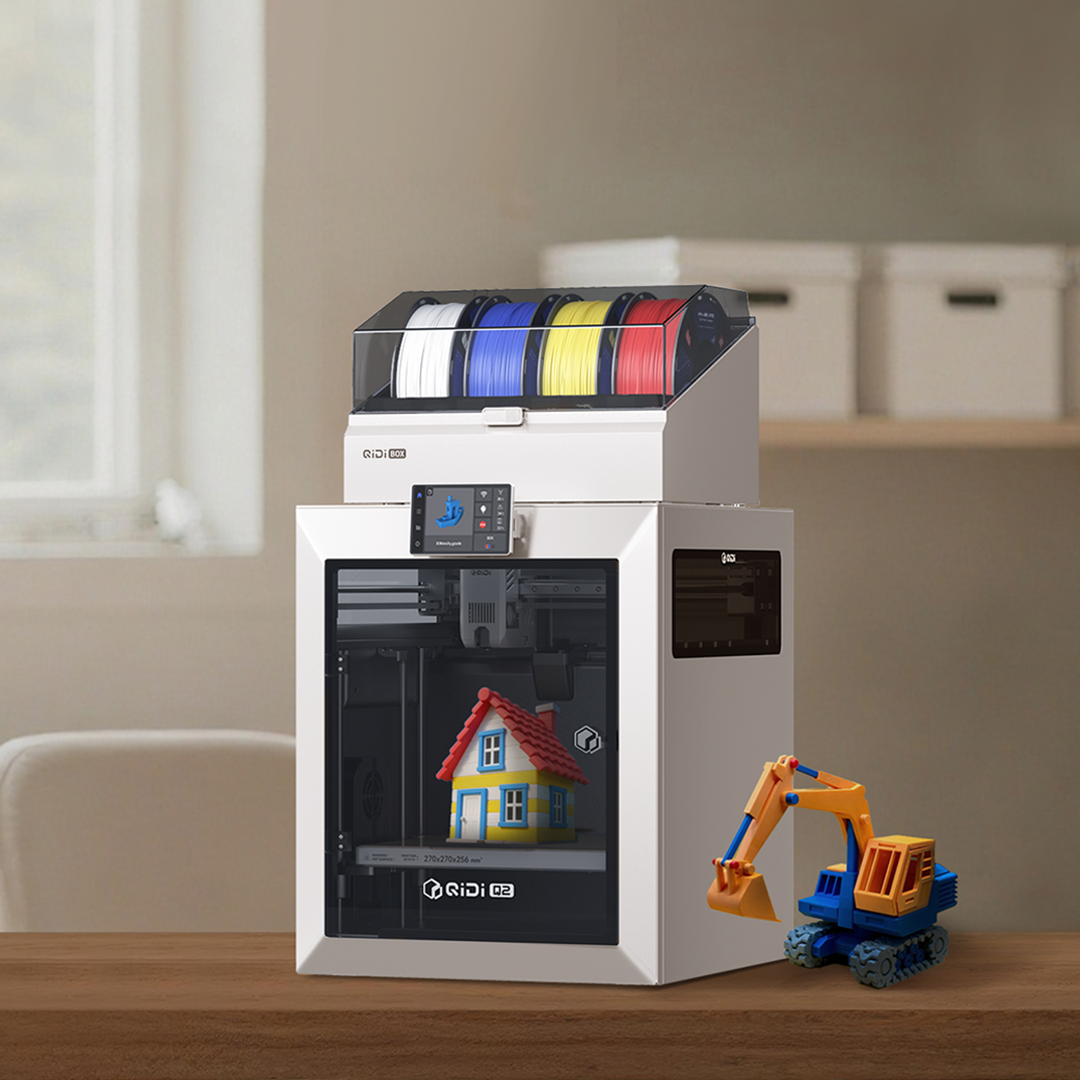
 Q2
Q2
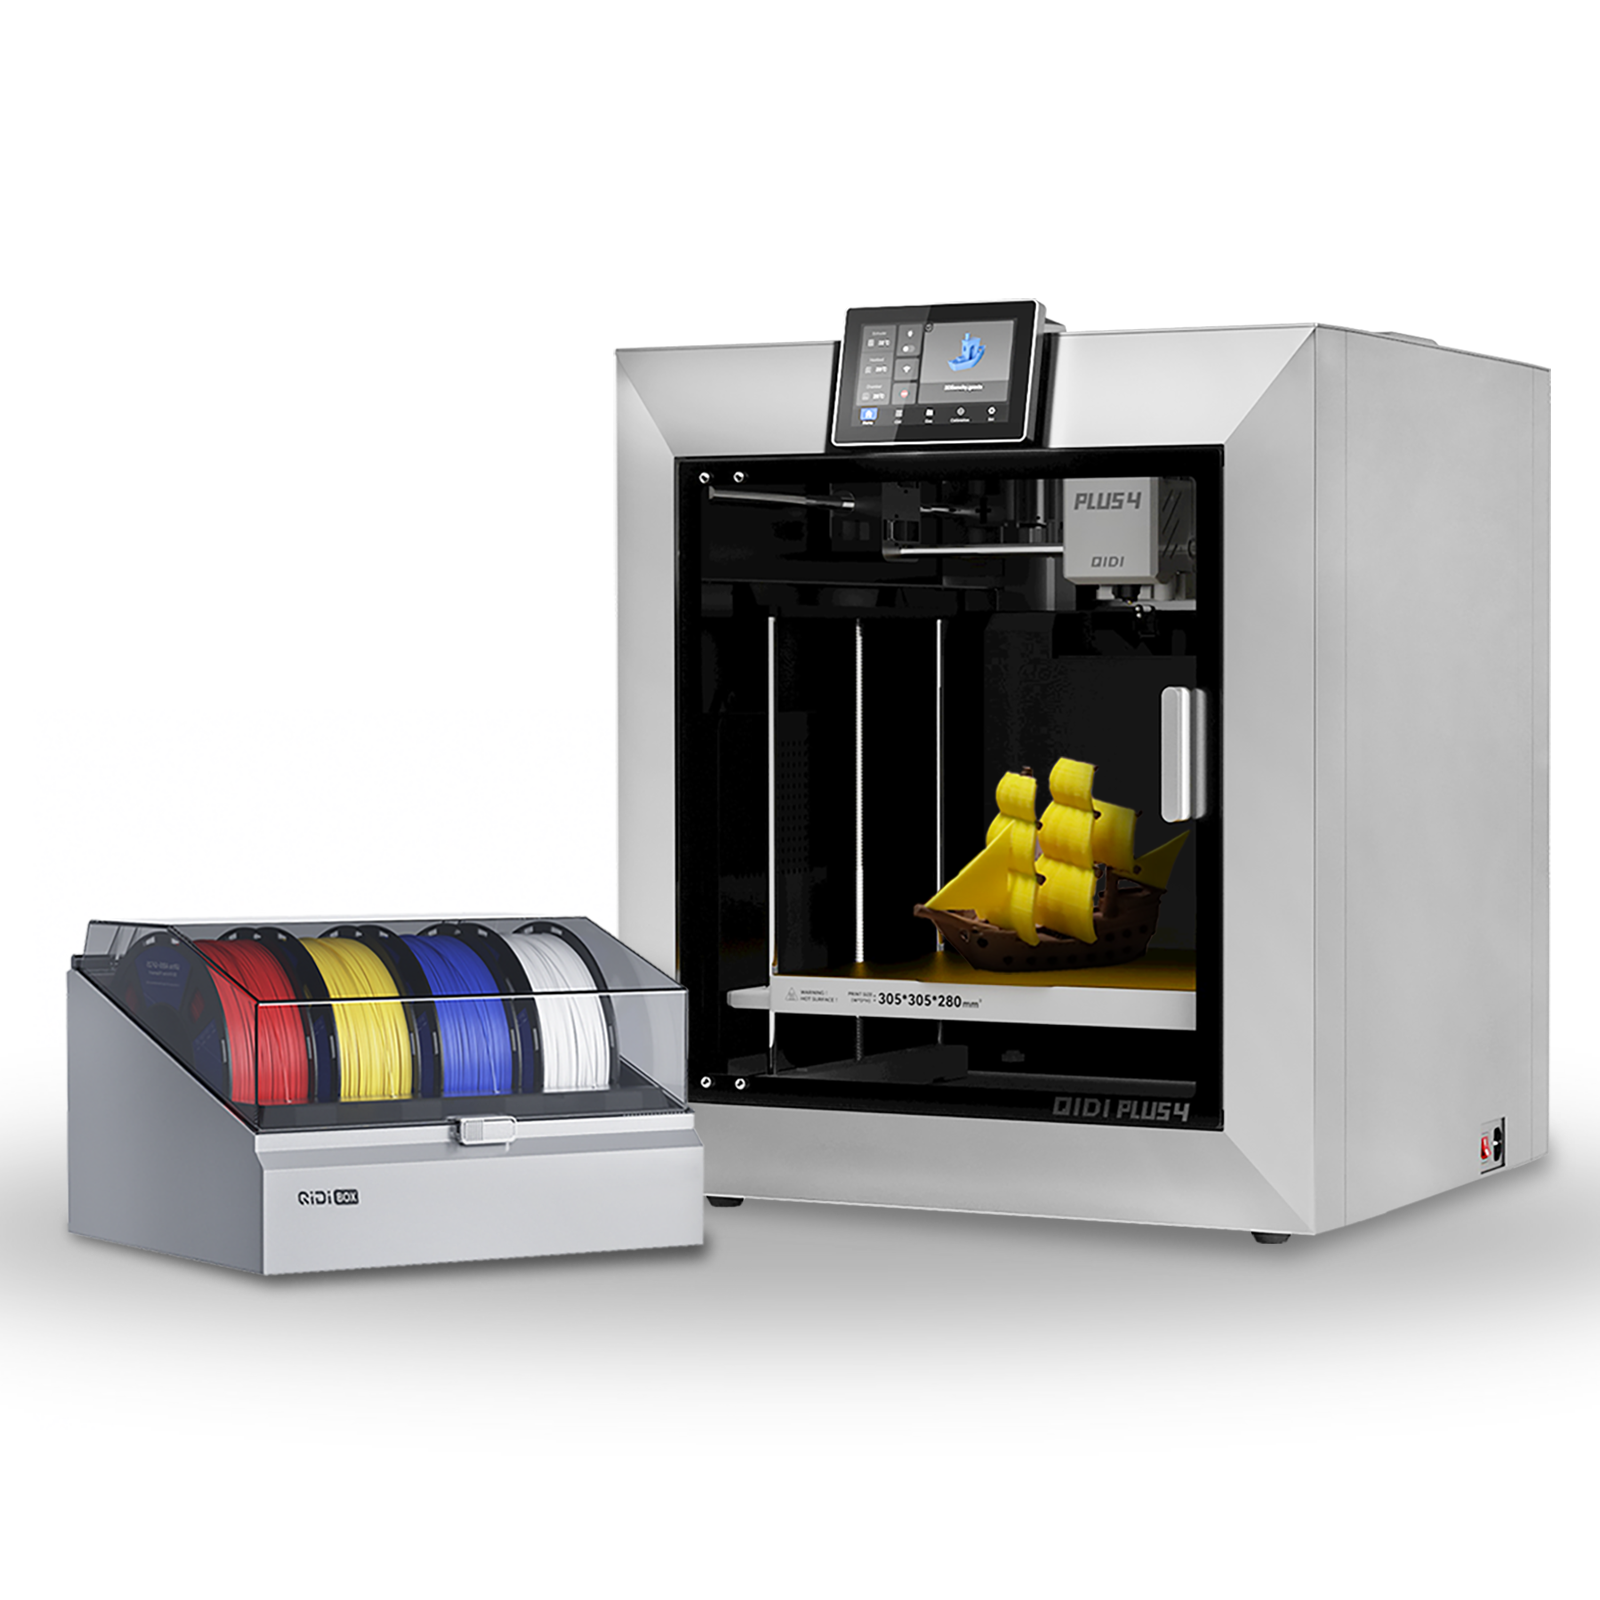 Plus4
Plus4
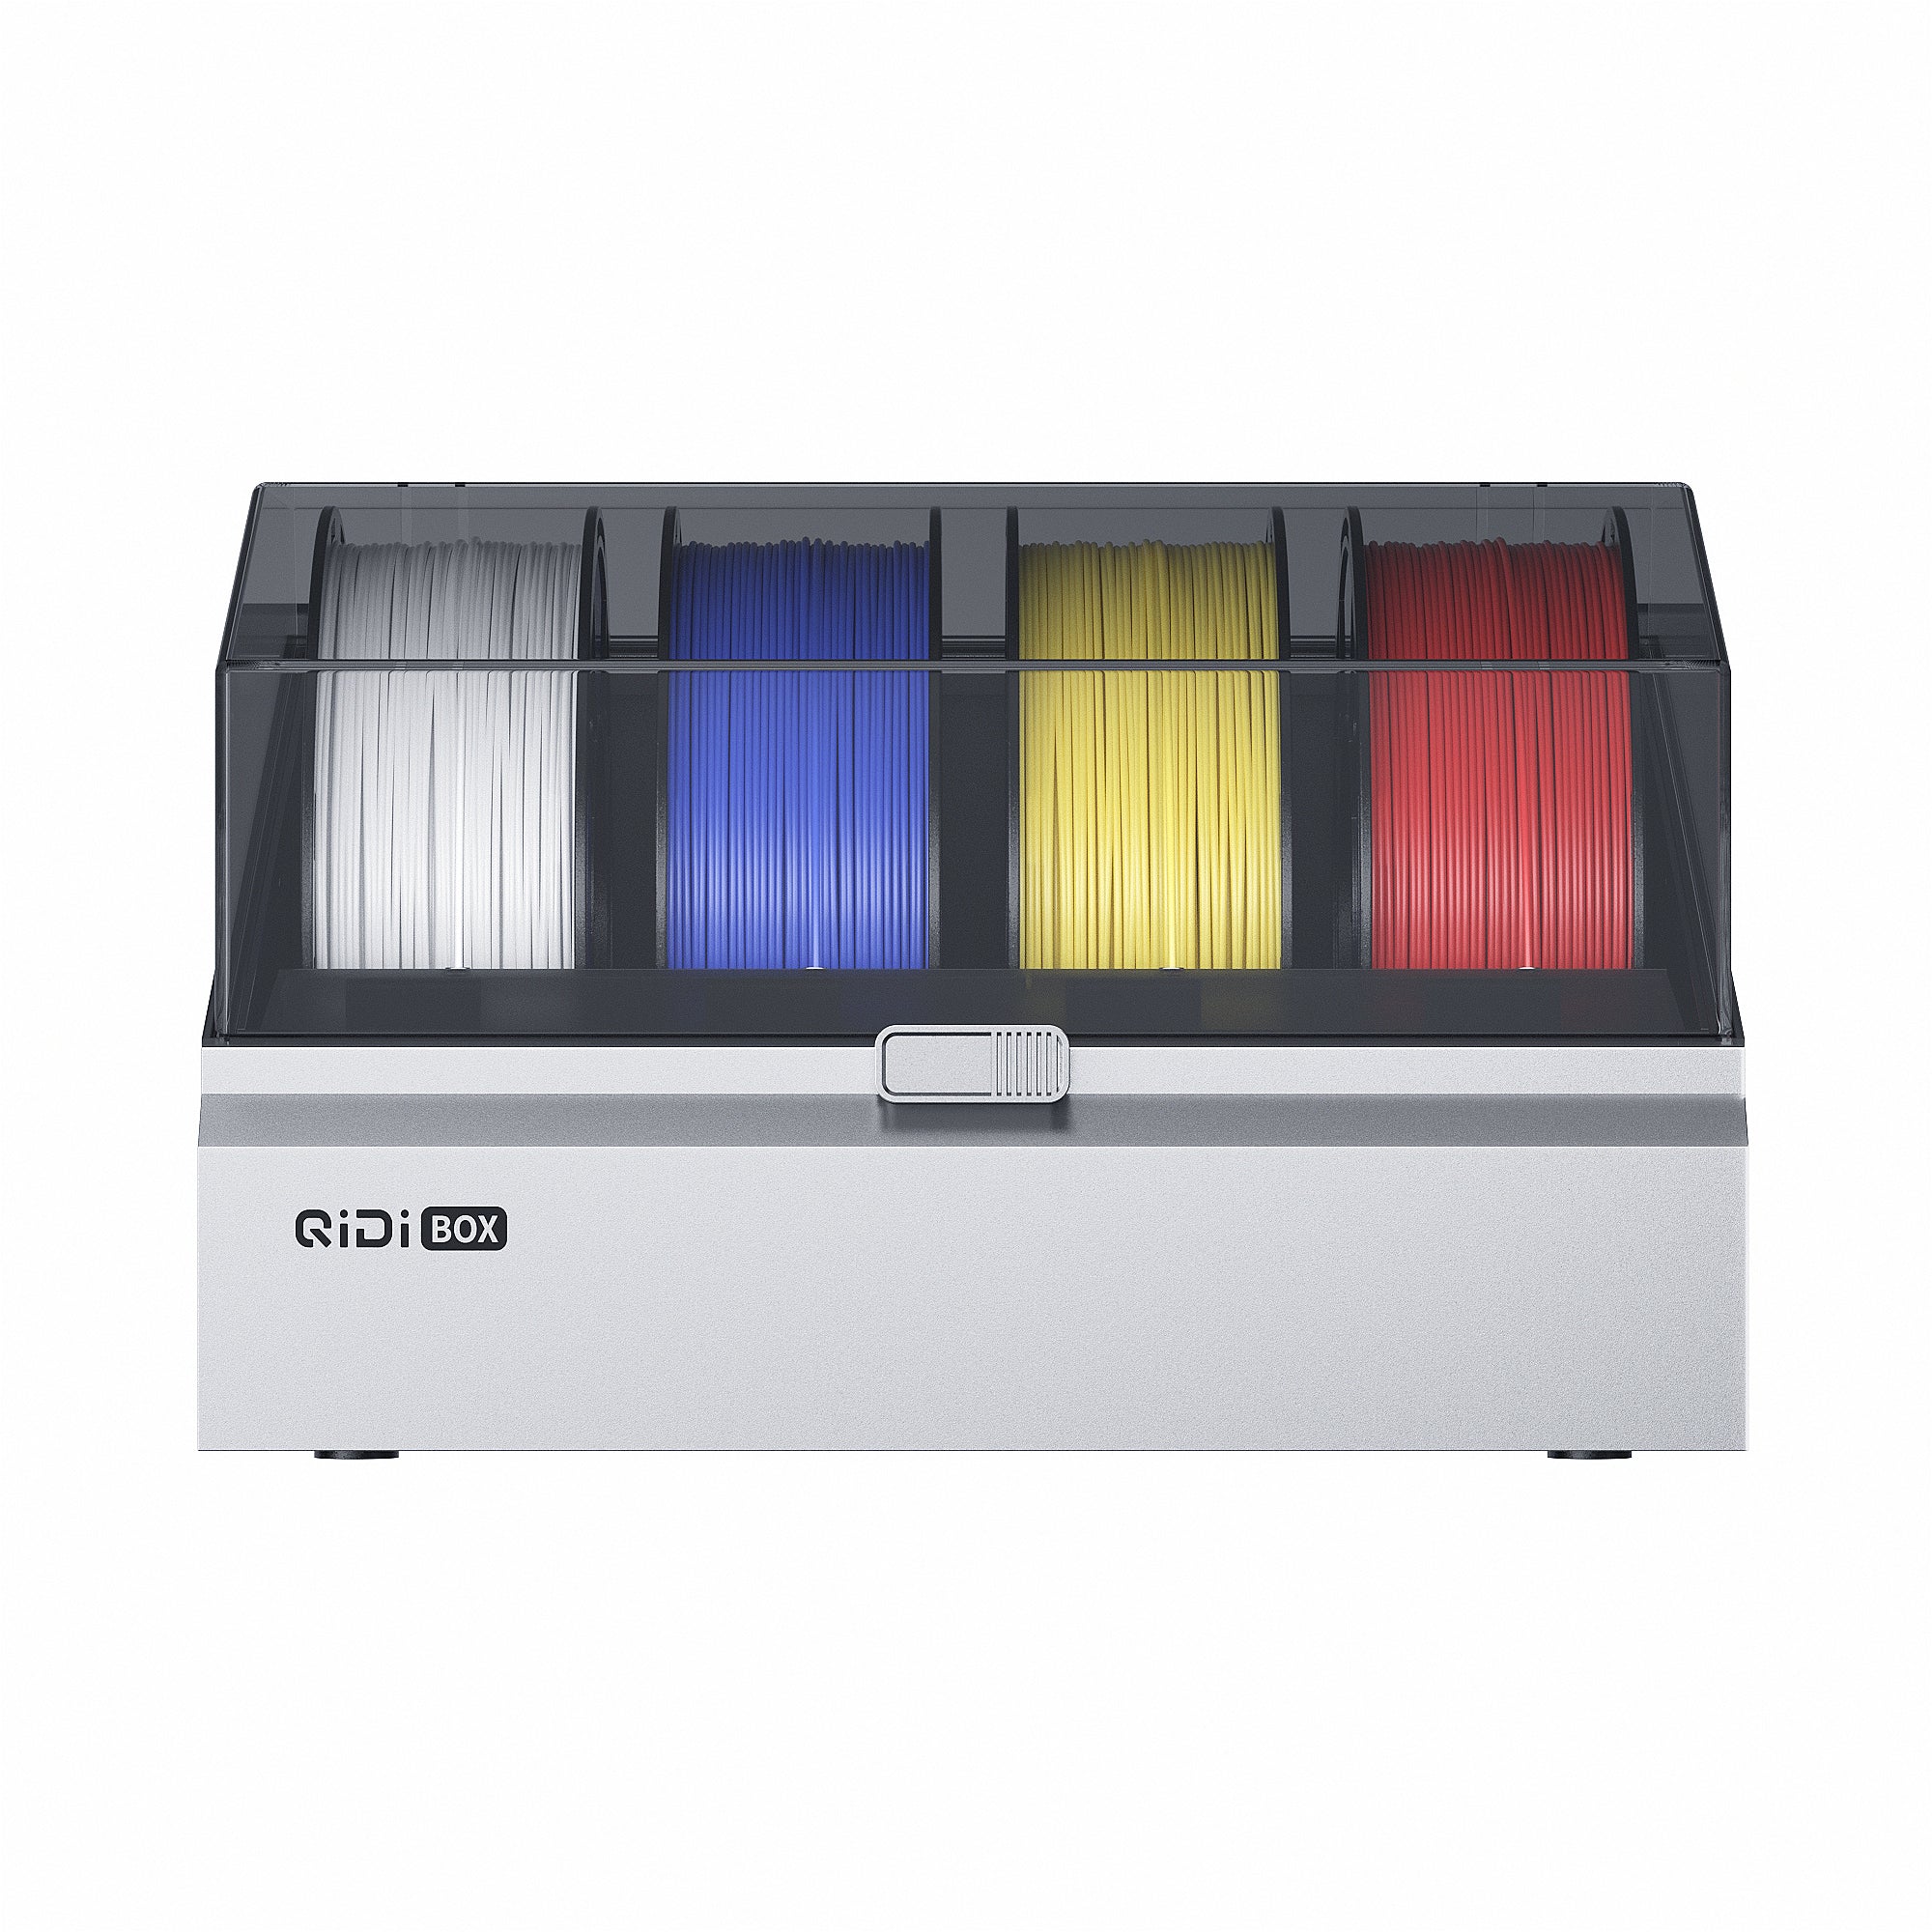 Škatla qidi
![[Qidi X-CF Pro, speziell für den Druck von Kohlefaser und Nylon entwickelt] - [QIDI Online Shop DE]](http://eu.qidi3d.com/cdn/shop/files/3034a1133efe01daba919094b70c6310.jpg?v=1750300120) Q1pro
Q1pro
![[Qidi X-CF Pro, speziell für den Druck von Kohlefaser und Nylon entwickelt] - [QIDI Online Shop DE]](http://eu.qidi3d.com/cdn/shop/products/X-MAX3-3D-Printer-02.png?v=1750300138) Max3
Max3
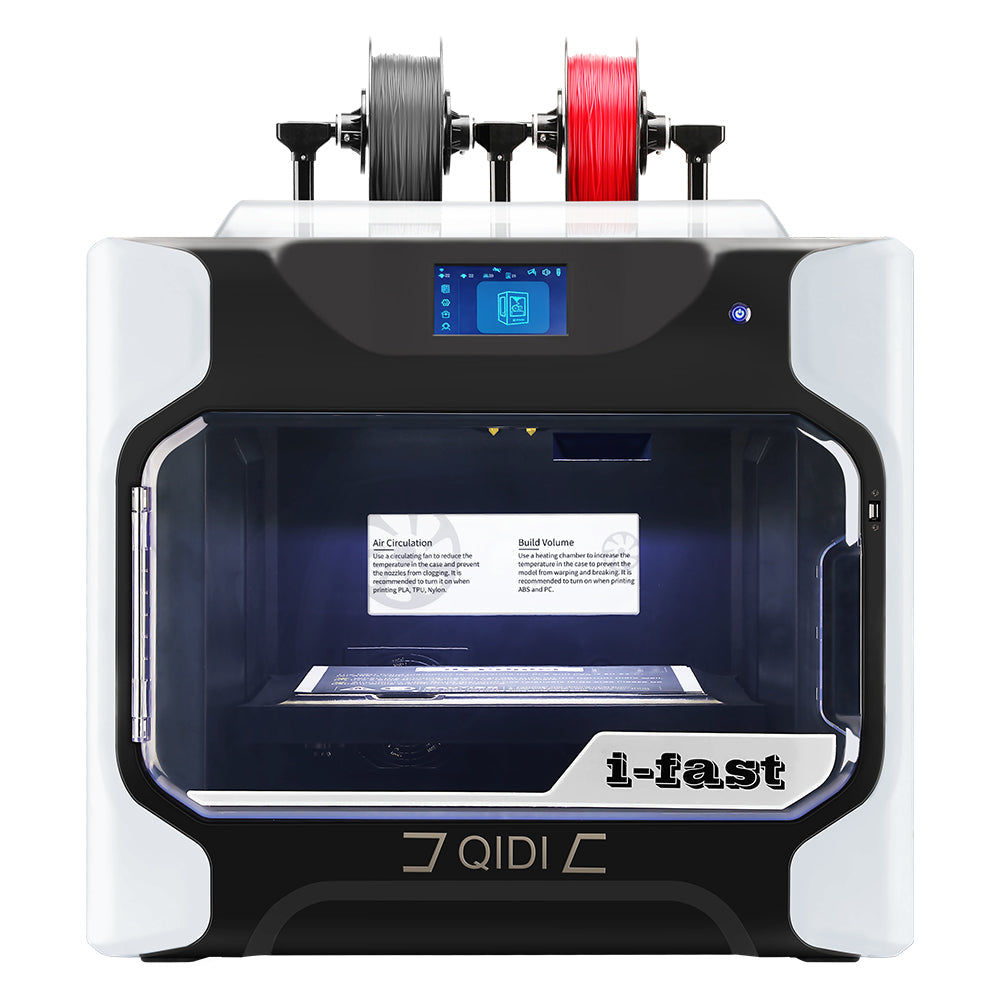 I-FAST


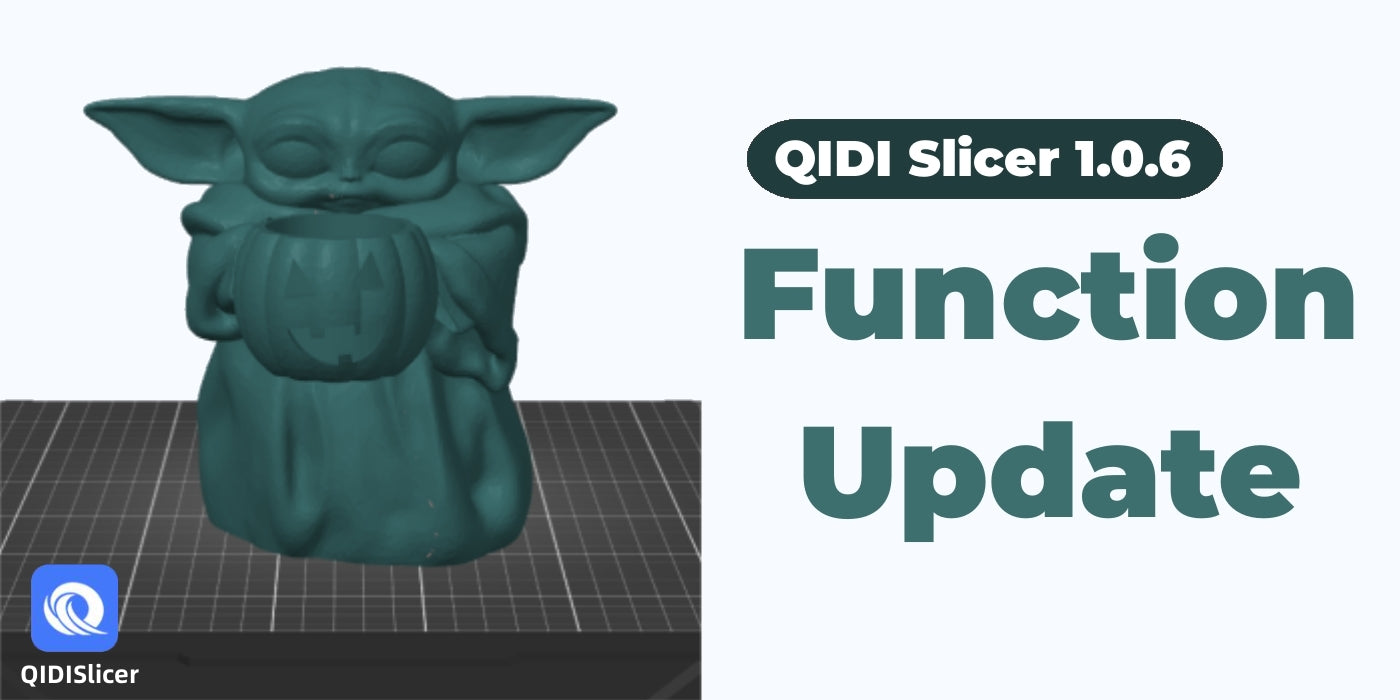
QIDI Slicer 1.0.6 Posodobitev funkcij
1. Preizkus predhodnega tlaka
Predtisk je ključnega pomena za uspešno tiskanje. Na splošno lahko tiskamo v skladu s parametri, ki jih priporoča proizvajalec filamenta. Če pa niso navedli priporočene vrednosti PA, moramo opraviti nekaj testov, da dobimo natančno vrednost PA.

QIDI Slicer je to funkcijo uvedel v različici 1.0.6. Z uporabo te funkcije lahko Iz natisnjenih rezultatov lahko izdelate svoj testni model in določite optimalno vrednost PA. Za testiranje predtlačnega tlaka lahko izberete tri modele: PA Line, PA Pattern in PA Tower.

-
Linija PA

-
Vzorec PA

-
PA stolp

Za več informacij o tem funkcijo, se obrnite na uradnika QIDI wiki: Kako preizkusiti vrednost prednapetosti tlaka za določeno situacijo.
2. Preskus pretoka
Pretok je precej pomemben za vsak projekt tiskanja uspešnega modela. Zdaj je QIDI Slicer predstavil to funkcija.
Sledi preskus pretoka podoben potek dela kot pri testu vrednosti PA, i.enačrtovanje testa, tiskanje testnega modela in vrednotenje rezultatov. Izbirate lahko med dvema načinoma testiranja: grobim načinom ali finim načinom.

-
Grobo
Ne glede na to, ali je v načinu Coarse ali Fine, bo QIDI Slicer na gradbeni plošči ustvaril devet modelov oznak. Sredinski model oznake je nastavljena vrednost pretoka, i.e. ta multiplikator ekstrudiranja toka filamenta, in osem drugih modelov oznak v zgornjem in spodnjem območju se generira v intervalih po 5 na podlagi nastavljene vrednosti pretoka (kot je prikazano na spodnji sliki).

-
V redu
V modelu Fine bodo modeli oznak generirani v intervalih 1 okoli nastavljene vrednosti pretoka.

Za več informacij o tej funkciji, Prosimo, glejte uradno wiki stran QIDI: Kako preizkusiti pretok filamenta.
3. Izključitev predmetov
Pogosto se zgodi, da ko tiskamo več modelov hkrati, nenadoma ne želimo tiskati enega od njih ali pa nenadoma ugotovimo, da ima eden od njih težave s tiskanjem, in želimo prekiniti tiskanje tega modela, vendar ne želimo motiti postopka tiskanja drugih modelov.
Na tej točki je nadgrajena funkcija QIDI Slicerja popolna rešitev za to dilemo. Poglejmo si fluidni vmesnik.
Na primer, začeli smo tiskati tri ločene modele, kot je prikazano spodaj.

Na tej točki ima model, označen z zelenim okvirčkom na levi, tiskarsko napako in moramo prekiniti tiskanje tega modela. Preprosto lahko sledimo spodnjim korakom. rešiti problem.

Ko se zeleno polje spremeni v rdeče polje, se tiskanje modela ustavi. Ta funkcija lahko učinkovito prihrani uporabnikom filamenti, denar in čas.
Na koncu
To so naše nadgradnje funkcij za QIDI Slicer 1.0.6, za katere upamo, da bodo učinkovito izboljšale uporabniško izkušnjo tiskanja, in jih bomo še naprej nadgrajevali v skladu z zahtevami strank.
Če imate kakršne koli predloge za posodobitev funkcije QIDI Slicer, nas kontaktirajte na karl@qd3dprinter.com.