 Q2
Q2
 Plus4
Plus4
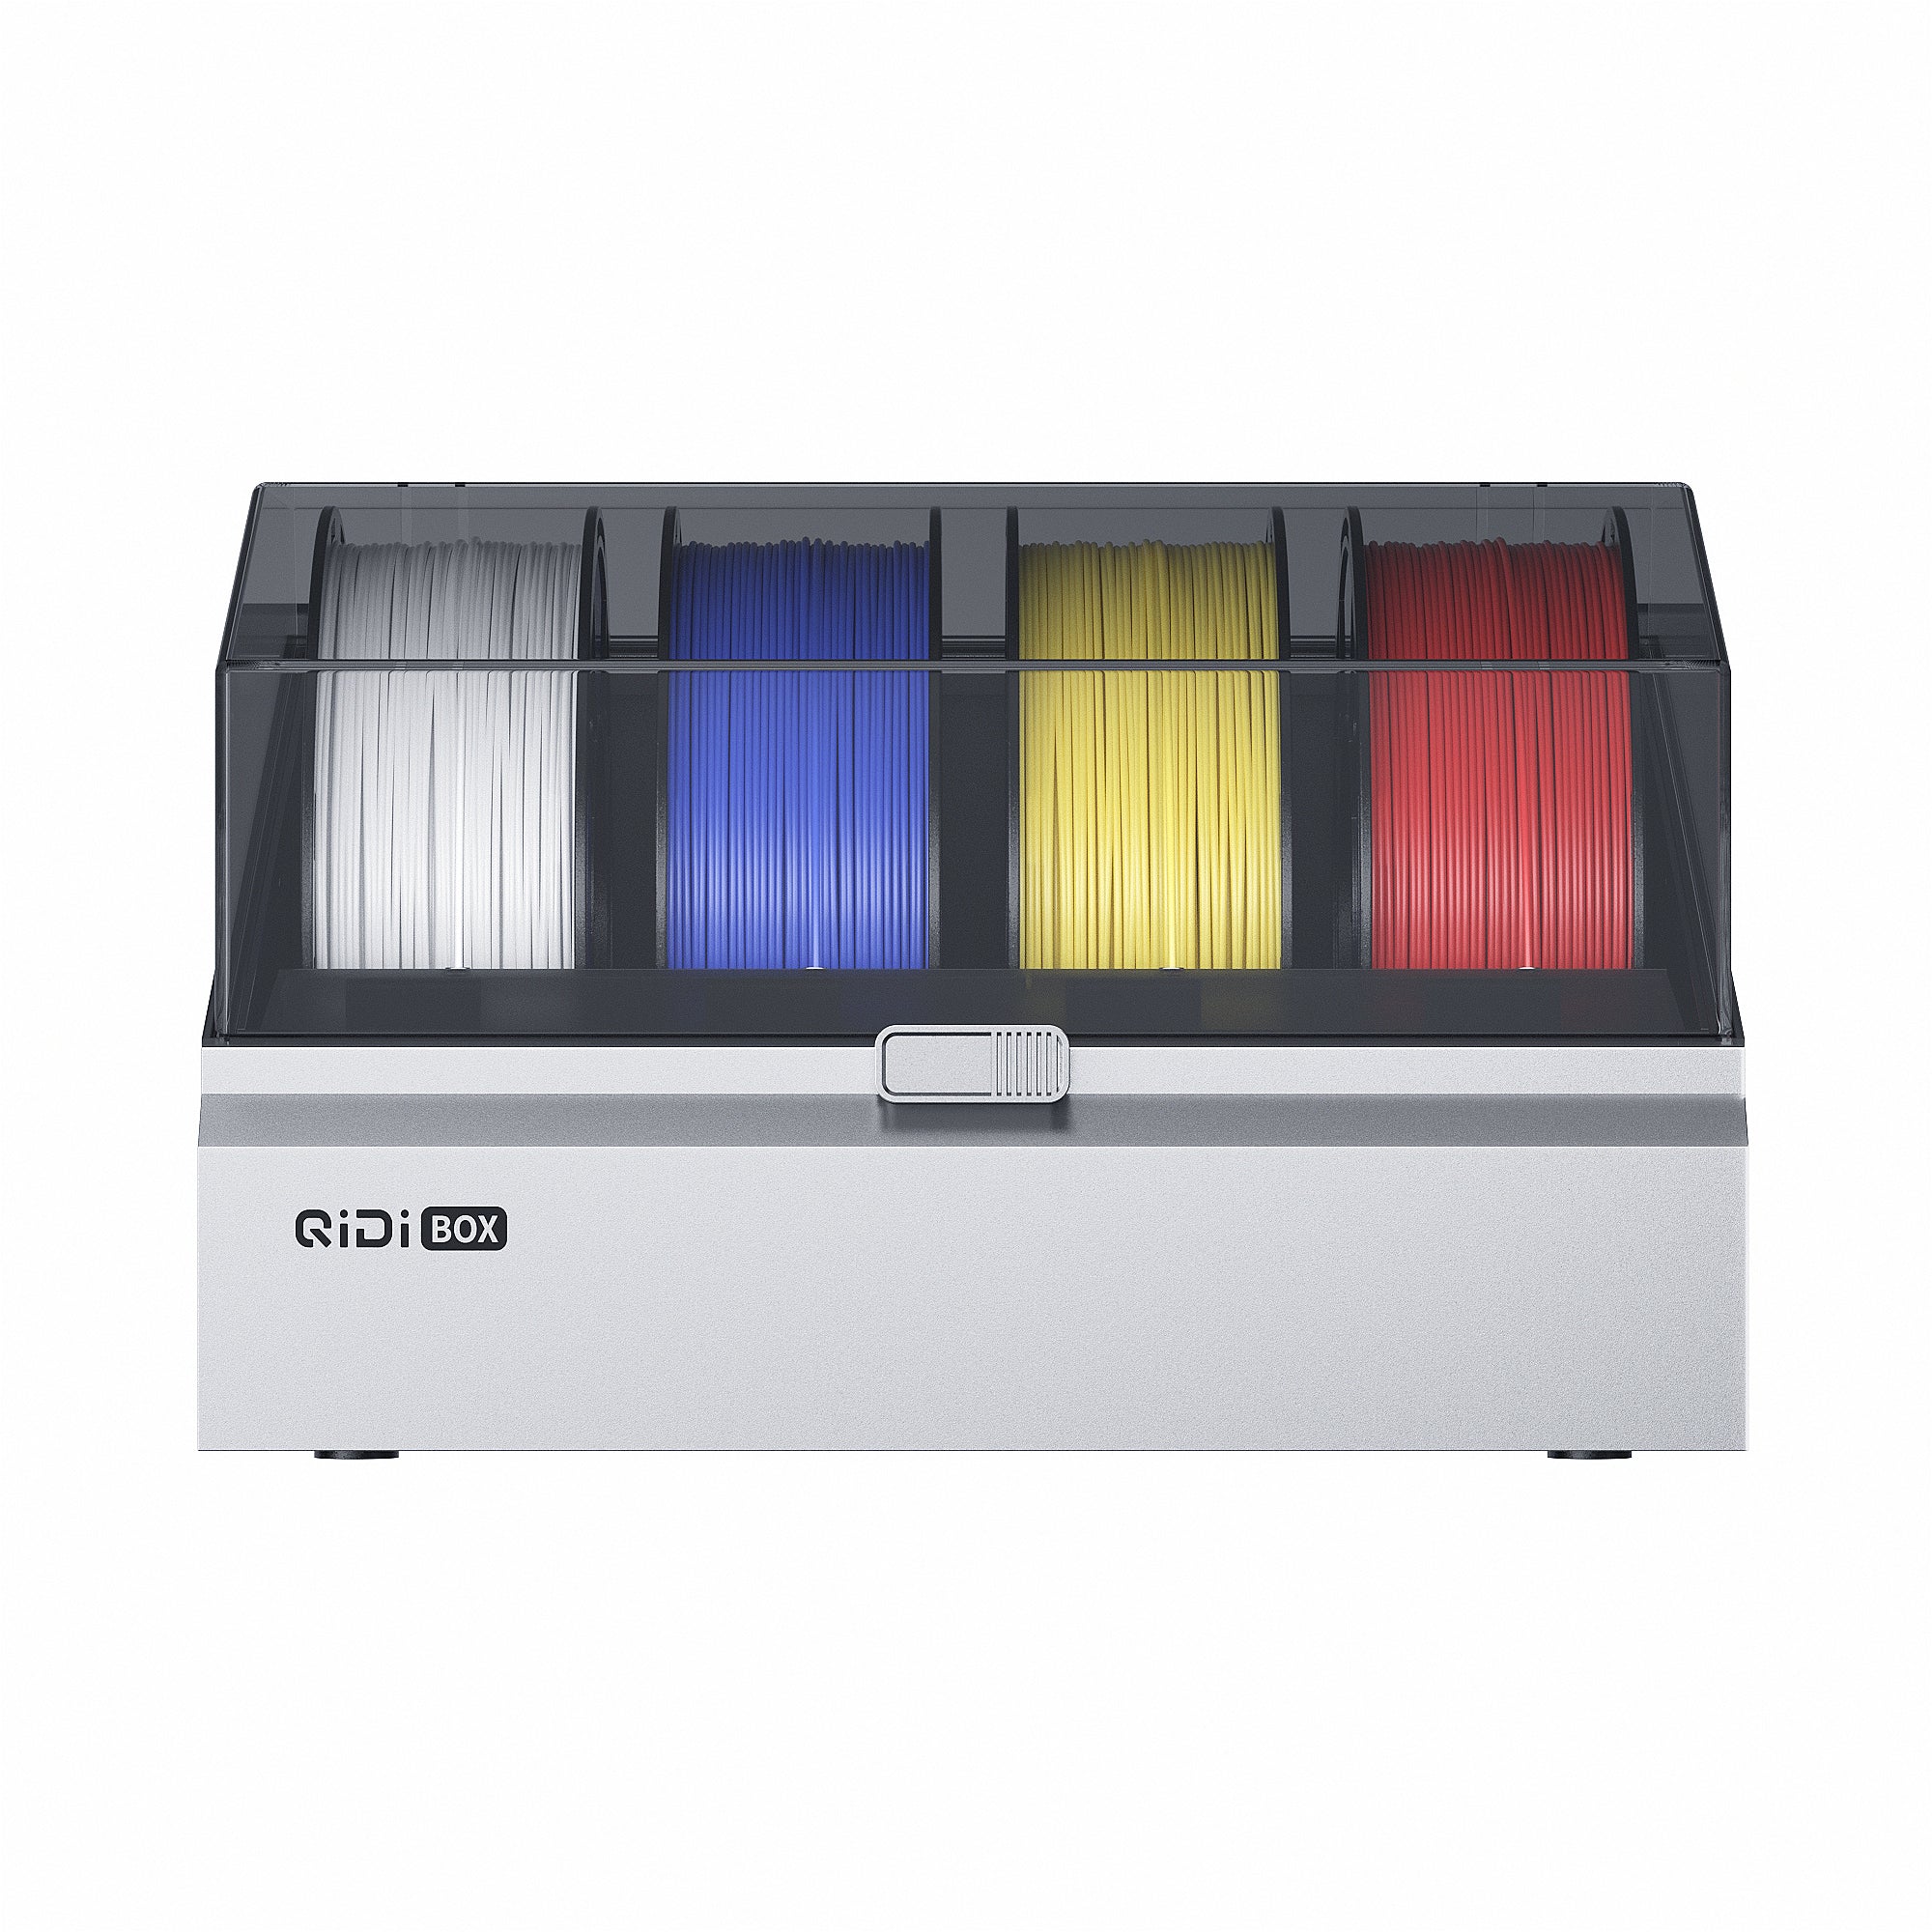 Qidi kast
![[Qidi X-CF Pro, speziell für den Druck von Kohlefaser und Nylon entwickelt] - [QIDI Online Shop DE]](http://eu.qidi3d.com/cdn/shop/files/3034a1133efe01daba919094b70c6310.jpg?v=1750300120) Q1Pro
Q1Pro
![[Qidi X-CF Pro, speziell für den Druck von Kohlefaser und Nylon entwickelt] - [QIDI Online Shop DE]](http://eu.qidi3d.com/cdn/shop/products/X-MAX3-3D-Printer-02.png?v=1750300138) Max3
Max3
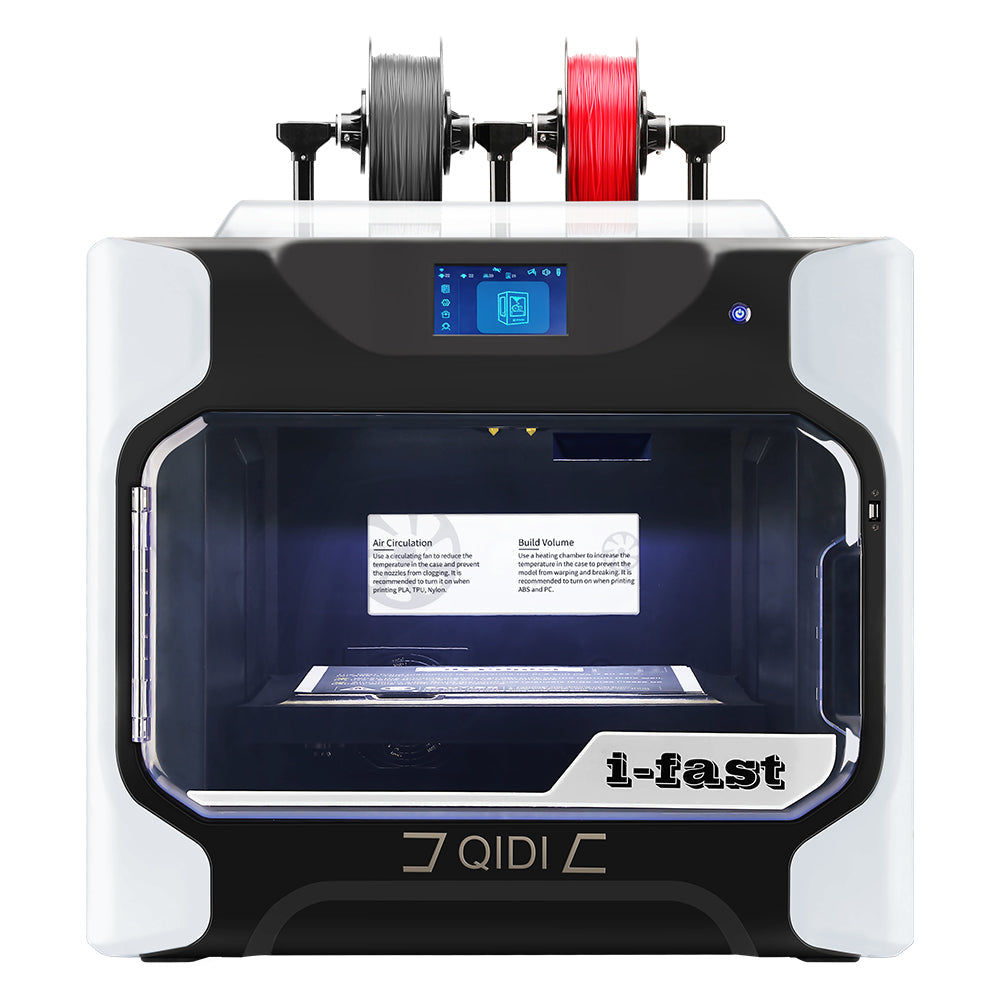 I-Fast


Mudeli paigutamise juhend: viilude tehnikad tugevuse optimeerimiseks ja toe lihtsustamiseks
3D-printimisel on mudeli orientatsioon printimisplatvormil oluline tegur, mis mõjutab prindikvaliteeti. Sobiv paigutusnurk võib oluliselt suurendada mudeli tugevust, vähendada tugistruktuuride vajadust ja parandada mudeli pinnakvaliteeti. Konkreetset paigutust tuleks aga hinnata mudeli eesmärgi põhjal. See õpetus võtab näitena konkreetse mudeli, et analüüsida, kuidas mudeli paigutusnurka reguleerida. QIDI stuudio trükiefekti parandamiseks.
Visandikaart
Tugevuse optimeerimise mudel:

Toe lihtsustamise mudel:

Kui soovite saavutada sarnast efekti, võite proovida järgmisi meetodeid.
Toimingu tutvustus - tugevuse optimeerimine
Mudeli orientatsioon trükiplatvormil on otseselt seotud kihtide suunaga trükkimise ajal, millel on samuti otsustav mõju lõppmudeli pingejaotusele ja tugevusele. Siin on näide L-kujulisest kronsteinist, mis nõuab suurt tugevust.
1. Vaikimisi paigutuse järgi printimisel saab mudelit sujuvalt printida, kuid mudeli nurgad on altid purunema.


2. Kui soovite mudeli tugevust veelgi suurendada, saate nurka reguleerida nii, et see oleks trükiplaadil "küljel". Sel hetkel asub mudeli ristlõige jõu suunas xy-telje tasapinnal, mille tulemuseks on lõpptoote suurem tugevus.

3. Klõpsake viilu peal. Selles paigutussuunas lüheneb oluliselt ka mudeli printimiseks kuluv aeg.


Toimingu tutvustus – lihtsustatud tugi
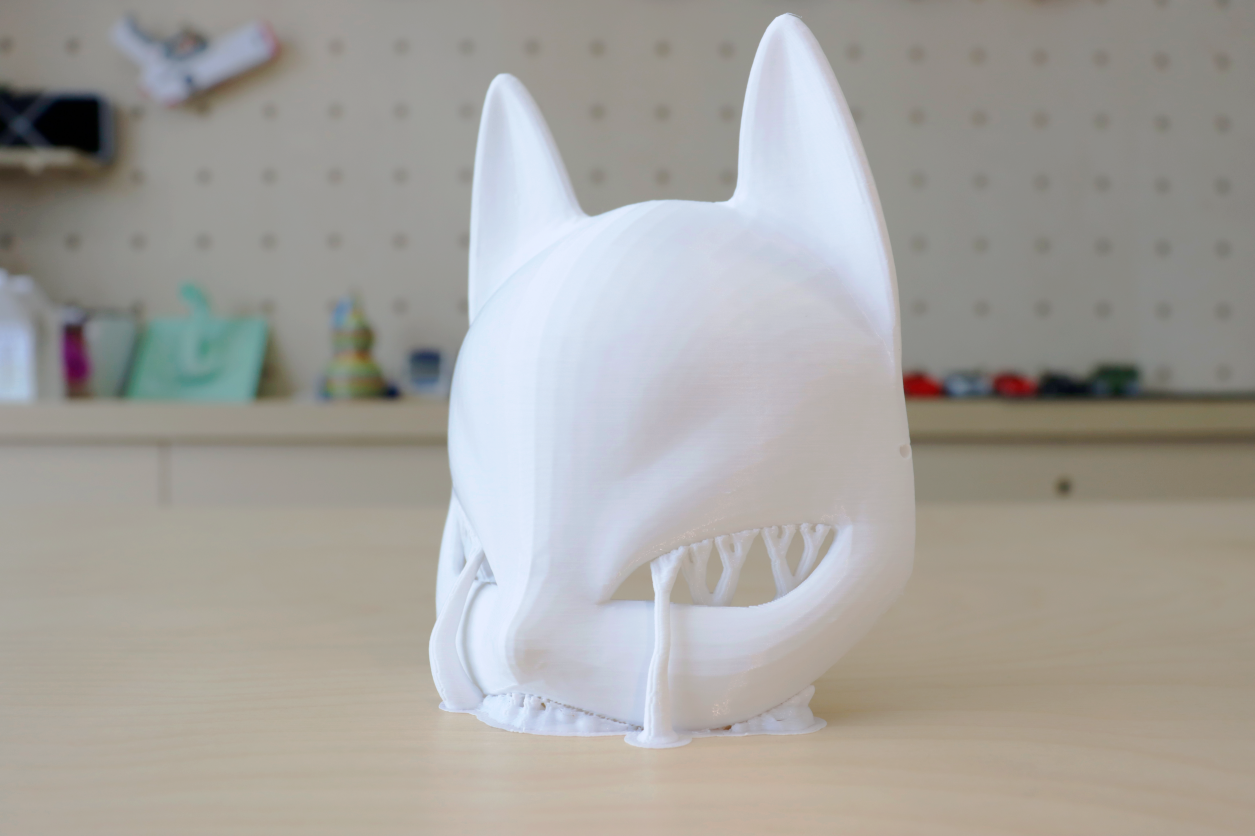
Paljudel mudelitel on üleulatuvad osad, seega tuleb printimiseks toestust luua. Õige paigutus võib aga vähendada toe hulka, tagades samal ajal prindikvaliteedi ja seeläbi printimisaja.
1. Joonisel kujutatud mudel on peamiselt dekoratiivsel eesmärgil ja tugevustegureid ei pea prioriseerima. Vaikimisi paigutusnurga all printimine annab rohkem tuge ja nõuab pikemat printimisaega.


2. Reguleerige mudeli nurka, et pöörata seda X-telje suhtes 90 °.

3. Klõpsa viilule ja näed, et saad printimisaega lühendada kahe ja poole tunni võrra ning säästa 16% printimismaterjalidelt. Samal ajal parandab mudeli ja toe vahelise kontaktpinna vähendamine ning vertikaalne printimine veelgi mudeli pinnakvaliteeti.

Kokkuvõte
QIDI Studio mudeli paigutuse suuna ja täpse seadistustoe reguleerimise abil saate parandada oma printimise efektiivsust. 3D-printer, parandage trükikvaliteeti ja saavutage ideaalsed trükitud teosed. Kas teil on kogemusi või loomingulisi ideid modellipaigutuse kohta? Jagage neid meiega kommentaaride osas!