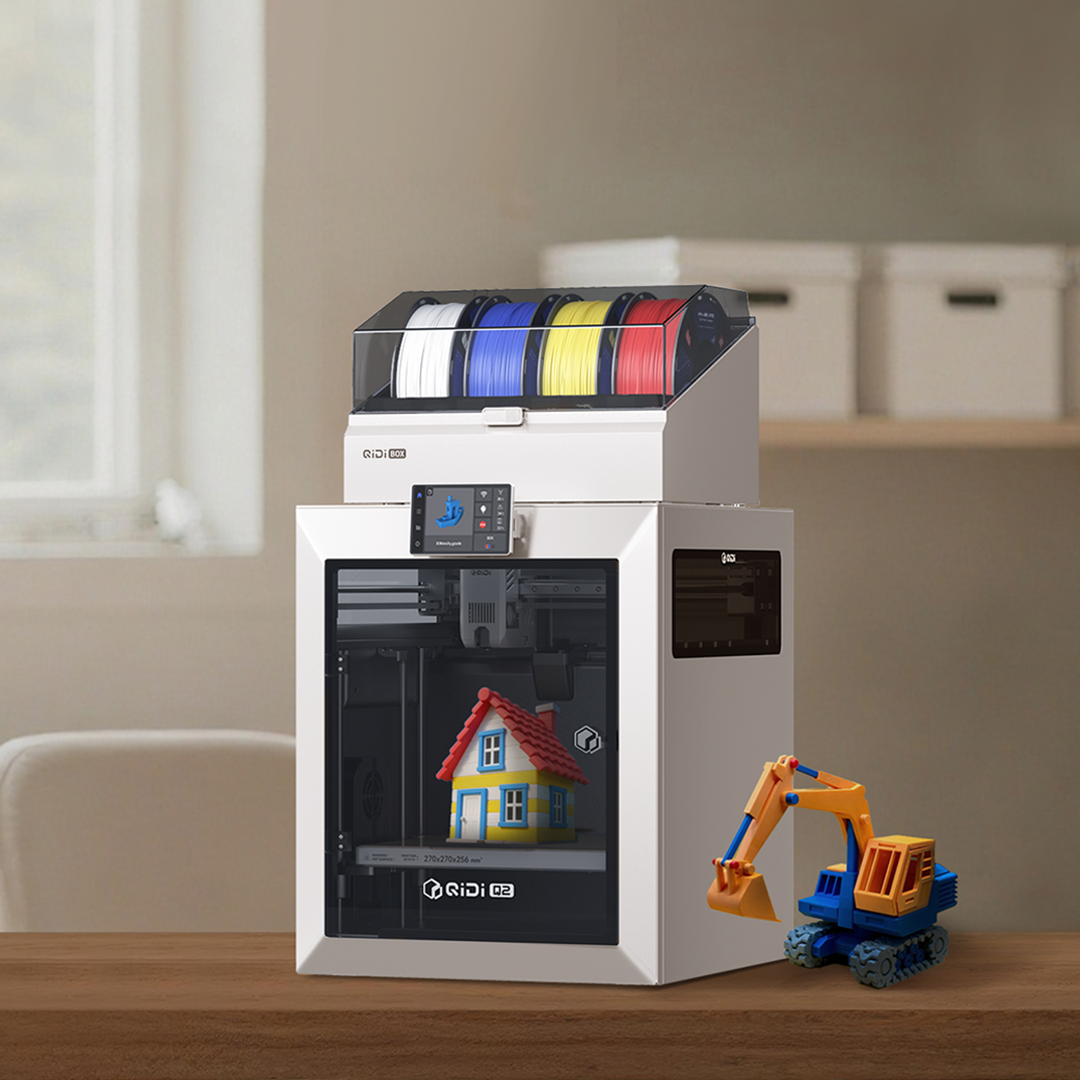
 Q2
Q2
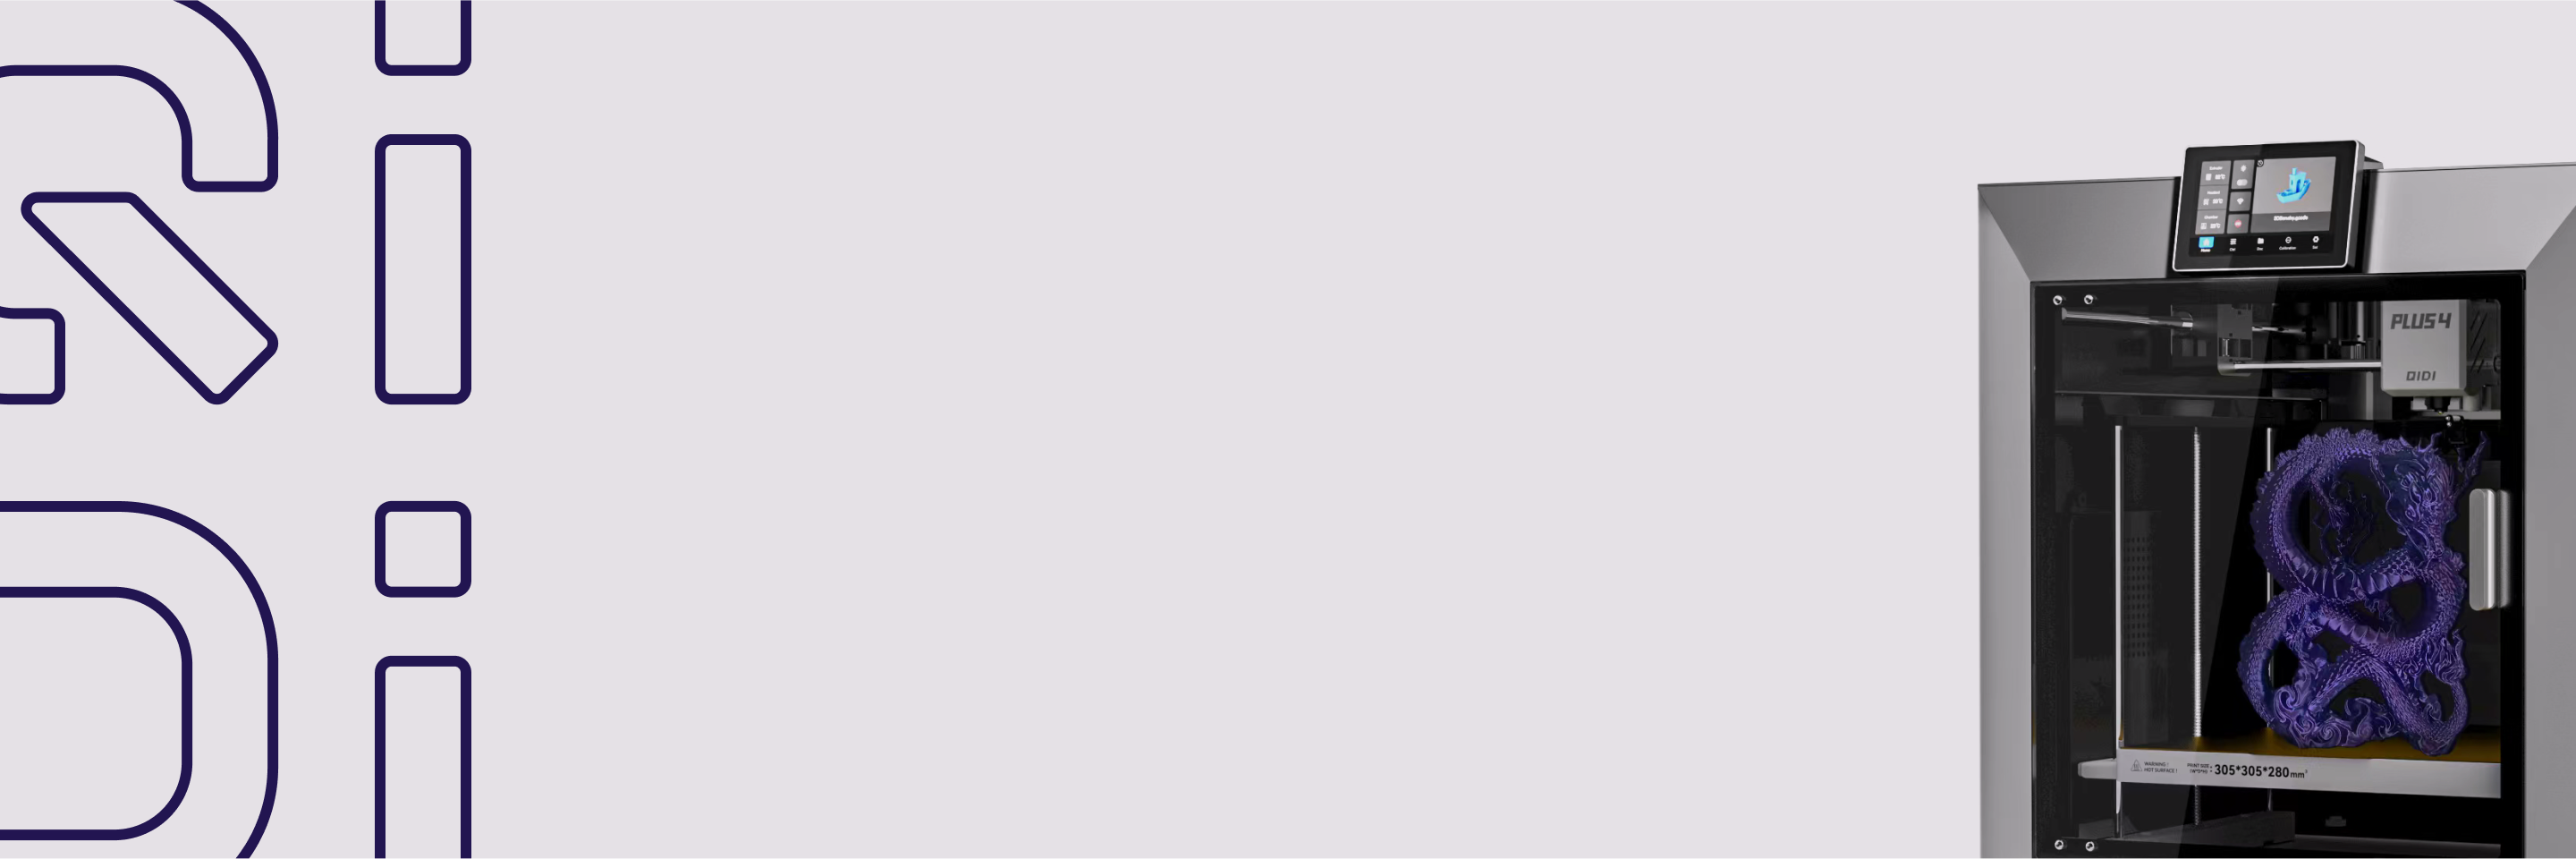
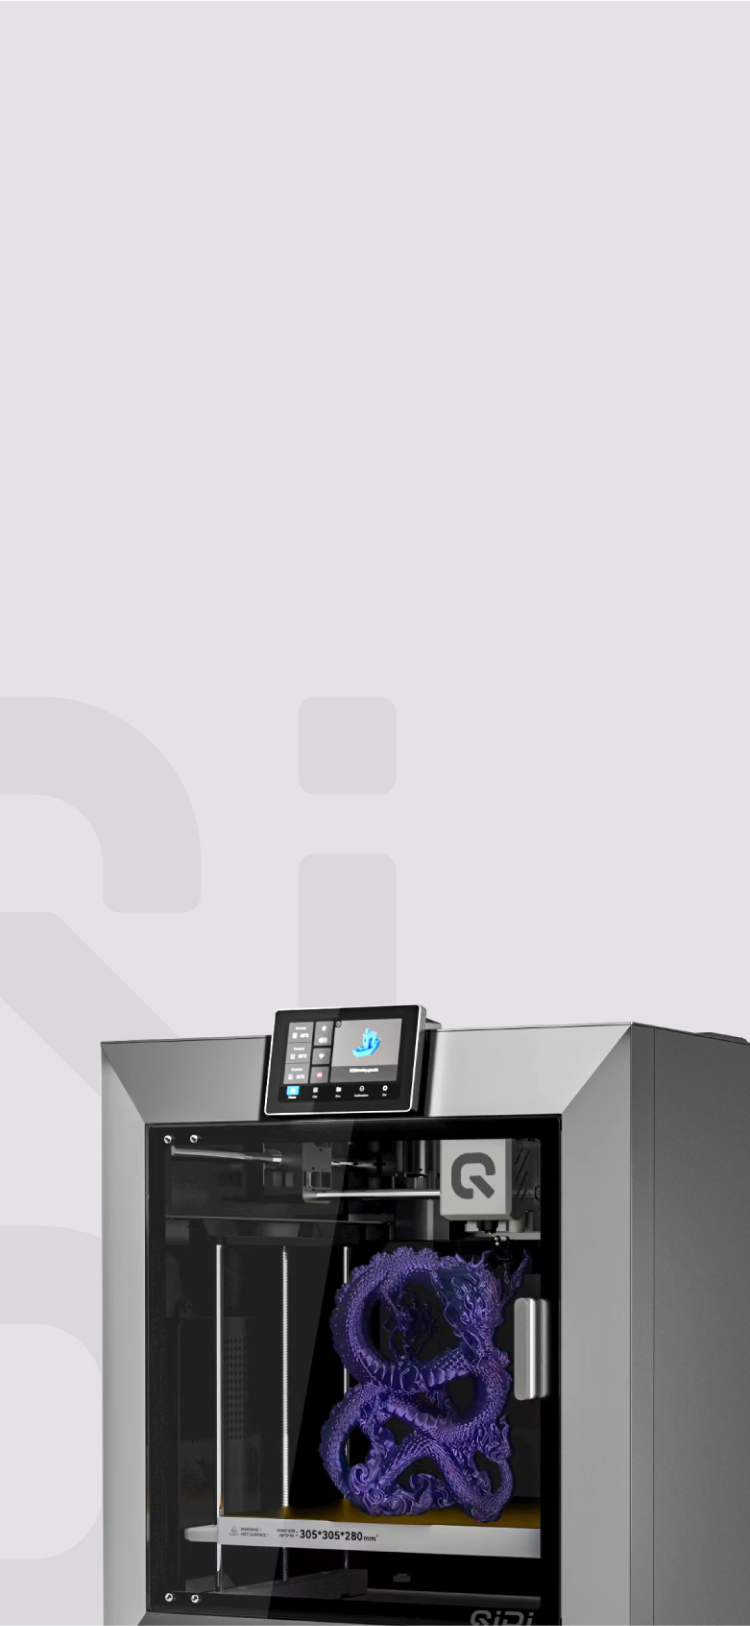
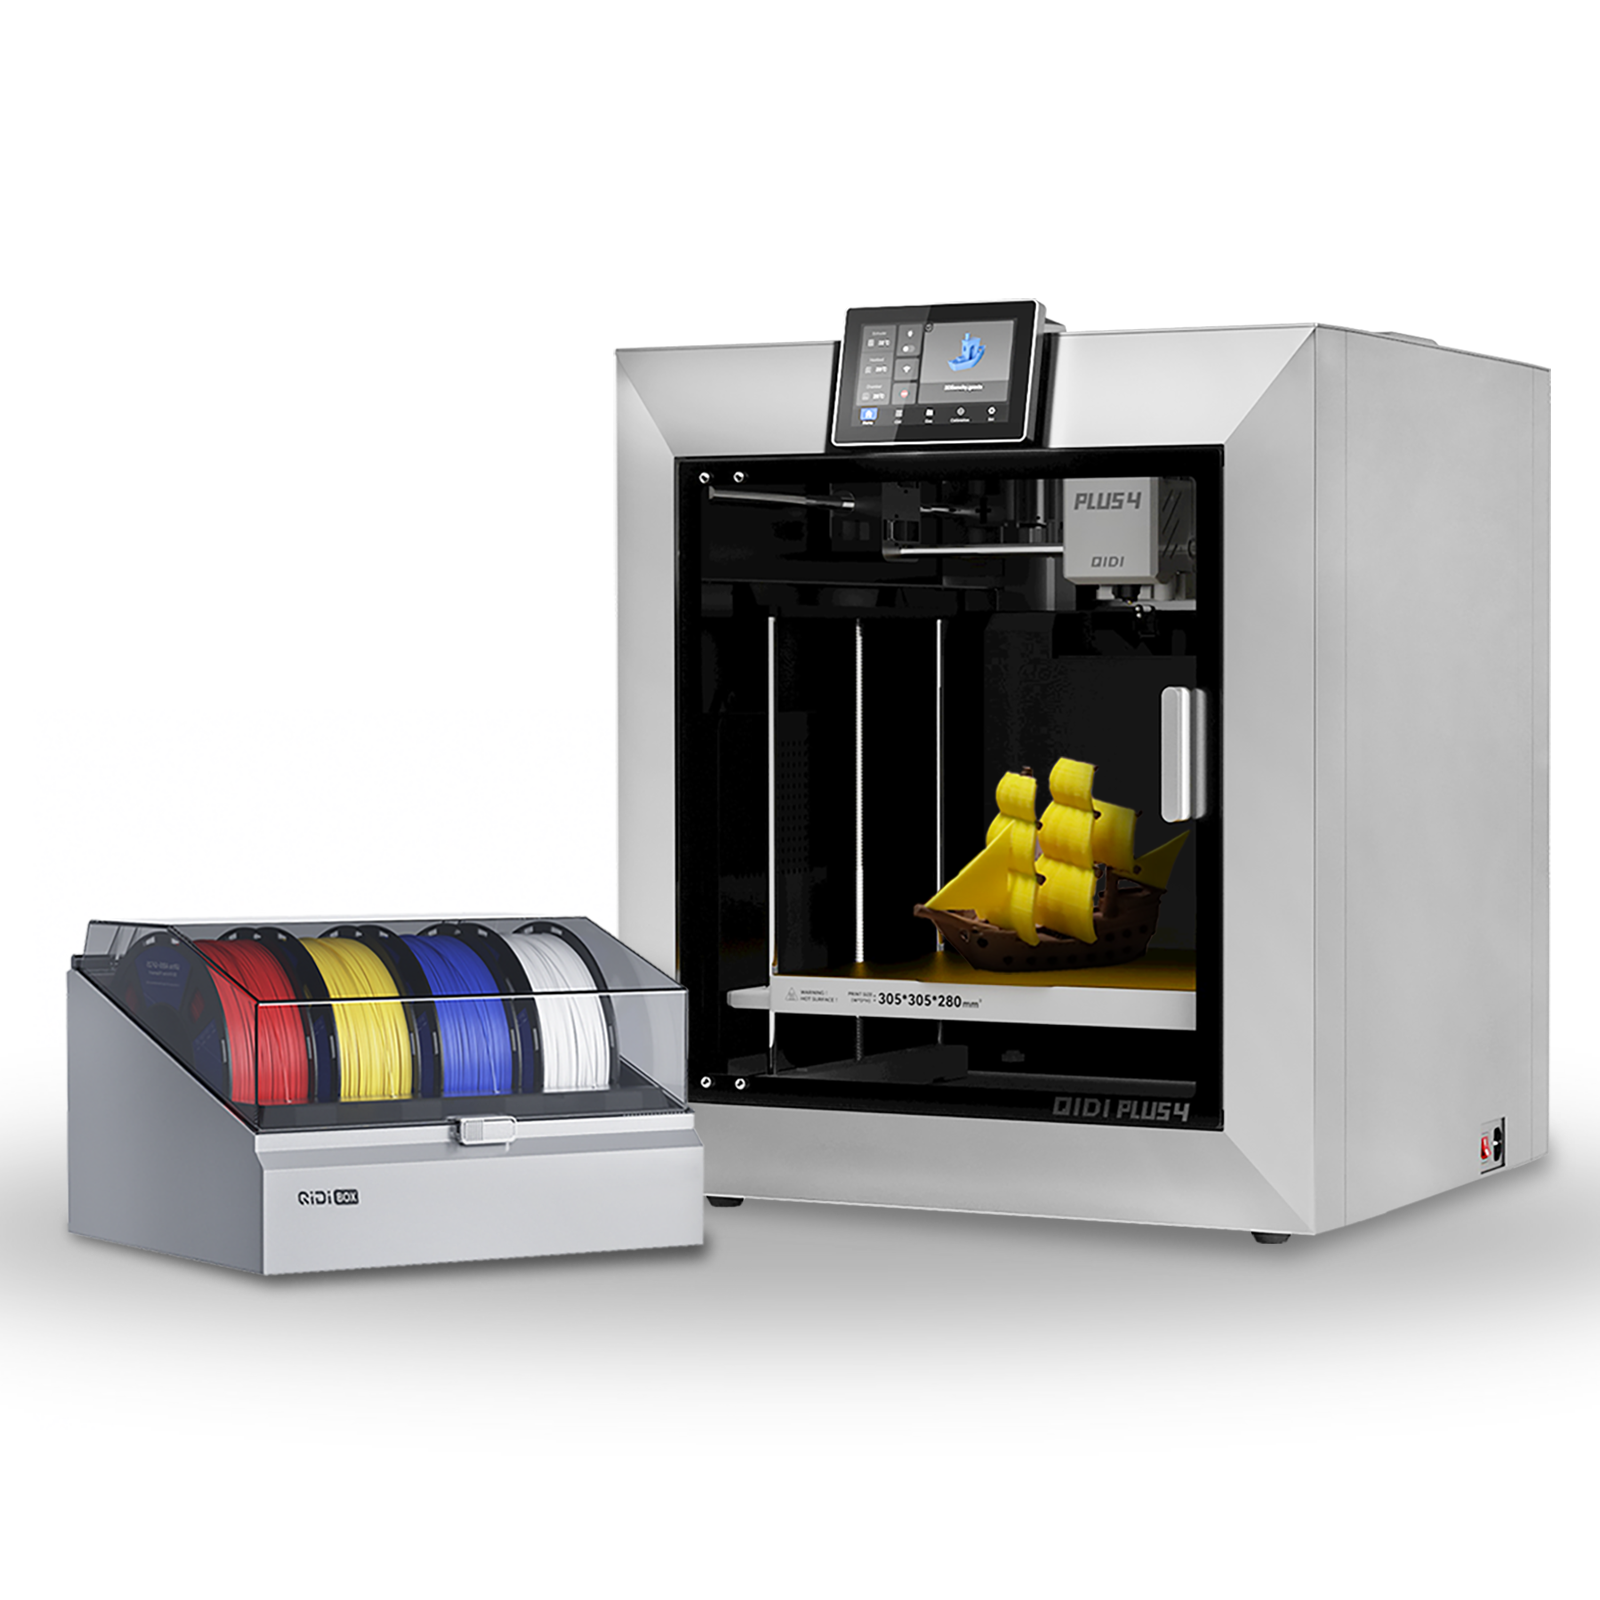 Plusz4
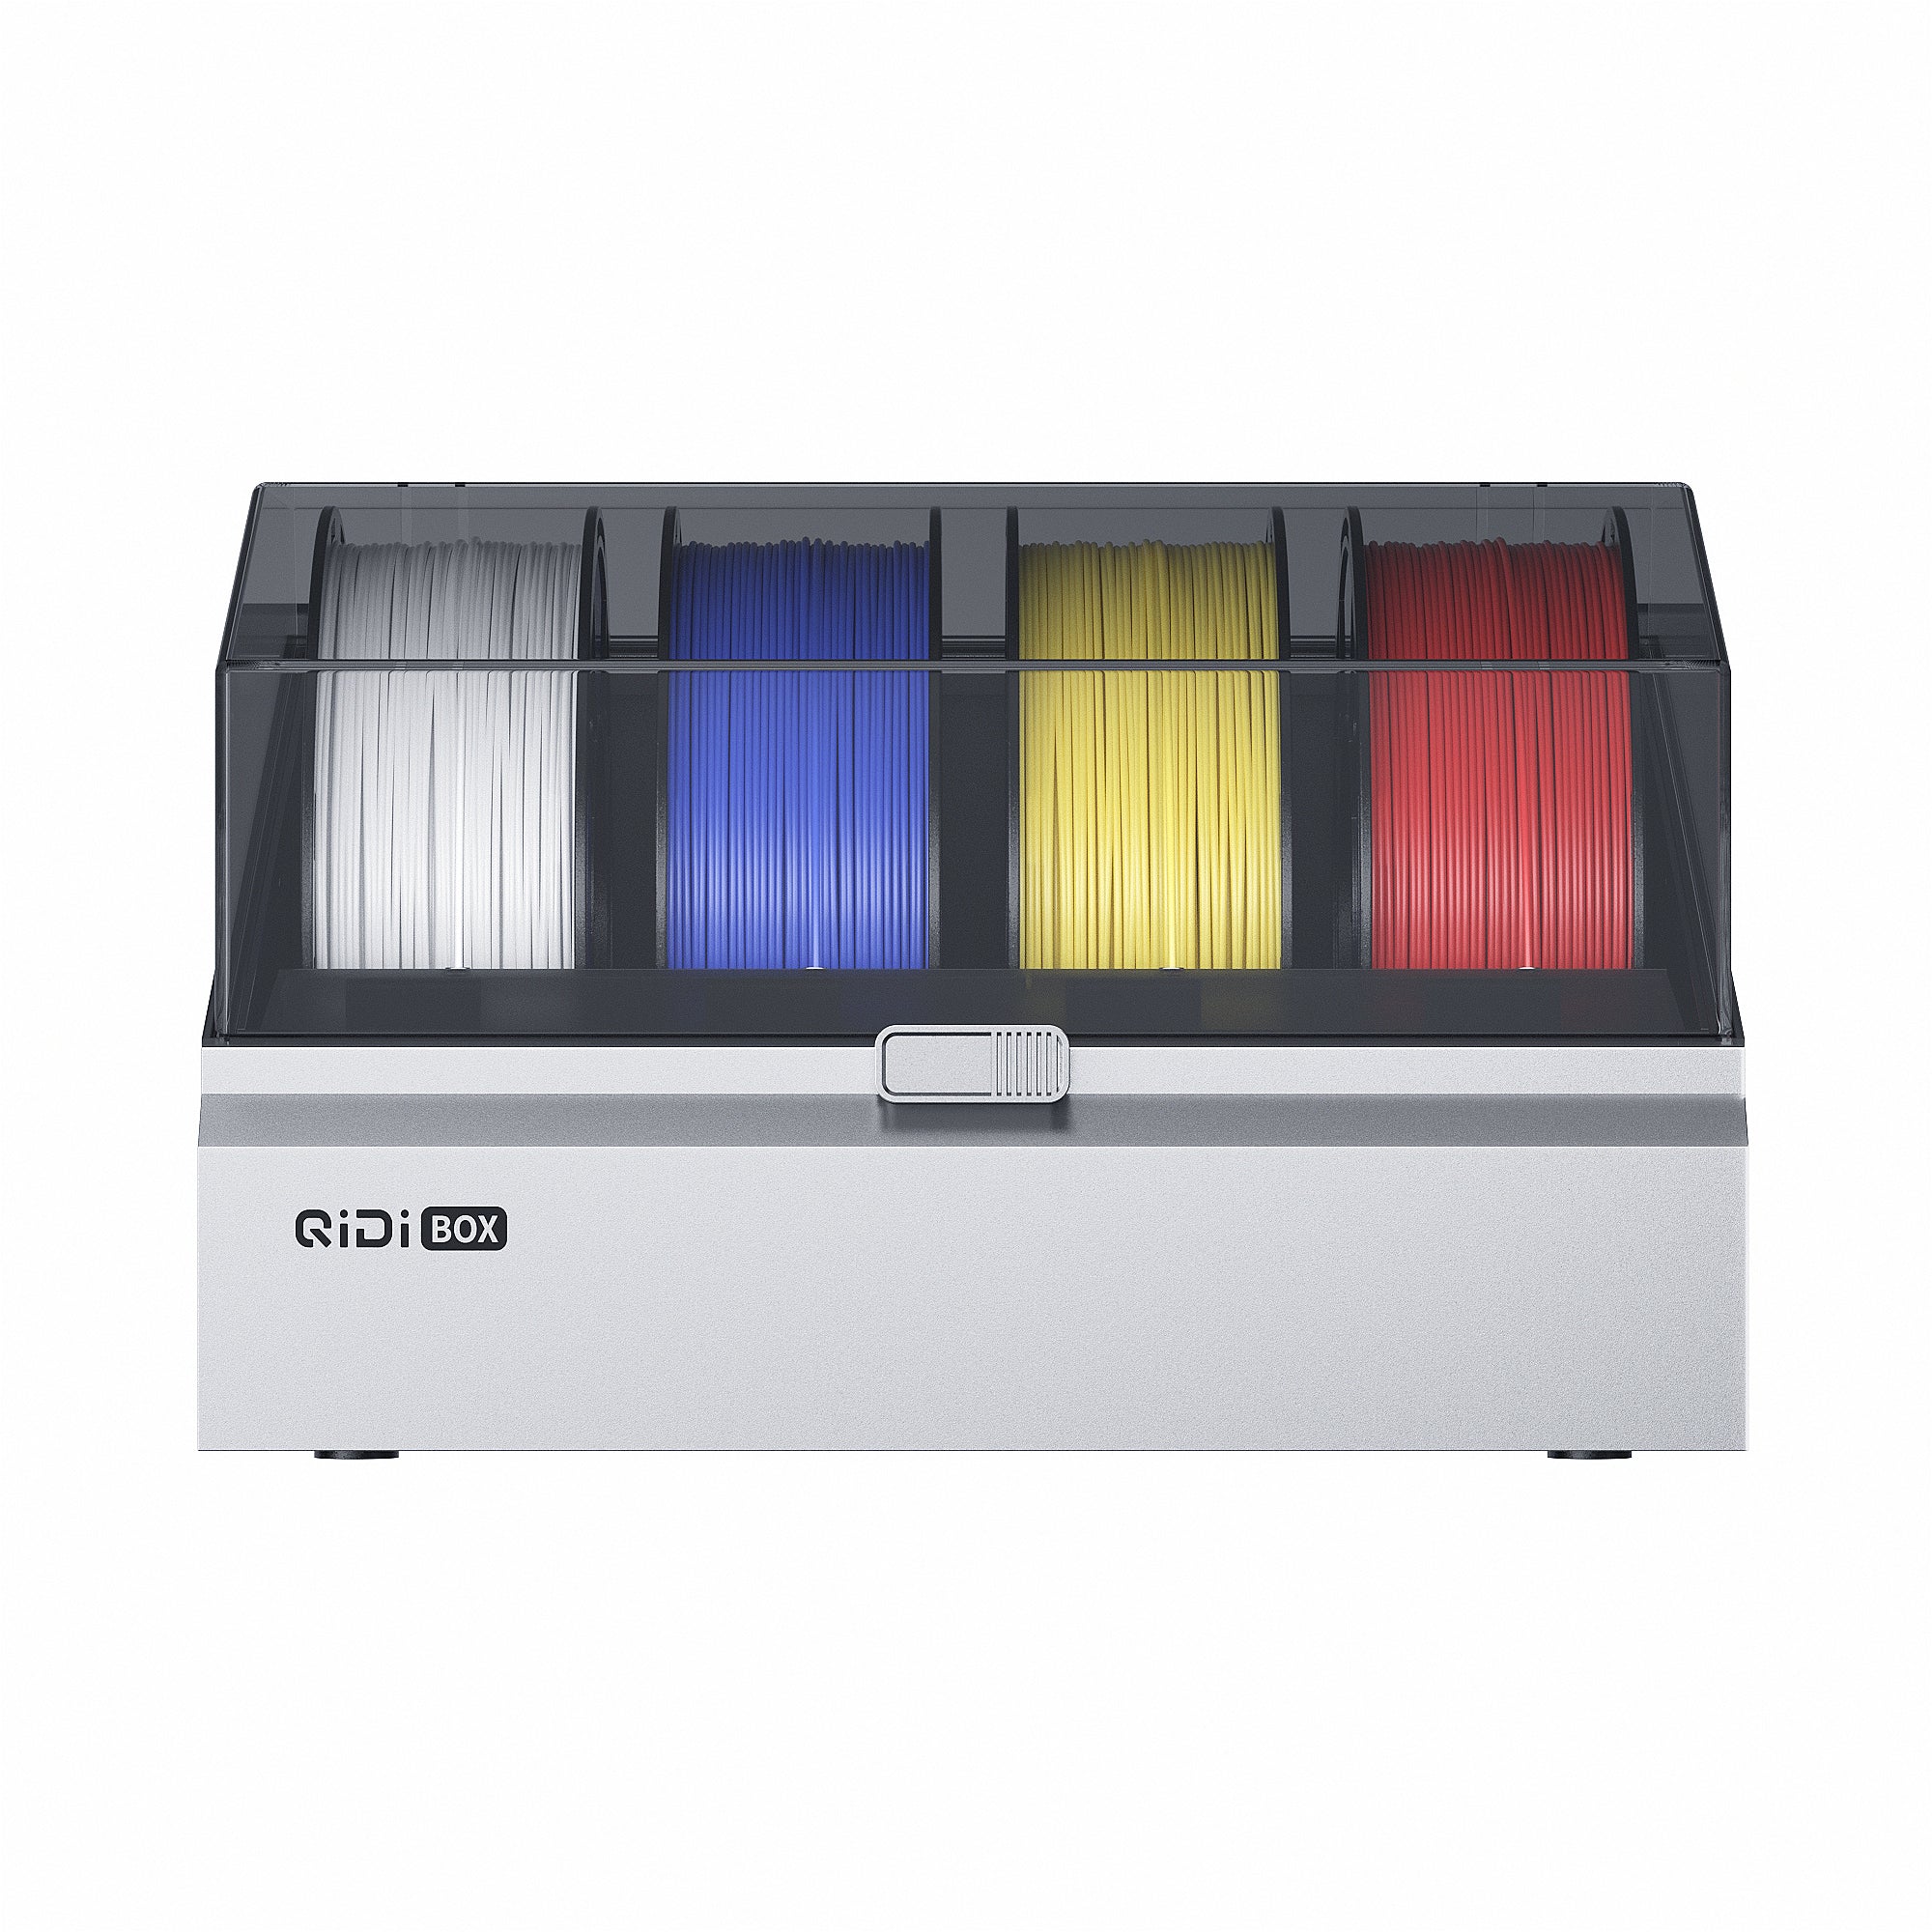 Qidi doboz
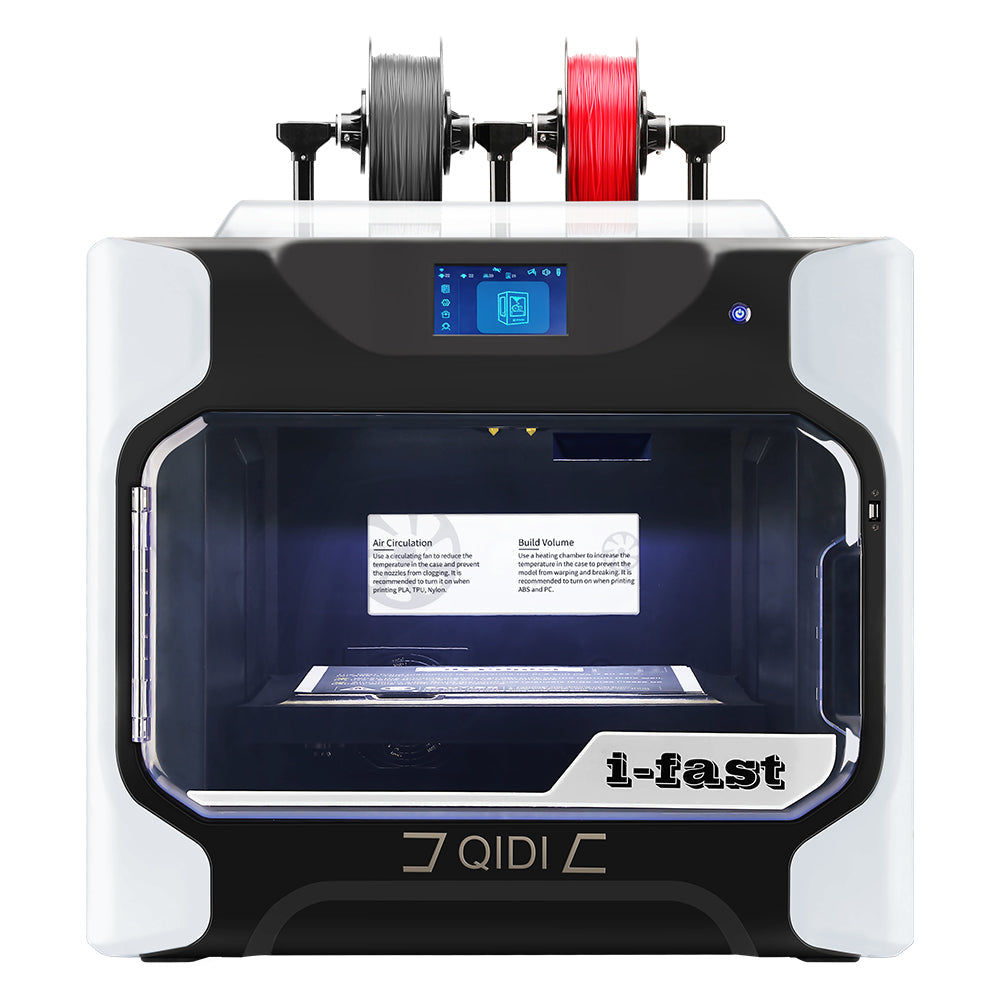
![[Qidi X-CF Pro, speziell für den Druck von Kohlefaser und Nylon entwickelt] - [QIDI Online Shop DE]](http://eu.qidi3d.com/cdn/shop/files/3034a1133efe01daba919094b70c6310.jpg?v=1750300120) Q1Pro
Q1Pro
![[Qidi X-CF Pro, speziell für den Druck von Kohlefaser und Nylon entwickelt] - [QIDI Online Shop DE]](http://eu.qidi3d.com/cdn/shop/products/X-MAX3-3D-Printer-02.png?v=1750300138) Max3
Max3
 Igyem
Igyem


Hogyan lehet hozzáadni a homályos bőrt egy modellhez?
A 3D nyomtatás során a Fuzzy Skin egy speciális modellbőr-kezelési mód, amely apró, véletlenszerű fluktuációkat ad a modell külső falához, hogy erős textúrát adjon a nyomtatott tárgynak. A fuzzy skin beállítása nemcsak speciális anyagokat szimulálhat, hanem növelheti egyes szerszámmodellek súrlódását, és elfedheti a nyomtatott mintákat és varratokat, így a modell szebb lesz.
Vázlatos ábra
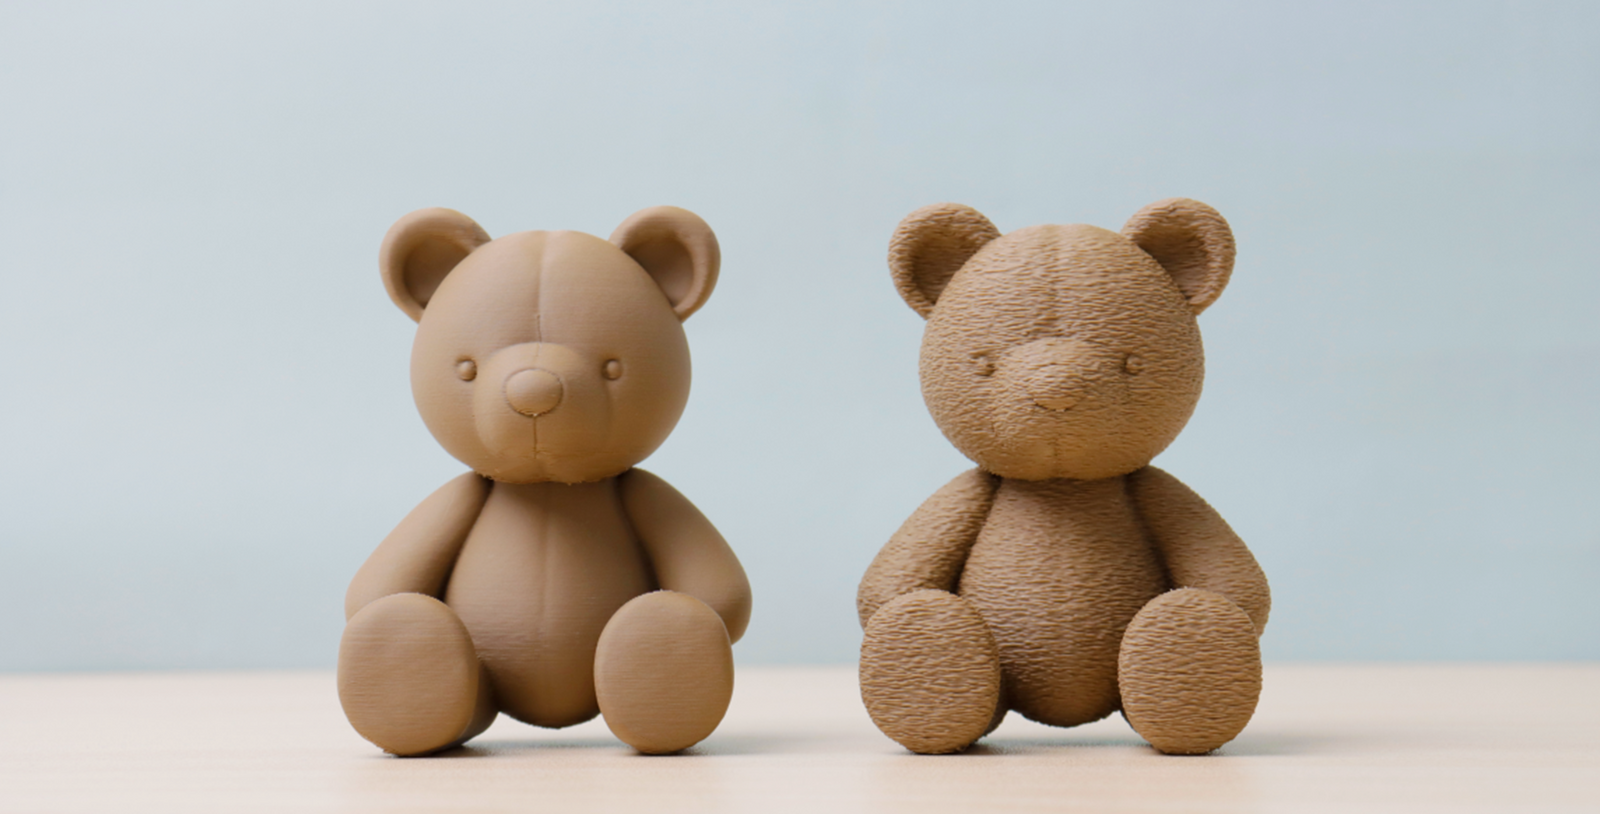
Nem homályos bőrmodell (balra) és hozzáadott homályos bőrmodell (jobbra):

Bevezetés – Fuzzy Skin
1. A bal oldali többi rész speciális mód oszlopában megtekintheti a Fuzzy Skin beállítását. Amint az a következő ábrán látható, a mackó modellhez alapértelmezés szerint nincs beállítva fuzzy bőr.

2. Kattints a szeletre, hogy lásd, a mackómodell bőre sima-e.

3. Kattintson a bolyhos bőrre, válasszon ki különböző típusokat a modell igényei szerint, majd állítsa be a bolyhos bőr ponttávolságát és vastagságát. Itt válassza a "kontúr" lehetőséget a mackómodell jellemzői alapján.


4. Kattintson a szeletre, hogy lássa, a modell létrehozott egy fuzzy bőrt.

Bevezetés - Fuzzy + Sima bőr
Bizonyos esetekben előfordulhat, hogy nem kell fuzzy bőrt létrehozni a teljes modellhez, hanem bizonyos területeken meg kell őrizni a simaságot. Ekkor használhatod a módosító eszközt.
1. Miután megismételte a fenti fuzzy bőr hozzáadásának műveletét, kattintson jobb gombbal a modell pozíciójára, és válassza a „Módosító hozzáadása” lehetőséget, majd válassza ki a módosító alakját. Például a medve orrának simaságának megőrzéséhez válassza a gömb alakú módosítót.
 2. Állítsa be a módosító méretét és pozícióját.

3. A módosító objektum kezelőfelületén állítsa a fuzz skin értékét „none”-ra.
 4. Kattintson a szeletre, hogy felfedezze, a mackómodell orra szabályos egyenes vonalú, míg más területeken bonyolultabb vonalakkal rendelkező, bolyhos bőrök keletkeztek.
Következtetés
A fuzzy bőr beállításával és a vonatkozó paraméterek módosításával egyedi tapintási és vizuális effektusokkal rendelkező modelleket hozhat létre. Ha további kérdései vagy ötletei vannak a következővel kapcsolatban: 3D nyomtatás, nyugodtan hagyj egy kommentet!