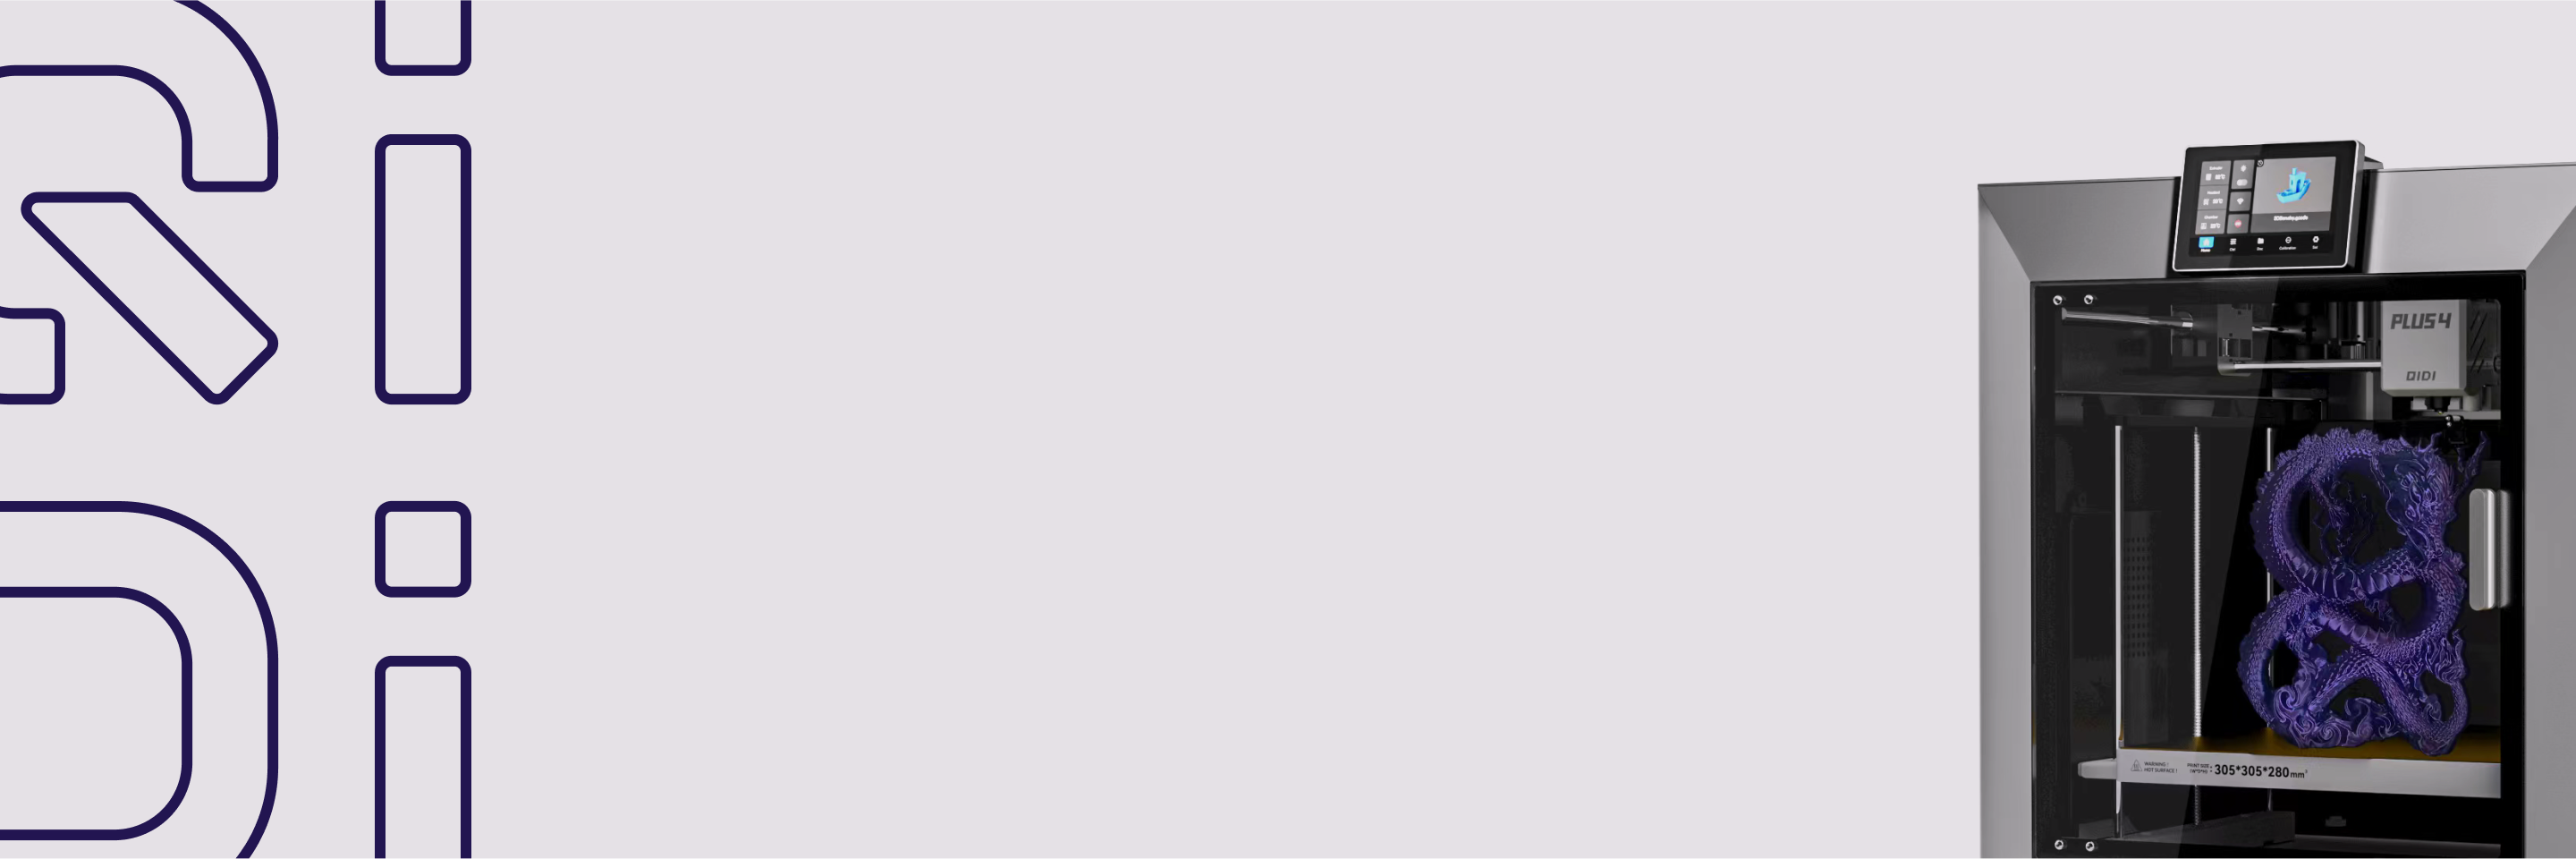
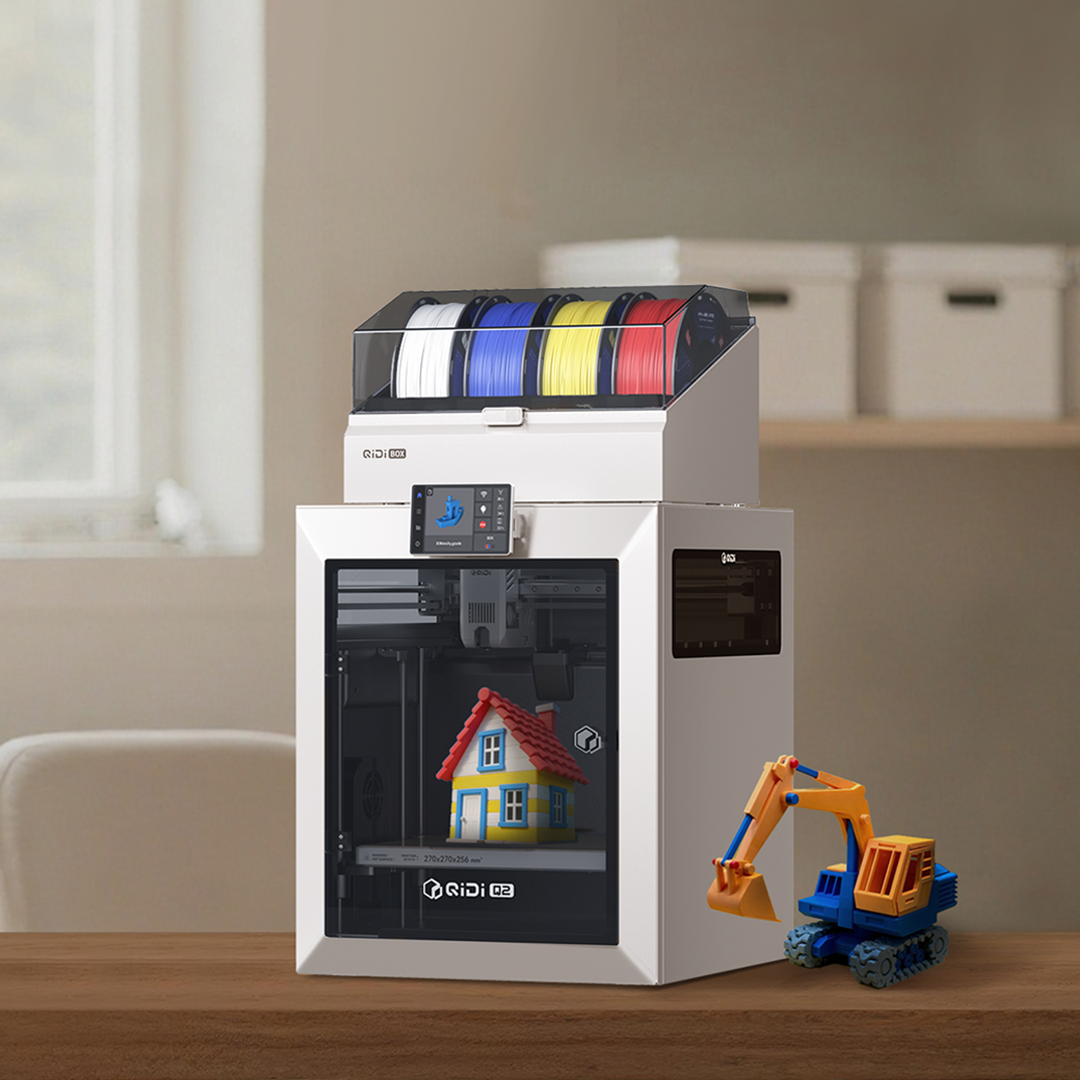
 Qidi Q2 Imprimantă 3D
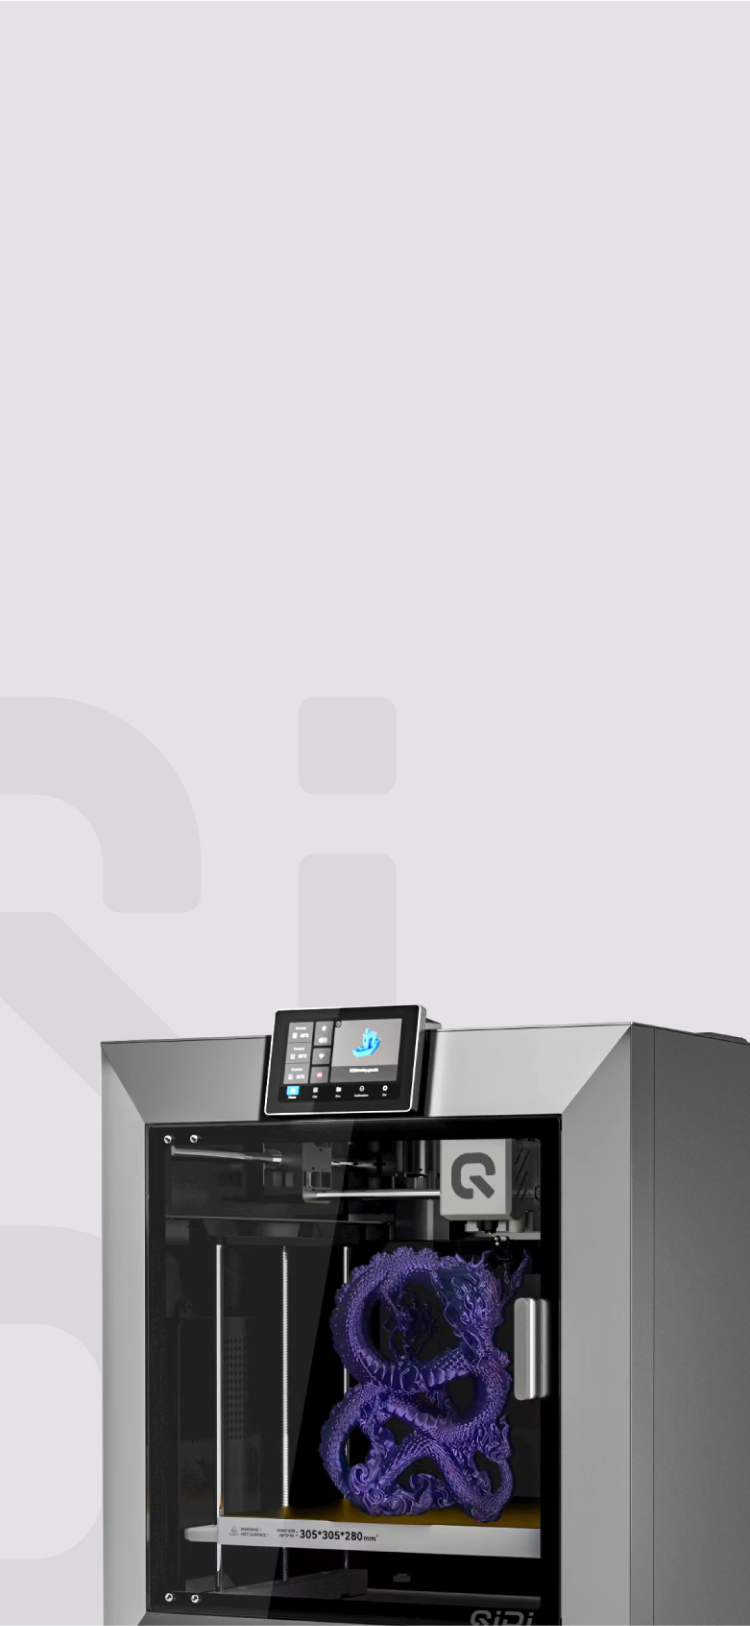
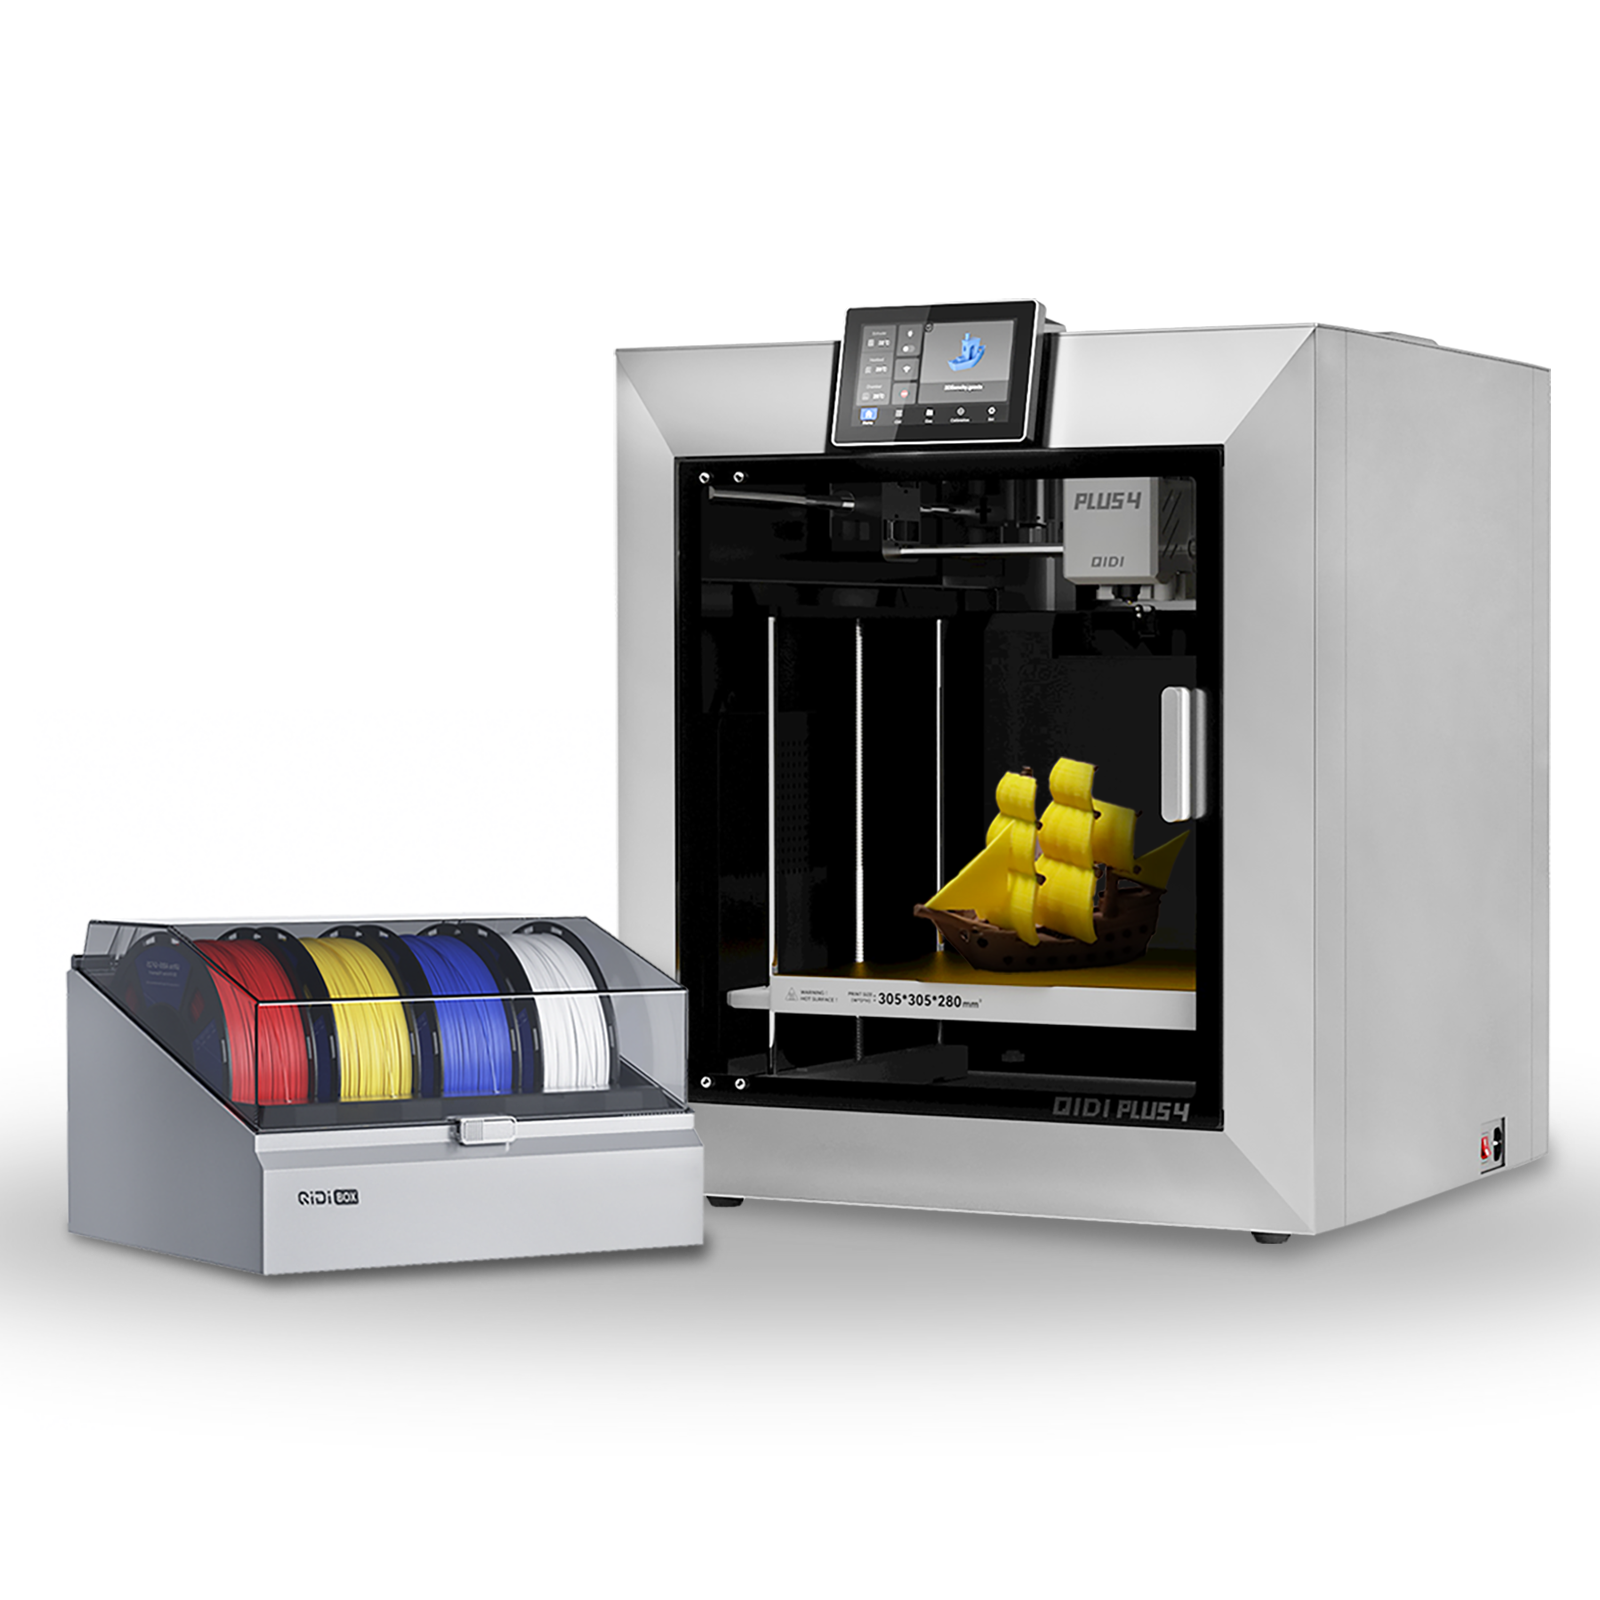 Qidi Plus4 Imprimantă 3D
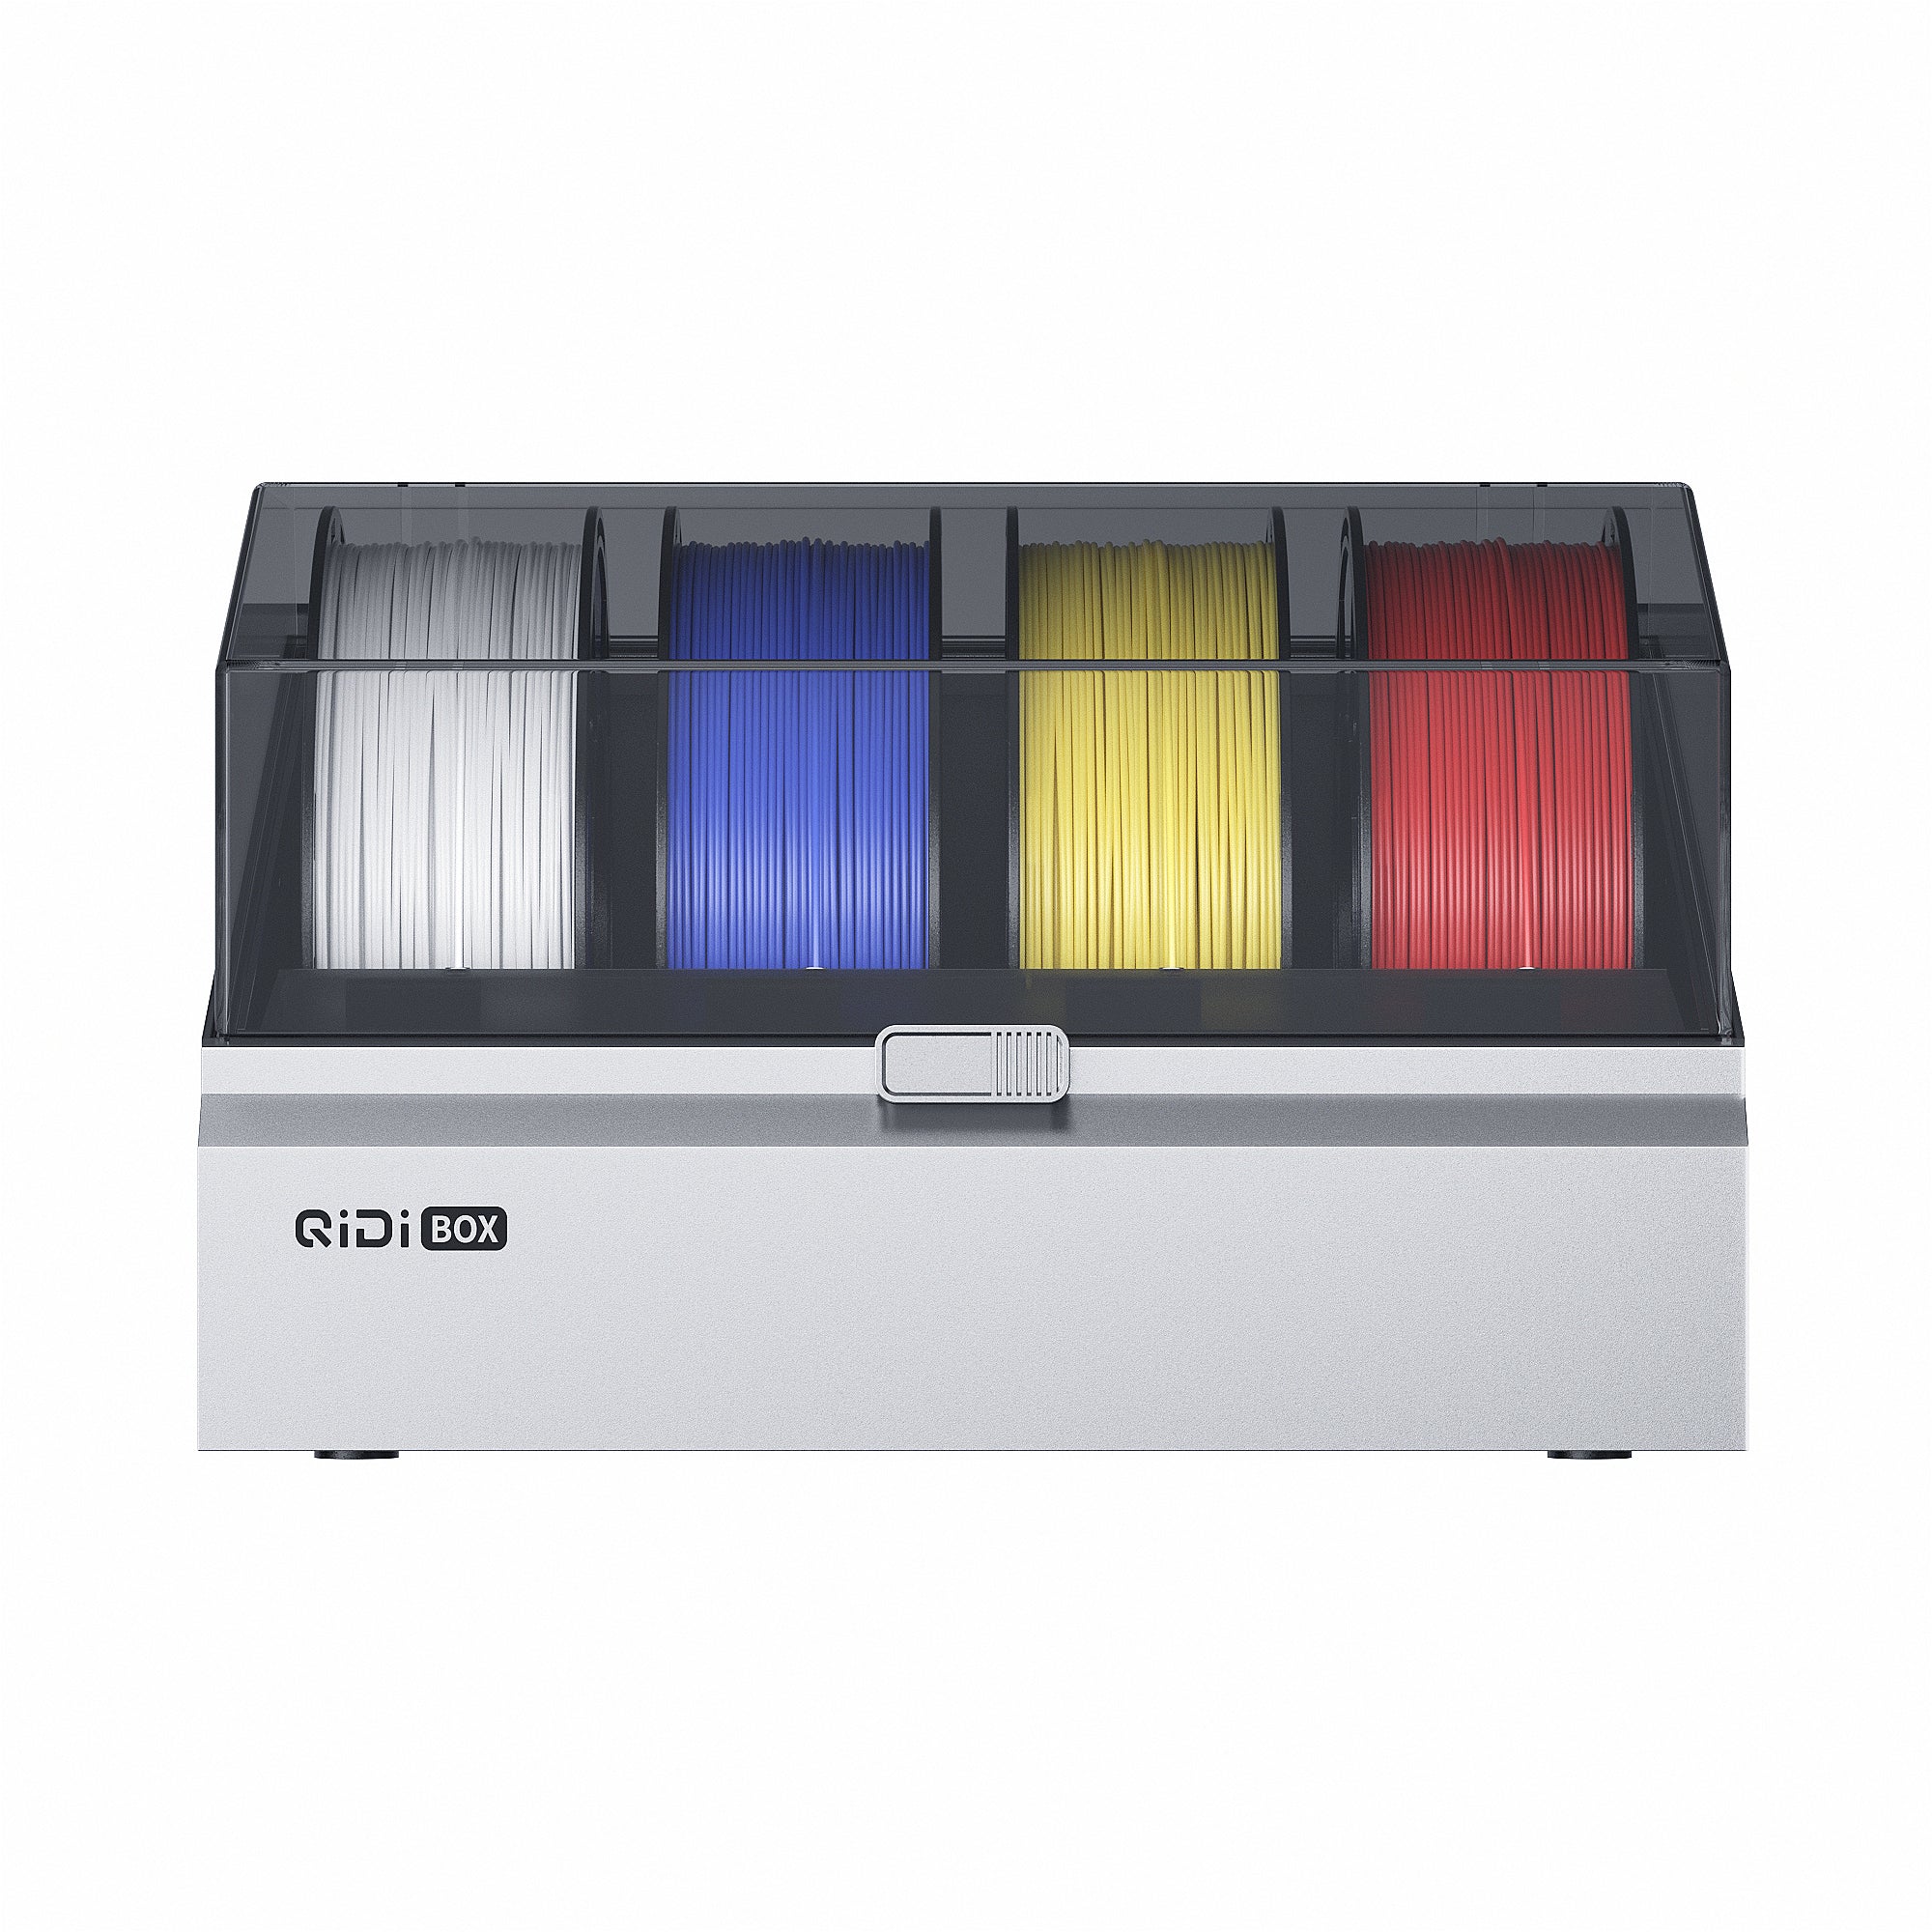 Cutie Qidi
![[Qidi X-CF Pro, speziell für den Druck von Kohlefaser und Nylon entwickelt] - [QIDI Online Shop DE]](http://eu.qidi3d.com/cdn/shop/files/3034a1133efe01daba919094b70c6310.jpg?v=1750300120) Qidi Tech Q1 Pro 3D imprimantă
Qidi Tech Q1 Pro 3D imprimantă
![[Qidi X-CF Pro, speziell für den Druck von Kohlefaser und Nylon entwickelt] - [QIDI Online Shop DE]](http://eu.qidi3d.com/cdn/shop/products/X-MAX3-3D-Printer-02.png?v=1750300138) Qidi Tech X-Max 3 3D imprimantă
Qidi Tech X-Max 3 3D imprimantă
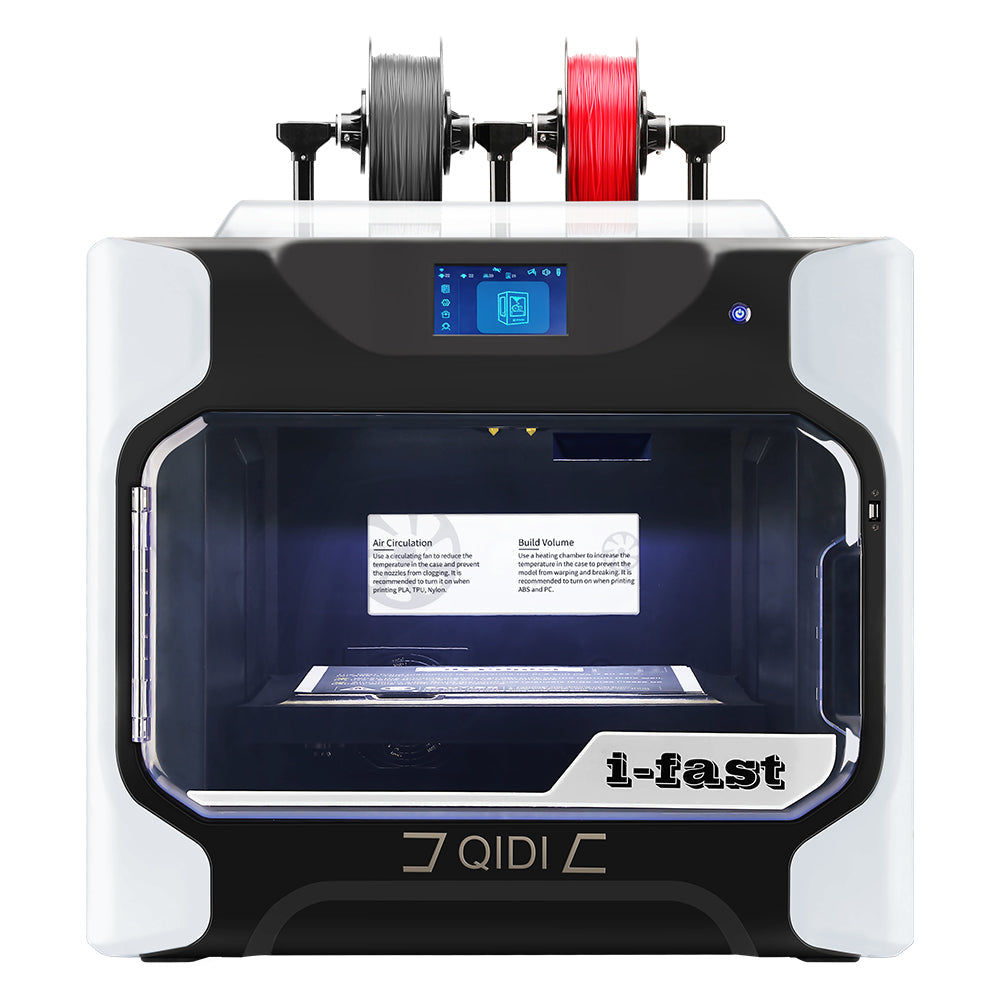 Qidi Tech I-Fast 3D Imprimantă


Ce este imprimarea FDM 3D?
Pășește în orice atelier mecanic modern, spațiu de producție sau chiar sufragerie și probabil vei întâlni acea imagine emblematică - cadrul pătrat al unei imprimante 3D, care fabrică constant piese din plastic strat cu strat, ca un păianjen robotic care țese pânze geometrice. Totuși, această aparentă magie are un nume destul de banal - modelare prin depunere topită sau FDM.
Ce este imprimarea 3D FDM?
FDM se referă la cea mai comună formă de tehnologie de fabricație aditivă utilizată în prezent. Fiind un proces de imprimare 3D accesibil și fiabil, FDM construiește obiecte prin depunerea selectivă a materialului termoplastic topit, strat cu strat, pe trasee de imprimare predeterminate.
Termenul derivă din principiul de bază al funcționării - materia primă pentru filament este mai întâi încălzită la o stare semi-lichidă, apoi extrudată și depusă pe o suprafață de imprimare unde se solidifică rapid, fuzionând cu straturile existente. Pe măsură ce granule fine de plastic sunt așezate și lipite, piesele prind formă la ieșirea din procesul de imprimare.
Inventat acum mai bine de 30 de aniTehnologiile FDM timpurii au produs prototipuri din plastic ABS în serviciile comerciale de imprimare 3D. De atunci, capacitățile de imprimare FDM au avansat rapid datorită dezvoltării mecanismelor precise de extrudare, a diverselor materiale termoplastice și a aplicațiilor extinse - toate acestea atingând costuri mai accesibile ale echipamentelor.
Acum standardul de facto în fabricația aditivă, imprimarea 3D FDM oferă companiilor și consumatorilor deopotrivă un instrument versatil de fabricație digitală, permițând o tranziție rapidă de la modele 3D la obiecte fizice. De la linii de producție globale la configurații de birou pentru acasă, Reputația FDM pentru fiabilitate continuă să stimuleze omniprezența, pe măsură ce tehnologia reinventează accesul la producție în secolul XXI și nu numai.

Cum funcționează imprimarea 3D FDM
Să explorăm parcursul de la fișier la produs tangibil, prin etapele esențiale ale imprimării 3D FDM.
1. Etapa de proiectare
Fiecare obiect creat de o imprimantă 3D FDM începe cu un plan digital. Acesta este de obicei realizat în software de proiectare asistată de calculator (CAD), unde designul este modelat meticulos. Odată finalizat, acest model digital este salvat într-un format de fișier precum STL sau OBJ, care sunt formate pe care software-ul de slicing le poate interpreta.
2. Secționarea modelului
Odată ce faza de proiectare este finalizată, următorul pas implică utilizarea software de feliere. Acest instrument puternic preia modelul 3D și îl împarte în sute sau mii de straturi orizontale. Software-ul traduce apoi aceste straturi în cod G, limbajul care instruiește imprimanta cu privire la mișcările precise necesare pentru a recrea obiectul strat cu strat.
3. Pregătirea pentru imprimare
Cu instrucțiunile codului G gata, imprimanta este pregătită. Se încarcă o bobină de filament termoplastic, iar imprimanta preîncălzește duza la temperatura potrivită pentru topirea materialului. Această pregătire asigură o curgere lină a plasticului în timpul imprimării.
4. Procesul de imprimare
Imprimarea începe cu depunerea de către duză a primului strat de plastic topit pe platforma de imprimare. Deplasându-se de-a lungul unor trasee predeterminate stabilite de codul G, duza creează forma obiectului adăugând straturi pe rând. Între timp, platforma de imprimare coboară incremental după fiecare strat, adaptându-se la adăugarea de material nou.
5. Răcire și solidificare
Imediat după extrudare prin duza încălzită, plasticul se răcește rapid, solidificându-se aproape la contactul cu piesa emergentă sau cu platforma de construcție.Răcirea rapidă asigură că fiecare strat nou se îmbină ferm cu precedentul, menținând integritatea și forma obiectului în curs de dezvoltare.
6. Structuri de susținere
Obiectele cu modele complexe necesită adesea structuri de susținere temporare. Aceste suporturi susțin consolele și stabilizează geometriile complicate în timpul procesului de imprimare. Sunt proiectate pentru a fi ușor detașabile și sunt îndepărtate în post-procesare, lăsând în urmă modelul dorit.
7. Post-procesare
După ce stratul final este imprimat și obiectul complet este complet format, se efectuează orice post-procesare necesară. Aceasta poate implica îndepărtarea structurilor de susținere menționate anterior, șlefuirea suprafeței pentru a reduce vizibilitatea stratului și, uneori, vopsirea sau tratarea obiectului pentru a-i îmbunătăți proprietățile funcționale sau aspectul estetic.
Urmând aceste etape, Imprimante 3D FDM convertiți modelele digitale în obiecte fizice, tridimensionale. Această combinație fascinantă de design, tehnologie și știința materialelor este ceea ce face ca imprimarea 3D FDM să fie o piatră de temelie în domeniul prototipării și fabricației rapide.
Caracteristicile cheie ale imprimărilor FDM
Ca în cazul oricărei metode de fabricație, Imprimare 3D FDM poartă calități unice, inerente procesului. Cunoașterea acestor caracteristici principale FDM ajută la ghidarea alegerilor de proiectare.
- Rezistență anizotropă: Modelul de aderență stratificat al printărilor 3D înseamnă că piesele sunt mai slabe la separarea între straturi, în loc să se rupă de-a lungul acestora. Optimizarea orientării este esențială.
- Precizie aliniere: Variațiile de producție cuprinse între 0,1 și 0,5% permit în continuare toleranțe ridicate și potrivirea unor ansambluri atunci când sunt calibrate cu atenție. Precizia implică toate sistemele.
- Rezoluție orizontală: Deși grosimile straturilor limitează precizia verticală, rezoluția XY depinde de dimensiunea duzei extruderului, de obicei între 0,2 și 0,8 mm pentru imprimări robuste.
Familiarizarea cu particularitățile procesului FDM permite utilizarea completă, astfel încât creatorii să transforme conceptual provocările în oportunități.
Componentele principale ale unei imprimante FDM
Imprimarea FDM preia fișiere de modele 3D digitale, precum cele exportate din software CAD, și le transformă fizic în realitate prin dansul coordonat al doar câtorva componente de înaltă tehnologie:
- Filament: Această bobină înfășurată furnizează materia primă - de obicei o materie primă termoplastică de 1,75 mm sau 2,85 mm, cum ar fi ABS sau PLA.
- Duză de imprimare: Filamentul se alimentează într-o duză încălzită pentru a topi materialul. Duzele cu diametre medii de 0,4 mm extrudează bile precise de plastic lichid.
- Pat de imprimare: Poziționată cu precizie, duza depune filamentul topit pe patul de imprimare, construind forme strat cu strat. Aderența previne deformarea.
- Sistem Gantry: Motoarele coordonează duza extruderului în spațiul dimensional X/Y/Z, ghidate de-a lungul unor trasee de imprimare de înaltă precizie.
Repetând secvența - topire, depunere, răcire și legare - mașinile FDM construiesc obiecte întregi de jos în sus, pe măsură ce straturile bidimensionale se acumulează vertical. După finalizarea unui strat, platforma de construire coboară, iar duza extruderului depune o altă pistă de plastic topit direct peste ultima, până când atinge înălțimile prescrise.
Înainte de imprimare, fișierele modelelor digitale necesită „slicing” pentru a traduce geometriile 3D în traiectorii numerice ale sculelor - practic instrucțiuni în cod G. La fel ca scanarea pâinii, sute de secțiuni transversale orizontale imaginare determină straturile de imprimare.

Materiale pentru imprimarea 3D FDM: Mai mult decât plastic topit
Deși imprimarea FDM este utilizată pe scară largă pentru fiabilitatea și rezultatele sale în diverse aplicații, ascensiunea tehnologiei se datorează parțial paletei largi de materiale funcționale consolidându-și capacitățile mult dincolo de simpla prototipare.
- Definirea termoplasticelor: Materialele imprimabile care stau la baza avantajului FDM se află într-o clasă cunoscută sub numele de termoplastice - materiale plastice care se topesc sub căldură, dar se recristalizează în solide atunci când sunt răcite. Această proprietate reversibilă permite o depunere precisă în stare lichefiată.
- Filamente comune: Filamente ABS și PLA domină ca lideri de filament, urmate de umplutura de alamă, PETG și TPE flexibil pentru aplicații specializate. Alte compozite, precum lemnul sau amestecurile de fibră de carbon, extind posibilitățile.
- Filamente exotice și funcționale: Filamentele conductoare electric încorporează circuite care conectează direct obiectele imprimate la sursă de alimentare sau la semnale. Între timp, filamentele de susținere dizolvabile îmbunătățesc designurile suspendate, dar se spală atunci când este nevoie, dispărând ca niște fantome după ce își termină funcția.
- Alegerea după proprietăți: Densitatea, aderența straturilor, rezistența la UV și biodegradabilitatea ajută la determinarea materialelor ideale pentru condițiile de funcționare, luând în considerare căldura, expunerea la exterior sau funcția flexibilă de fixare prin clipsare dincolo de prototiparea vizuală.
Aplicații FDM în lumea reală
Creat inițial pentru prototiparea convenabilă a conceptelor de design de produs, FDM s-a dovedit atât de fiabil încât astăzi Imprimantele FDM sunt adoptate pe scară largă pentru roluri de fabricație critice pentru misiune în toate sectoarele.
- Fabricație rapidă: Producătorii de aeronave utilizează sisteme FDM industriale pentru a imprima dispozitive de asamblare precise care susțin piesele componente ale aeronavelor supuse prelucrării. Prin imprimarea 3D a acestor scule personalizate, în loc să externalizeze fabricația convențională, fabricile de aeronave pot itera rapid dispozitivele de fixare intern, pe măsură ce nevoile se schimbă.
- Educaţie: Școlile și universitățile au încorporat imprimante 3D FDM desktop în programele STEM, permițând elevilor să învețe prin crearea de prototipuri fizice ale obiectelor pe care le proiectează. Transformarea ideilor în realitate motivează interesul pentru inginerie, tehnologie și modelare pentru învățarea științelor aplicate. Imprimantele 3D educaționale facilitează experimentarea prin proiecte practice. rentabil.
- Medical: Impactul FDM asupra sănătății se extinde zilnic prin imprimarea de componente personalizate care se potrivesc cu anatomia pacientului, cu conversia neinvazivă a imaginilor medicale în modele 3D. Chirurgii utilizează replici tactile imprimate 3D ale organelor, ajutând la planificarea preoperatorie, în timp ce inginerii proiectează și validează rapid dispozitive care salvează vieți, cum ar fi tampoanele nazofaringiene produse de FDM, pentru colectarea unui volum mare de probe COVID-19.
- Producție distribuită: Startup-uri precum Figure 4 și Adafruit utilizează scalabilitatea plug-and-play a platformelor FDM desktop pentru a îndeplini local comenzi de producție specializată la cerere. Articole de uz casnic, jucării, cadouri și multe altele se imprimă fără expediere în străinătate, evitând în același timp risipa de supraproducție - simplificând personalizarea. Micro-fabricile modulare aduc meșteșuguri personalizate în vitrinele magazinelor de pe străzile principale.
De la sălile de clasă STEM la laboratoarele de robotică sau la fabricile din fabrici, Imprimare 3D FDM simplifică inovația, educația și producția digitală distribuită.

De ce ar trebui să alegeți FDM?
Mai multe tehnologii de fabricație aditivă există dincolo de FDM, fiecare cu avantaje unice în anumite aplicații. Dar ce anume face ca FDM să fie „prima dintre egali” și să fie cea mai comună metodă de imprimare 3D din lume?
1. Accesibilitate și simplitate
Imprimantele 3D FDM domină vânzările globale Datorită modelelor desktop și materialelor foarte accesibile, permițând oricui să exploreze personal imprimarea 3D cu risc redus. Experiența ușoară a utilizatorului permite, de asemenea, o adoptare pe scară largă de la școli la producție. FDM oferă cea mai economică și accesibilă rampă de acces către fabricația aditivă.
2. Versatilitatea materialelor
Gama de filamente termoplastice disponibile, de la PLA și ABS de bază până la compozite speciale mai avansate, permite adaptarea imprimărilor de la concepte de bază la materiale inginerești de calitate industrială pentru produse finale. Această flexibilitate stimulează creativitatea.
3. Calitate fiabilă
Peste 30 de ani de optimizare a sistemelor de extrudare și control al mișcării asigură precizia dimensională și repetabilitatea așteptate de la o platformă de fabricație digitală, egală cu turnarea prin injecție. Sectoarele aerospațial și medical se bazează pe producția FDM de precizie.
Deși procesele alternative de imprimare 3D oferă un finisaj al suprafeței, viteză, rezistență și scalabilitate superioare pentru aplicații avansate, FDM oferă combinația optimă de capacitate, alegere a materialelor, costuri de operare și fiabilitate, potrivită pentru majoritatea implementărilor comune atât pentru consumatori, cât și pentru companii. Prin eliminarea barierelor de adoptare, FDM face ca inovația prin fabricația aditivă să fie disponibilă tuturor.
Cele mai bune practici pentru stăpânirea imprimării 3D FDM
Când te aventurezi în lumea imprimării 3D prin modelare prin depunere topită (FDM), obținerea unor rezultate optime implică stăpânirea câtorva aspecte esențiale. Acest ghid te va ghida prin strategii vitale care pot transforma proiectele tale de imprimare de la bune la excelente.
1. Crearea mediului potrivit pentru imprimare
Fiecare imprimare reușită începe cu condițiile potrivite. Este esențial să se mențină un mediu în care temperatura și umiditatea sunt controlate pentru a previne deformarea creațiilor tale sau dezvoltând alte defecte. Materialele deosebit de sensibile, cum ar fi ABS-ul, pot necesita chiar o cameră de imprimare închisă pentru a asigura căldura rămâne constantă pe tot parcursul procesului.
2. Obținerea unei aderențe perfecte la primul strat
Fundația oricărei imprimări 3D este primul său strat. Pentru a o fixa corect pe placa de imprimare, începeți cu o placă de imprimare bine nivelată. O tehnică obișnuită implică utilizarea unei foi standard de hârtie pentru a măsura distanța dintre duză și placă, efectuând ajustări până când simțiți o ușoară tragere pe hârtie atunci când o mutați. Pentru materialele predispuse la ridicare, luați în considerare adezivi precum batoane de lipici, fixativ de păr sau autocolante dedicate plăcii de imprimare 3D pentru a consolida aderența.
3. Echilibrarea densității de umplere și a grosimii învelișului
Rezistența imprimării și calitatea finisajului depind de găsirea echilibrului perfect între densitatea de umplere a modelului și grosimea carcasei exterioare. Deși mai multă umplere înseamnă o durabilitate sporită, aceasta duce și la timpi de imprimare mai lungi și la un consum mai mare de material. Adaptați aceste setări în funcție de utilizarea preconizată a elementului imprimat și nu uitați că uneori mai puțin înseamnă mai mult.
4. Reglarea fină a vitezei de imprimare și a temperaturilor
Magia se întâmplă adesea în ajustările vitezei de imprimare și ale temperaturii de extrudare. În funcție de tip de filament, este posibil să fie nevoie să încetiniți pentru a surprinde detalii mai fine sau să măriți temperatura pentru cele cu un punct de topire mai ridicat.Aceste modificări pot îmbunătăți drastic aderența straturilor și calitatea generală a imprimării.
5. Angajamentul față de întreținerea regulată
Imprimanta dumneavoastră este la fel de fiabilă ca și întreținerea sa. În mod regulat curățarea plăcii de construcție, lubrifierea pieselor mobile și înlocuirea componentelor precum duzele și curelele vor menține mașina funcționând fără probleme, iar imprimările vor arăta clar.
6. Practici adecvate de depozitare a filamentelor
Filamentele pot fi delicate și predispuse la degradare dacă nu sunt depozitate corect. Păstrați bobinele departe de umiditate și lumina directă a soarelui folosind desicanți și sigilându-le în recipiente etanșe. Depozitare adecvată asigură integritatea materialului și o calitate constantă a imprimării.
7. Rafinare cu postprocesare
Postprocesarea poate transforma o imprimare bună într-o operă de artă. Tehnicile variază de la șlefuire la netezirea cu vapori de acetonă (pentru ABS) sau vopsire. Aceste metode rafinează aspectul și funcționalitatea produsului final.
8. Stăpânirea software-ului Slicer
Software-ul de tăiere este creierul din spatele printurilor tale, traducând desenele tale în instrucțiuni precise pentru imprimantă. Valorifică-i puterea învățând cum să manipulezi structurile de susținere, înălțimile straturilor și alți parametri de imprimare pentru a se potrivi nevoilor tale specifice.
9. Acceptarea încercării și erorii
Nu ezitați să experimentați. Ajustați setările treptat și documentați ce funcționează - și ce nu - pentru fiecare proiect. Această abordare iterativă duce la îmbunătățirea continuă și la o înțelegere mai profundă a capacităților imprimantei dumneavoastră.
Viitorul FDM: Ce urmează?
FDM își menține un avânt puternic ca poartă de acces a imprimării 3D pentru prototiparea designului și fabricarea în volum redus. Previziunile așteaptă ca sistemele industriale să eclipseze... Venituri globale de 18 miliarde de dolari până în 2027, ce ne rezervă viitorul?
- Inovații în materie de materiale: Dezvoltările în domeniul termoplastelor de înaltă rezistență și al electronicii imprimate vor extinde și mai mult aplicațiile în transporturi, industria aerospațială, infrastructură și fabricarea de dispozitive.
- Integrare automatizare: Optimizarea fluxului de lucru digital prin interconectarea software-ului de modelare cu platformele de onorare a comenzilor și depozitele va accelera adoptarea la scară largă în rețelele de producție distribuită.
- Restricții privind emisiile de carbon: Pe măsură ce inițiativele de sustenabilitate se consolidează, producția locală la cerere promite reduceri semnificative ale emisiilor de carbon prin eliminarea transporturilor maritime și a deșeurilor peste hotare, susținând în același timp modelele de afaceri de servitizare.
Aducând ideile la viață
Pe măsură ce FDM democratizează fabricația digitală prin sisteme de imprimare 3D în continuă dezvoltare, accesibile și precise, inovatorii dobândesc un set de instrumente accesibil pentru a transforma viziuni creative în realitate prin simpla topire și lipire a materialelor în formele dorite, fie că este vorba de prototipuri acasă sau de producție la scară largă. Prin dezvăluirea meșteșugului pragmatic din spatele fabricației aditive, tehnologia de imprimare 3D, odinioară misterioasă, permite acum oricui să-și cristalizeze imaginația în creații ușor de realizat la masa de lucru, în spațiul de producție sau chiar pe desktop, pe măsură ce această nouă paradigmă de fabricație remodelează posibilul.
Întrebări frecvente despre Imprimare 3D FDM
1. Care sunt avantajele și dezavantajele FDM?
Avantaje: Imprimarea 3D FDM este recunoscută pe scară largă pentru rentabilitatea sa, atât în ceea ce privește imprimantele în sine, cât și materialele utilizate.Este ușor de utilizat, ceea ce o face o alegere populară pentru începători și școli. Tehnologia este excelentă pentru producerea rapidă de piese durabile și oferă o gamă largă de materiale din care puteți alege, fiecare cu proprietăți diferite, adaptate la diverse aplicații.
Contra: Dezavantajul este că FDM nu are întotdeauna cel mai neted finisaj, deoarece puteți vedea adesea straturile individuale pe o piesă imprimată. De asemenea, atunci când imprimați console sau forme complexe, este posibil să aveți nevoie de structuri suplimentare care să susțină imprimarea în timpul procesului, pe care va trebui să le eliminați ulterior. Comparativ cu alte metode, cum ar fi SLA, precizia și detaliile FDM sunt limitate și, deoarece imprimă strat cu strat, piesele pot fi mai slabe într-o direcție în comparație cu alta.
2. De ce este FDM mai bun decât SLA?
FDM tinde să fie „mai bun” decât SLA în contexte în care costul este un factor semnificativ, deoarece este în general mai puțin costisitor. Imprimantele FDM sunt mai robuste când vine vorba de tipurile de materiale pe care le pot utiliza, iar aceste materiale duc adesea la piese mai rezistente. În plus, Imprimantele FDM sunt mai ușor de întreținut și utilizare, motiv pentru care le veți găsi frecvent în atelierele de amatori și în mediile educaționale. Cu toate acestea, dacă prioritatea dvs. este crearea de obiecte cu detalii foarte fine și un finisaj neted al suprafeței, SLA ar putea fi opțiunea preferată față de FDM.
3. Cât de sigură este imprimarea FDM?
Imprimarea FDM este considerată destul de sigură, dar, ca în cazul oricărui instrument, trebuie să o utilizați corect. Asigurați-vă că imprimanta se află într-un spațiu bine ventilat, deoarece plasticul încălzit poate elibera vapori. Fiți întotdeauna precauți în jurul imprimantei, deoarece duza și patul de imprimare se încălzesc suficient pentru a provoca arsuri. Urmați instrucțiunile producătorului pentru întreținere și utilizare și ar trebui să vă puteți bucura de... Imprimare 3D fără probleme de siguranță.
4. Cât durează imprimarea 3D FDM?
Timpul necesar pentru o imprimare FDM poate varia foarte mult. Un obiect mic și simplu poate fi realizat în mai puțin de o oră, în timp ce piesele mai mari sau foarte detaliate pot dura o zi întreagă sau chiar mai mult. Mai mulți factori afectează timpul de imprimare: dimensiunea obiectului, calitatea dorită (care determină înălțimea stratului) și cât de solidă doriți să fie piesa (care afectează umplerea). Un echilibru între acești factori oferă de obicei cel mai bun rezultat atât în ceea ce privește timpul, cât și calitatea imprimării.
5. Cât durează imprimantele 3D FDM?
Durata de viață a unei imprimante 3D FDM depinde într-adevăr de modul în care o îngrijești. Utilizarea regulată nu este o problemă - de fapt, mașinile beneficiază adesea de utilizarea lor, în loc să stea inactive. Cheia longevității este întreținerea regulată, cum ar fi curățarea și ocazional... înlocuirea unor piese precum duza sau patul de imprimare dacă prezintă semne de uzură. Cu acest tip de atenție, o imprimantă FDM bună vă poate servi bine timp de mulți ani - cinci ani sau mai mult nu este neobișnuit, iar unii utilizatori raportează că imprimantele lor funcționează mult mai mult decât atât cu o îngrijire adecvată.