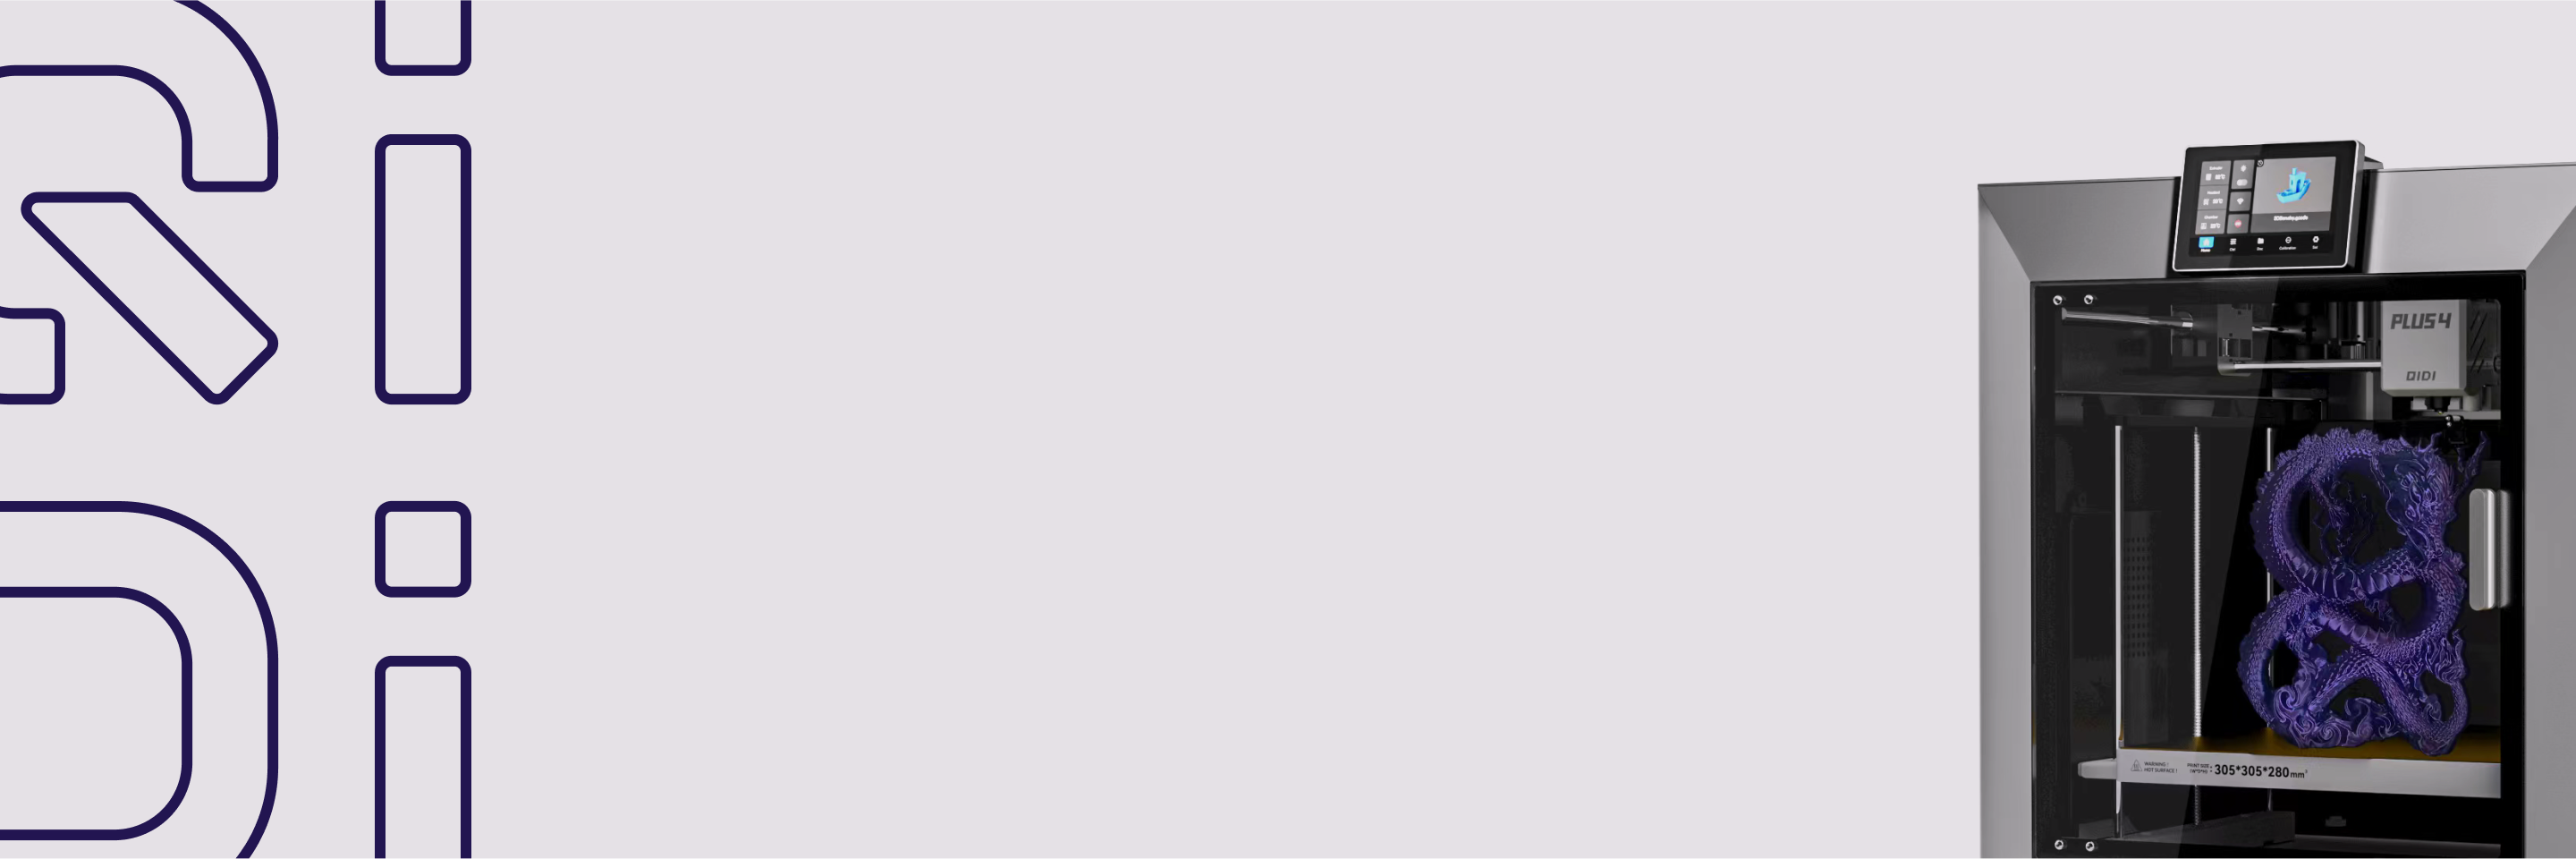
Qidi plus4 3D -printer
![[Qidi X-CF Pro, speziell für den Druck von Kohlefaser und Nylon entwickelt] - [QIDI Online Shop DE]](http://eu.qidi3d.com/cdn/shop/files/3034a1133efe01daba919094b70c6310.jpg?v=1746705606) Qidi Tech Q1 Pro 3D -printer
Qidi Tech Q1 Pro 3D -printer
![[Qidi X-CF Pro, speziell für den Druck von Kohlefaser und Nylon entwickelt] - [QIDI Online Shop DE]](http://eu.qidi3d.com/cdn/shop/products/X-MAX3-3D-Printer-02.png?v=1746705648) Qidi Tech X-Max 3 3D Printer
Qidi Tech X-Max 3 3D Printer
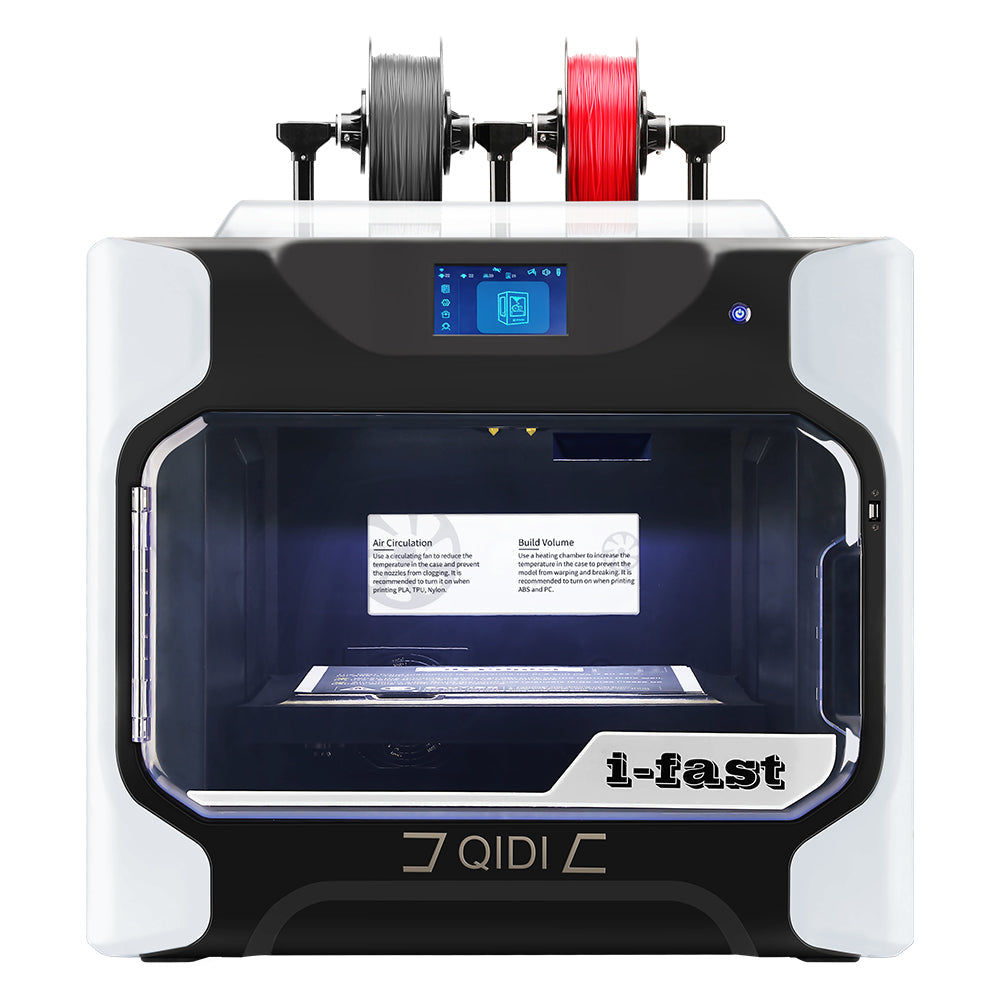 Qidi I-Fast, keerulise printimise lahendamise teerajaja
How to Create Custom Filaments or New Processes in QIDI Studio?
When using QIDI Studio for 3D printing, the default filament configuration and process configuration can already meet most needs, but if you are using other brands of filaments or some special ones, you may need to manually create a custom filament configuration and process to get better printing results. In addition, if you want to migrate or share these presets with others, you can use the export and import functions.
This tutorial will teach you step by step how to create custom filaments, new processes, and export and import presets in QIDI Studio, making your printing more flexible and accurate!
1.How to Create Custom Filaments?
(1) Follow the steps shown in the following picture to enter the filaments creation interface.

(2) Choose "System Filaments" and you can find the filaments you need in the red box. If you can't find them, please continue with the step (3) to add custom filaments.

(3) Choose "Custom Filaments"and click on "Create New". Fill in the filament vendor, type, and serial. If the vendor of the current filaments cannot be found, please check "Can't find vendor I want" and input custom vendor.


(4) For example, if you wanted to add a "QD UltraPA CF-25", you would add it as follows.

(5) After creating a custom filament, be sure to modify the parameters according to the characteristics of it, otherwise you will not be able to print. If you are not sure about the parameters to fill in, you can ask the filaments vendor for the relevant parameters.

2.How to Create and Save New Processes?
If you want to create and save a new process, you can do so by following the steps below.
For example, if you want to save a new process with support turned on and the support type is tree (auto). You can do it as shown in the figure.
Note: Please use appropriate prompt words or sentences to rename the new process, which is convenient for memory and retrieval.

3.How to Export and Import Presets?
If you want to migrate or share these filament or process presets with others, you can use the export and import functions.
(1) Follow the steps below to enter the "export preset bundle" interface.

(2)Choose to export the filament or process preset according to your needs. For example, if you want to export the filament preset of QD UltraPA CF-25 filament, you can do as follows.

(3)If you want to import the preset files, you can use the "import configs"function according to the steps in the picture, and then find and select the preset file you need from your computer.


(4)If the "import result" pop-up window appears as shown in the figure, it means that the preset file has been imported successfully.

In the End
Through this tutorial, I hope you have learned how to create custom filaments, new processes, and export and import presets in QIDI Studio, making your 3D printing experience more flexible and personalized.
If you encounter any problems during use, welcome to join our QIDI 3D printing community, exchange experiences with other users, and explore more ways to play together!