Guide to Auto Bed Leveling in 3D Printing
Table of Contents
- How Important is Auto Bed Leveling in 3D Printing?
- Why Auto Bed Leveling is Better
- Auto Bed Leveling Components in 3D Printing
- How to Set Up Auto Bed Leveling on Your 3D Printer
- How to Improve and Troubleshoot Your Auto Bed Leveling
- Best Auto Leveling 3D Printer -- QIDI X-Max3
- Make Better 3D Prints with Auto Bed Leveling
- FAQs
- Read More
Auto bed leveling is a crucial advancement in 3D printing technology. It solves common issues like poor first layer adhesion and uneven prints that often frustrate both beginners and experienced makers. This guide will explain how auto bed leveling works and how to implement it effectively. You'll learn to achieve consistent, high-quality prints without the tedious process of manual bed adjustment. Whether you're new to 3D printing or looking to upgrade your current setup, understanding auto bed leveling will significantly improve your printing results.
How Important is Auto Bed Leveling in 3D Printing?
What is Bed Leveling?
Bed leveling is the process of ensuring the 3D printer's build platform is parallel to the print head's movement. This creates a consistent gap between the nozzle and the print surface across the entire build area. A level bed is crucial for successful prints, as it allows the first layer to adhere properly and supports accurate construction of subsequent layers.
A properly leveled bed improves print quality by helping the first layer stick to the print surface, maintaining uniform layer thickness, reducing the risk of warping, and increasing the overall success rate of prints.
What Would Happen if Your Printer Bed Is Not Level?
1. Print Adhesion Issues
An unleveled bed can cause parts of the print to detach from the surface. This may result in warping, where the edges of the print lift off the bed, or complete detachment, where the entire print comes loose during the printing process.
2. Print Inaccuracies
When the distance between the nozzle and bed varies across the print surface, it can lead to several problems. You might notice uneven layer thickness, with some areas having thicker or thinner layers than intended. Parts of the model may be distorted or incorrectly sized, and the bottom layers of the print may have visible imperfections, resulting in a poor surface finish.
3. Other Potential Issues
An incorrectly leveled bed can cause additional problems. If the nozzle is too close to the bed in certain areas, it can lead to material buildup and nozzle clogs. There's also a risk of damaging the bed or nozzle if they come into contact. Furthermore, varying distances between the nozzle and bed can affect how filament is deposited, leading to inconsistent extrusion in different areas of the print.
Why Auto Bed Leveling is Better
Manual vs. Auto Bed Leveling
Manual bed leveling requires adjusting the bed's corners using screws or knobs. You move the print head to different points on the bed and use paper to check the gap between the nozzle and bed. It's time-consuming and needs careful attention.
Auto bed leveling uses sensors to measure the nozzle-to-bed distance at multiple points. The printer then adjusts for any unevenness during printing. This automated method has several advantages.
Main Benefits of Auto Bed Leveling
Auto bed leveling offers better accuracy, convenience, and reliability than manual methods. It improves the 3D printing experience for both hobbyists and professionals.
Auto Bed Leveling Components in 3D Printing
Sensors and Switches: Measuring Bed Distance
Auto bed leveling systems use sensors or switches to measure the distance between the print nozzle and the bed surface. Common types include:
These components are usually placed near the print nozzle. They help the printer measure the bed's height at many points to create an accurate map of the surface.
Firmware: Interpreting Data and Adjusting the Printer
The printer's firmware is crucial in auto bed leveling. It interprets sensor data and adjusts the nozzle height dynamically. This process involves several steps.
First, the firmware collects data by instructing the sensor to take measurements at various points on the bed. This creates a "map" of the bed's surface. The firmware then interprets this data to determine the bed's overall tilt and any local irregularities.
During printing, the firmware continuously adjusts the Z-axis (height) movement of the print head. This compensates for any unevenness in the bed, ensuring a consistent gap between the nozzle and the print surface. The firmware also translates the leveling data into G-code commands, which control the printer's movements during the printing process.
Advanced firmware can perform mesh bed leveling, creating a detailed topographical map of the bed for even more precise adjustments across the entire print surface.
How to Set Up Auto Bed Leveling on Your 3D Printer
To set up auto bed leveling, you'll need a 3D printer that supports this feature, the correct leveling sensor for your printer, and some basic tools like screwdrivers and Allen keys. You'll also need updated printer software (firmware) that works with auto bed leveling, and possibly a computer to change firmware settings.
Step 1: Check If Your Printer Can Use Auto Bed Leveling
Look at your printer's manual or the manufacturer's website to see if it mentions auto bed leveling or probe support. If your printer doesn't have this feature built-in, you might need to buy an upgrade kit.
Step 2: Install the Leveling Sensor
First, turn off your printer for safety. Find where the sensor should go, usually near the print head. Attach the sensor using the screws or clips that came with it. Connect the sensor's wires to the right spots on your printer's control board. Double-check all connections before turning the printer back on.
Step 3: Put the Sensor in the Right Place
The sensor needs to be in the correct position. It should be able to reach all parts of the print bed without hitting anything when the print head moves. If you can adjust the sensor, set it so it triggers just before the nozzle would touch the bed.
Step 4: Update Your Printer's Software
Download the newest firmware for your printer that works with auto bed leveling. Install this new firmware on your printer. Go to your printer's settings, either on the printer itself or through a connected computer. Turn on the auto bed leveling feature in the settings. Enter the right measurements for where your sensor is compared to the nozzle. Save your changes and restart the printer.
After you finish these steps, your printer should be ready to use auto bed leveling. Try a test print to make sure everything works right. If you have problems, check your connections and settings again, or ask for help on 3D printing forums.
How to Improve and Troubleshoot Your Auto Bed Leveling
Initial Calibration
After installing your auto bed leveling system, you need to calibrate it. Start by ensuring your bed is roughly level using manual adjustments. Then, run the auto bed leveling sequence. Most printers have a built-in menu option for this.
Once the sequence completes, check the results. Many printers display a grid or mesh showing the measured bed heights. Look for any extreme variations that might indicate a problem with your bed or sensor.
Testing and Optimization
To test your system, print a large, flat object that covers most of your print bed. A calibration pattern or a thin square covering the bed works well. As it prints, observe the first layer closely.
Look for these signs of good leveling:
If you notice issues, you may need to adjust your z-offset. This is the distance between your nozzle and the bed when the sensor triggers. Small adjustments here can make a big difference.
Troubleshooting Common Issues
Achieving perfect auto bed leveling often requires patience and experimentation. Don't be afraid to make small adjustments and test repeatedly. With time and practice, you'll dial in your settings for consistently great prints.

Best Auto Leveling 3D Printer -- QIDI X-Max3
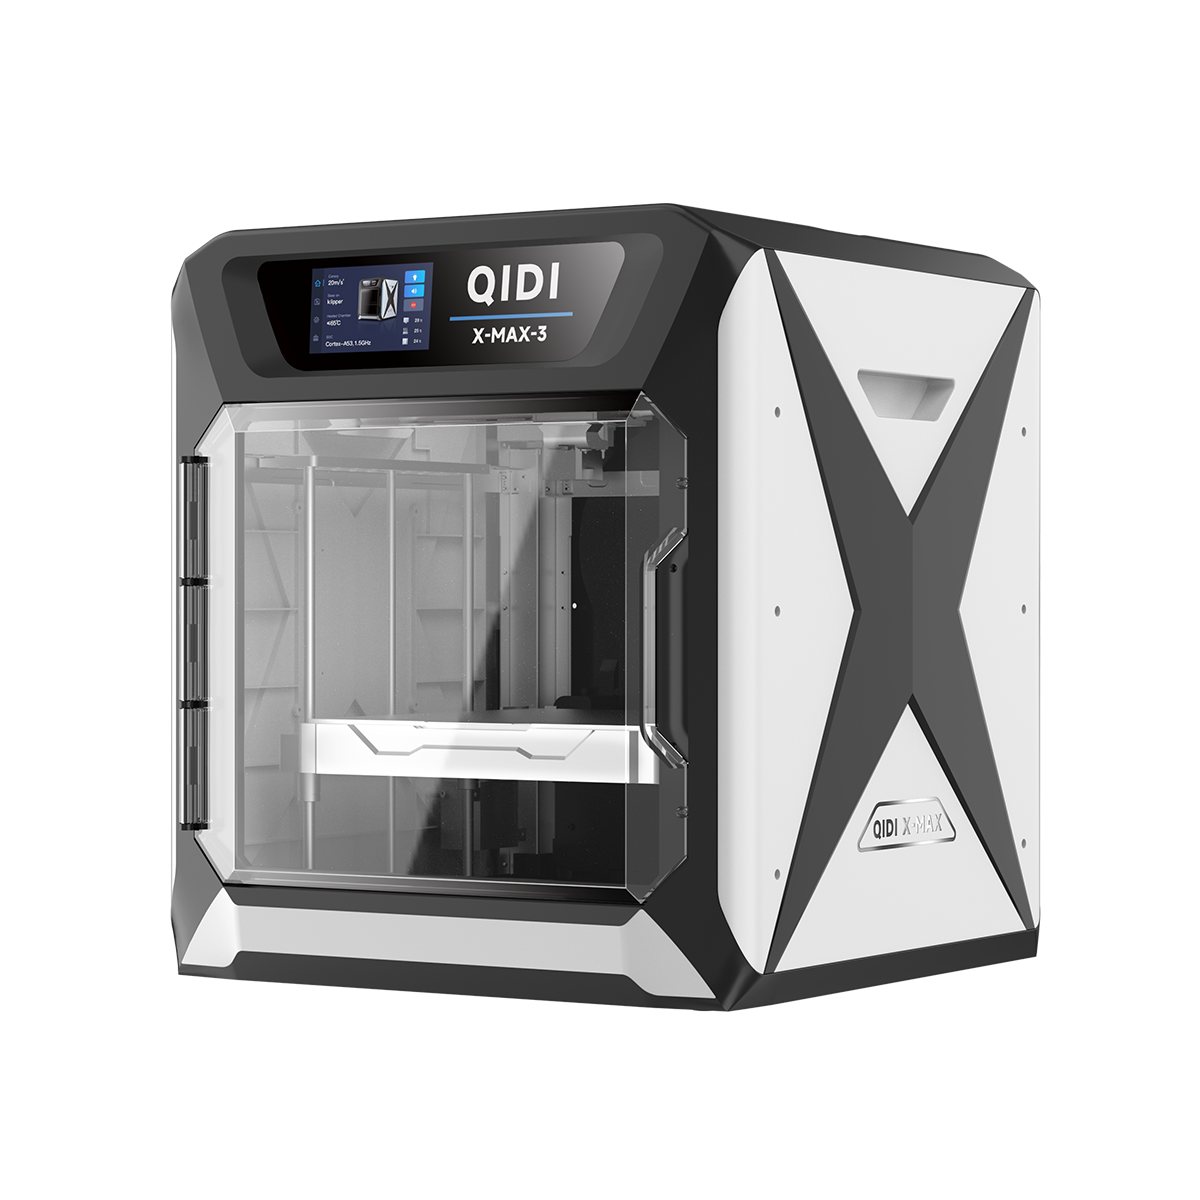
The QIDI X-Max3 is an example of a 3D printer that incorporates advanced auto bed leveling technology along with other high-performance features. Here are some of its auto leveling and related capabilities:
These features showcase how auto bed leveling can be integrated with other advanced technologies to enhance print quality and consistency. However, it's important to note that many modern 3D printers offer auto bed leveling capabilities, and users should evaluate their specific needs and compare multiple options before making a decision.
Make Better 3D Prints with Auto Bed Leveling
Auto bed leveling makes 3D printing easier and more reliable. It fixes many common printing problems for both new and experienced users. By learning how to set it up and use it, you can get much better print quality. It might take some time to get it working just right, but it's worth the effort. With auto bed leveling, you'll have fewer failed prints and more time to create. If you're looking to improve your 3D printing, give auto bed leveling a try. It can really help you make better prints with less hassle.

FAQs
Do I need to level the bed before every print?
With auto bed leveling, you don't need to level the bed before every print. Once set up properly, the system will measure and adjust for bed irregularities automatically. This saves you time and effort. However, it's a good idea to check and calibrate your auto bed leveling system every now and then to make sure it's working correctly.
How to level a 3D printer bed?
There are two main ways to level a 3D printer bed: manual and automatic.
Manual leveling involves adjusting the bed's corners using screws or knobs. You move the print head to different spots on the bed and use a piece of paper to check the gap between the nozzle and bed. It takes time and careful attention.
Auto bed leveling is much easier. You install a special sensor near the print head and run a leveling sequence from your printer's menu. The printer measures multiple points on the bed by itself. Then, the printer's software creates a "map" of the bed surface and makes adjustments during printing. It's faster and more precise than doing it by hand.
How important is auto bed leveling?
Auto bed leveling is very important for getting good, consistent 3D prints. It helps your first layer stick better by making sure the distance between the nozzle and bed is just right across the whole print surface. This means fewer failed prints and better quality overall.
It saves you time because you don't have to adjust the bed manually as often. It can even make up for small imperfections in your print bed, like slight warping. This makes 3D printing easier for beginners and less frustrating for experienced users.
Auto bed leveling is a big step forward in 3D printing. It makes the whole process more reliable and helps you get better results with less hassle. That's why many consider it a must-have feature for modern 3D printers.


