Q2
Q2
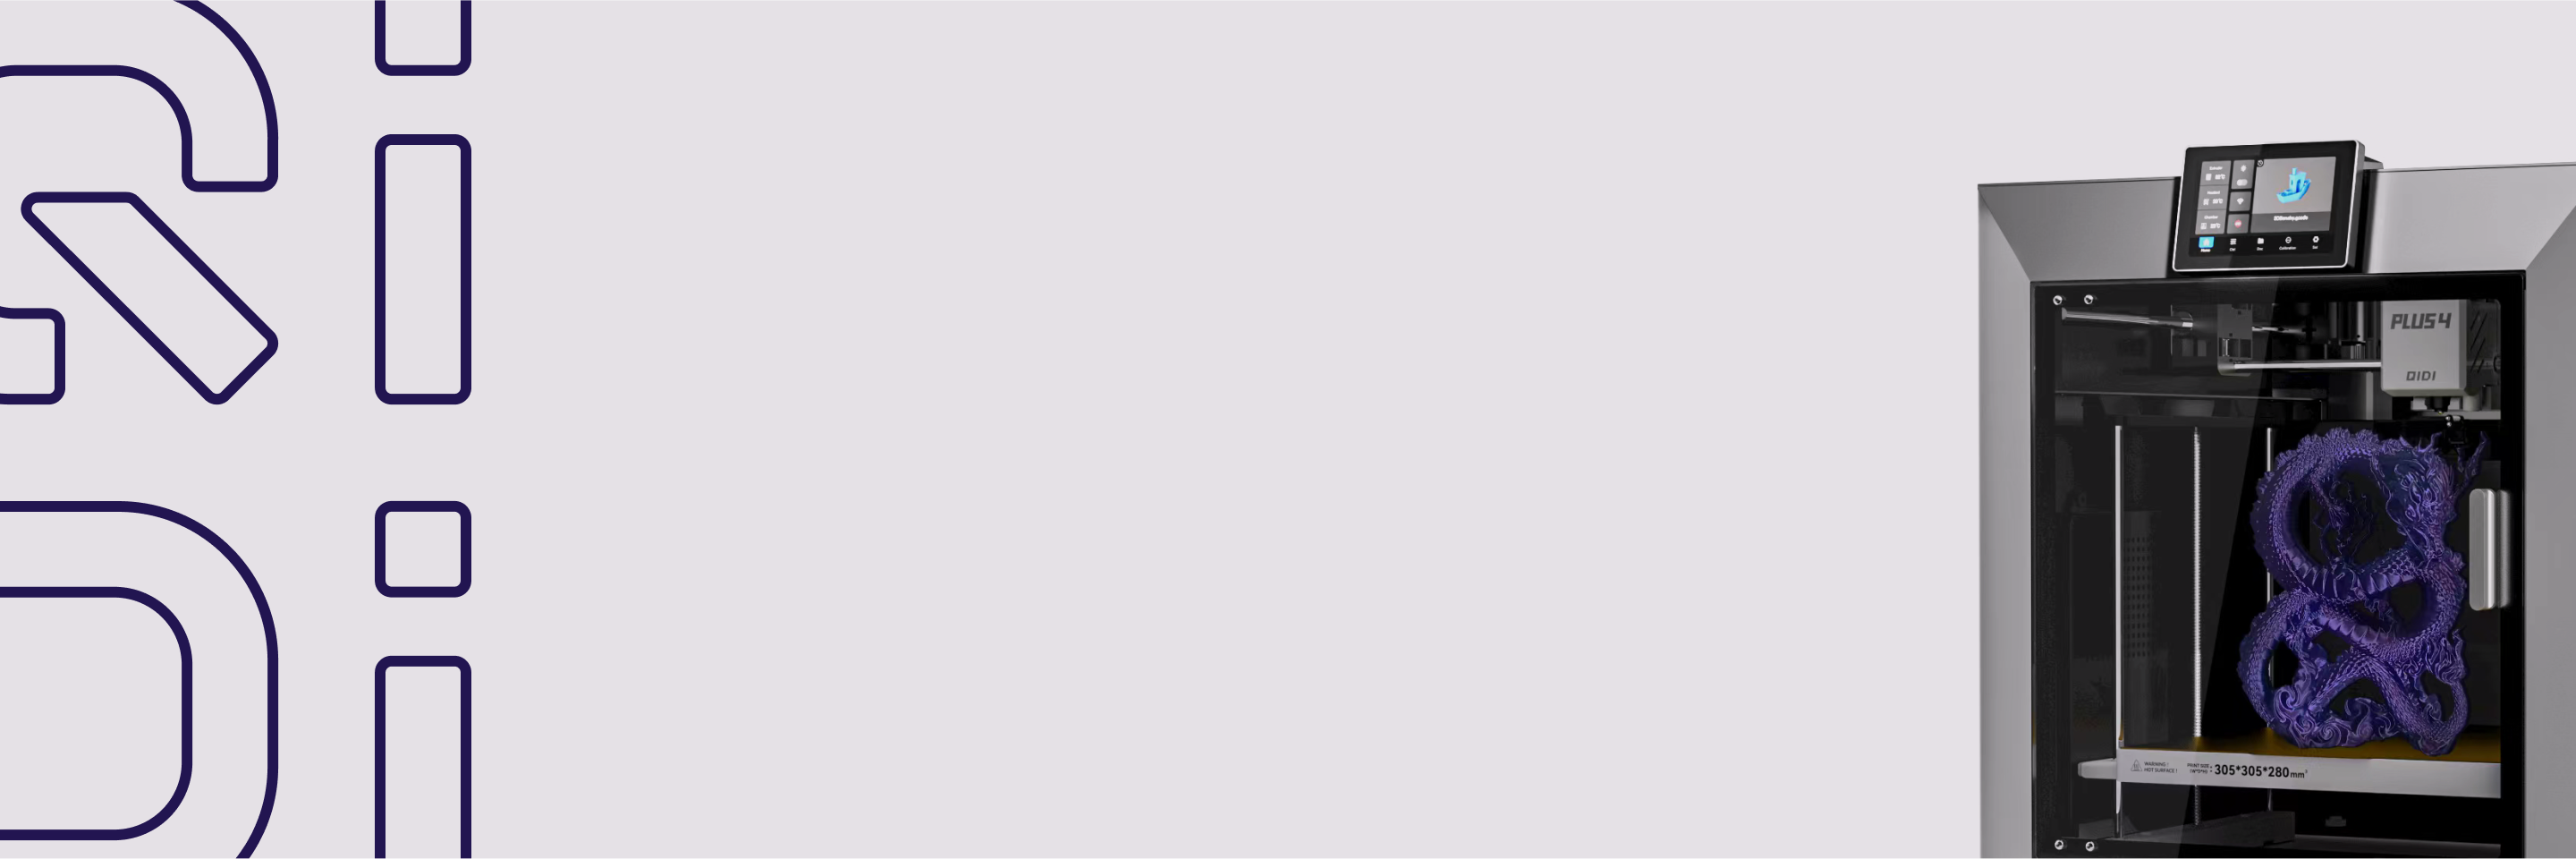
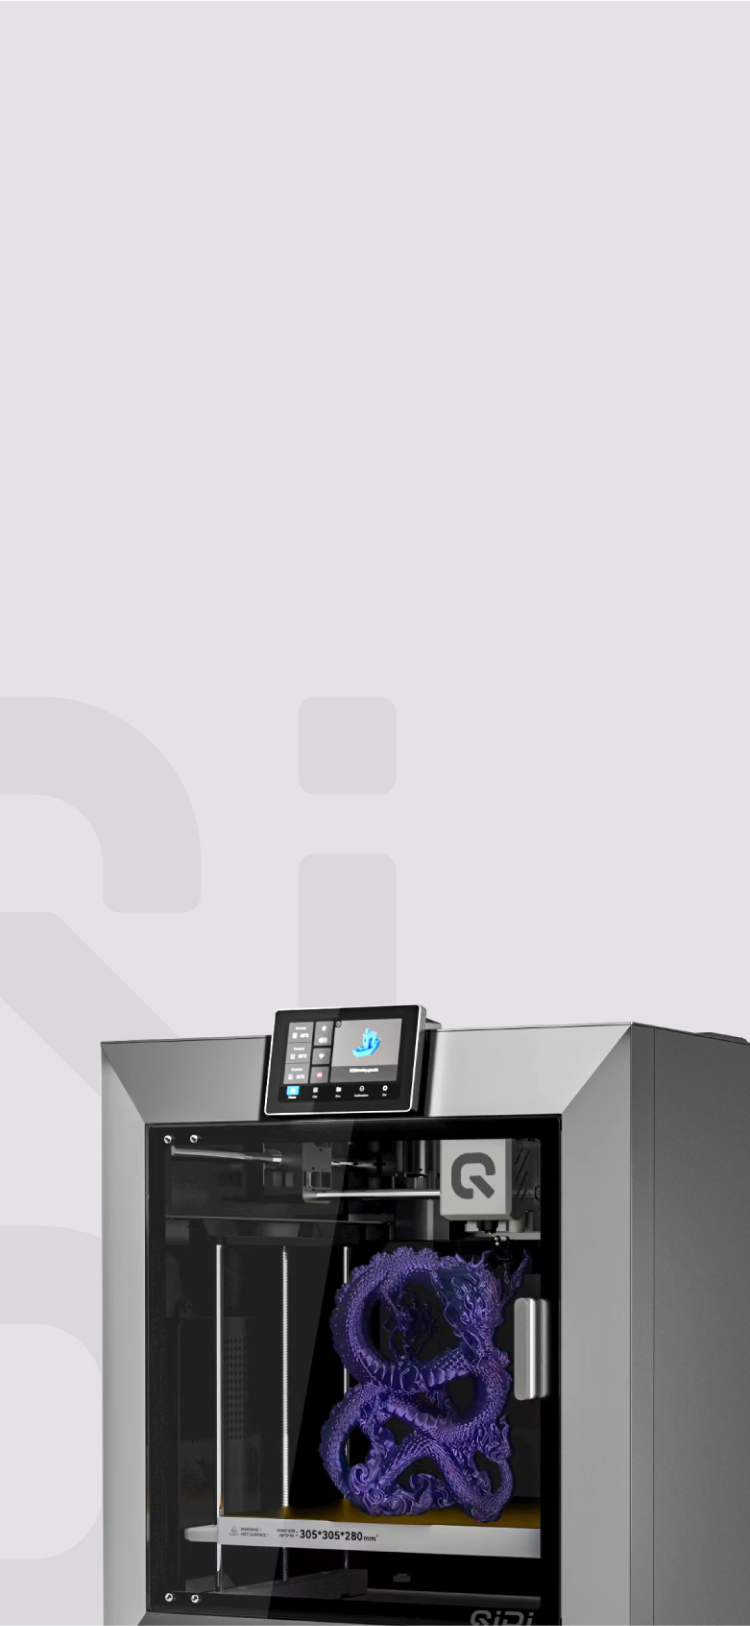
 Plus4
Plus4
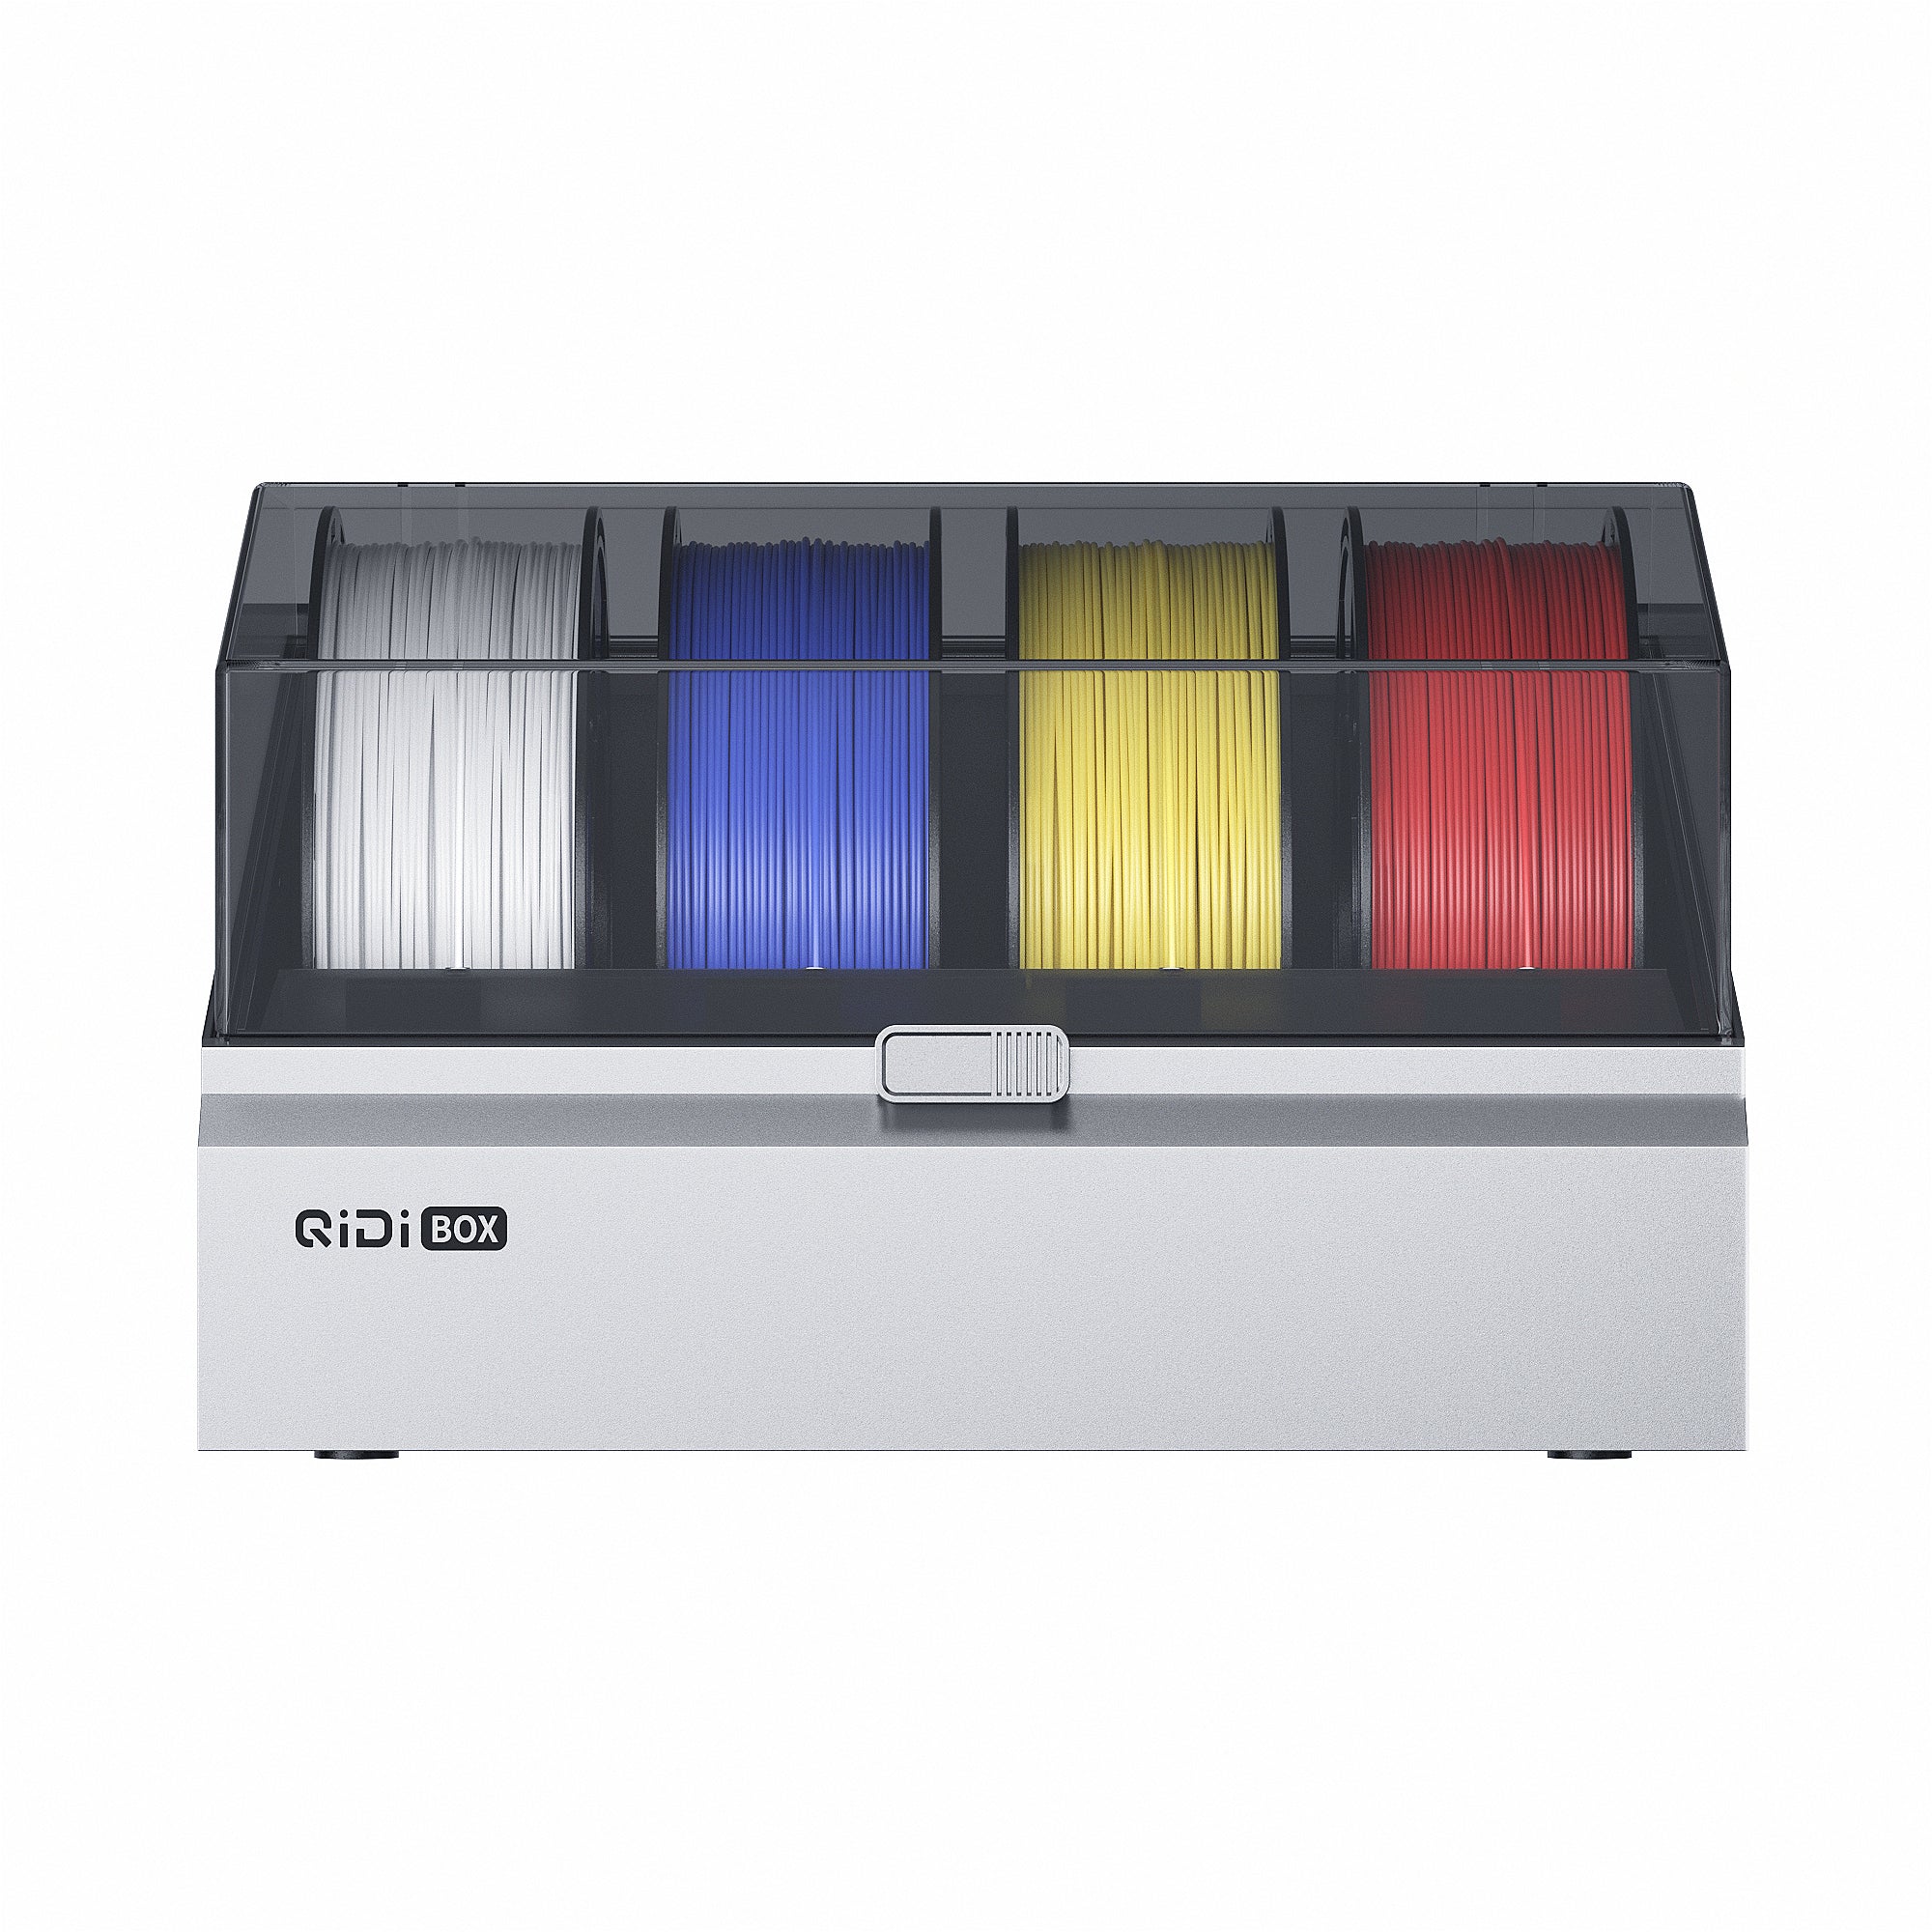 QIDI Box
 Q1Pro
Q1Pro
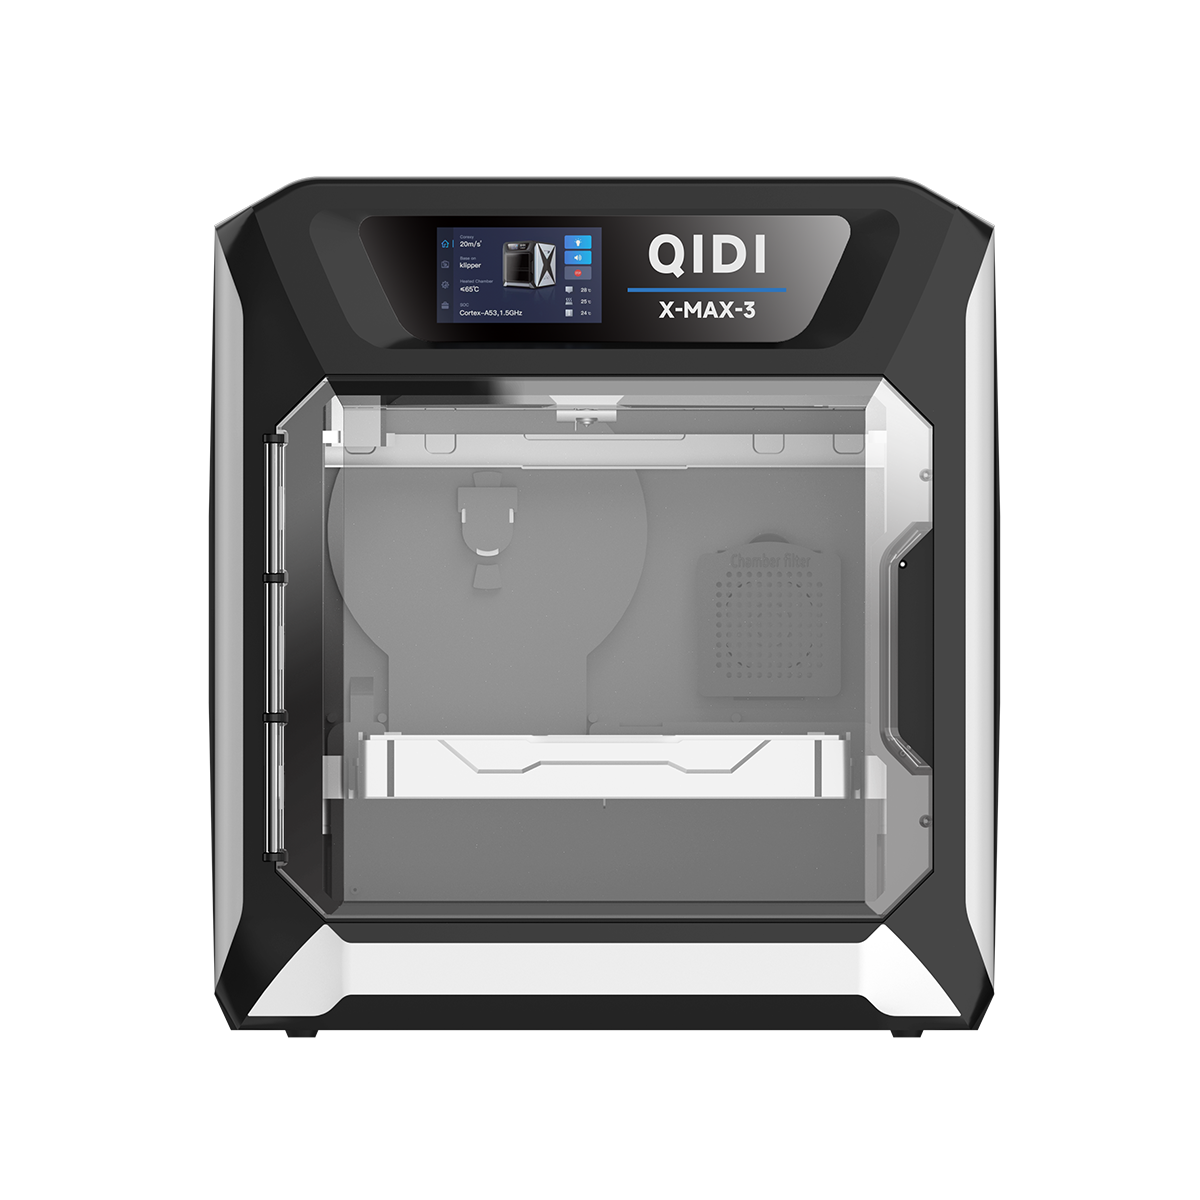 Max3
Max3
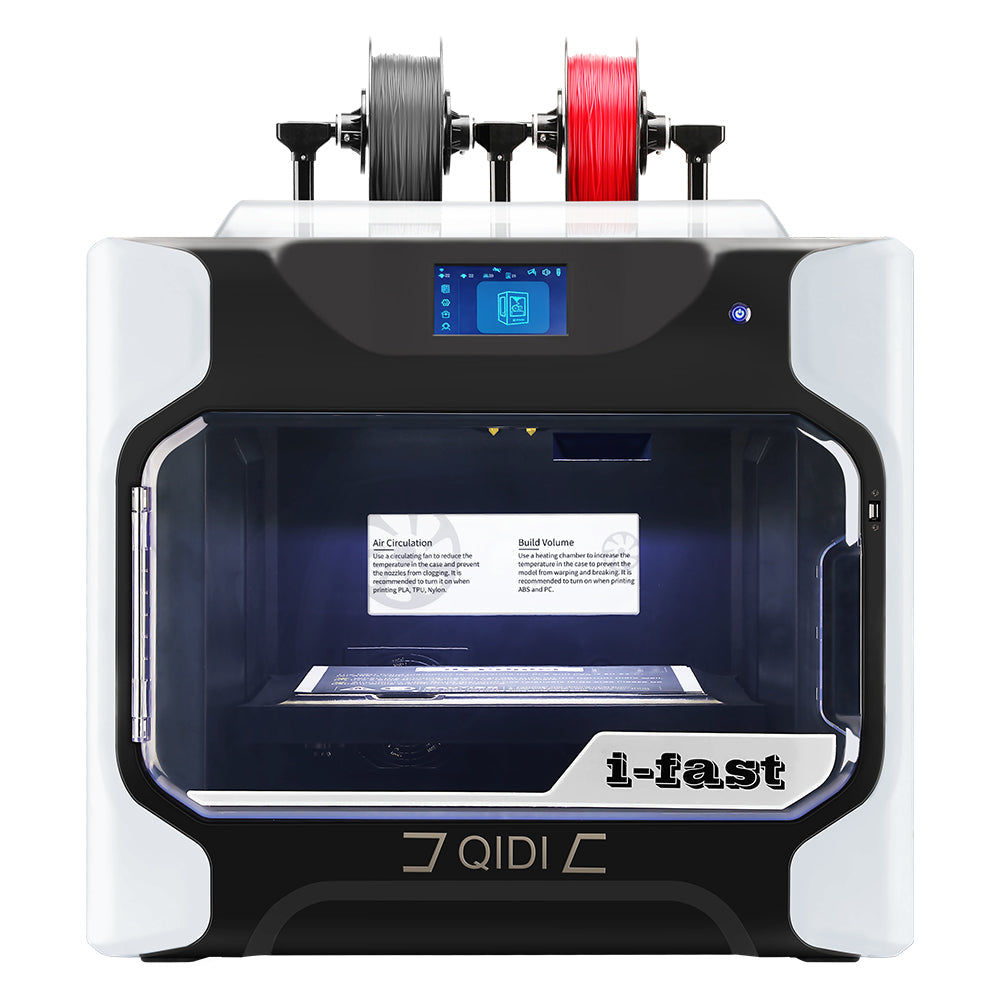 I-Fast
3D Printing Tip: Easily Turn Models into Keychains
Struggling to hang your favorite 3D prints? Learn to add a perfect hole to any model in just a few clicks with QIDI Studio. Transform your prints into keychains!
Ever found a model you love and wanted to turn it into a keychain or backpack charm, but struggled with the lack of a hanging hole? With just a few clicks in QIDI Studio, you can create a perfect circular hole for any model. Master the following steps, and all your favorite 3D printed trinkets can be effortlessly turned into hangable accessories.
Schematic Diagram
Original Model:

Modified Charm Version:

Operation Guide
There are two simple methods to add a hanging hole to a model: using parts and using negative parts.
1. Using Parts
After importing the model file, right-click on the model and select Add Torus Part.


Use the corresponding tools to adjust the part’s position, angle, and size to create a suitable hanging hole. You can also modify its color.

2. Using Negative Parts
Right-click on the model and select Add Negative Part, then choose a cylinder or torus as needed. (A negative part refers to a section that will be subtracted from the original model.)

Adjust the size and position of the negative part.

Click Slice, and you’ll notice that a through-hole will be formed at the location of the negative part.

Once confirmed, send the file to the printer and start printing.
Conclusion
One of the charms of 3D printing is its customizability. Whether it’s a free downloaded model or a purchased design, you can use this simple slicing trick to make it better suit your needs!