Efeito de vidro? Dicas para impressão 3D com filamentos transparentes
Com suas propriedades mecânicas equilibradas, compatibilidade de impressão e transparência, transparente
Este tutorial resume principalmente as técnicas relevantes para impressão de alta transparência
Diagramas esquemáticos
- Cubo Transparente:

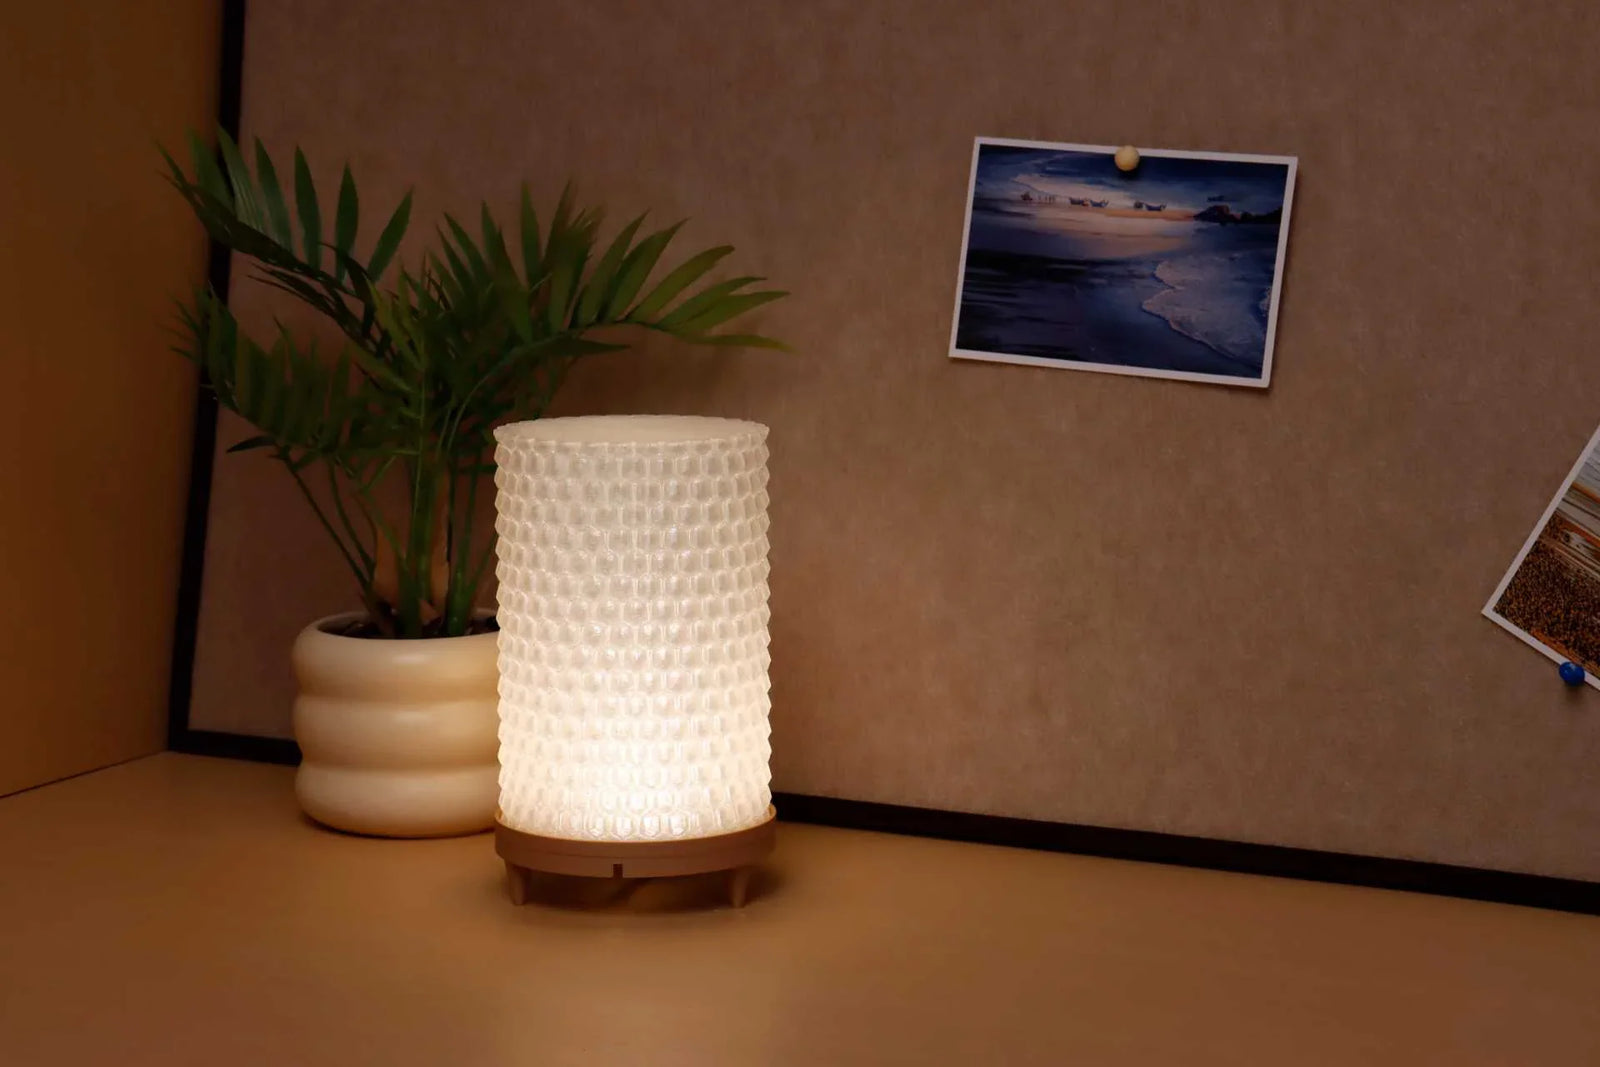
- Abajur Transparente:

Guia passo a passo
1. Preparação de pré-impressão
Secagem de filamentos
Ao imprimir com filamento úmido, o interior ou a superfície do modelo ficam propensos a bolhas ou a formação de fios. Para melhorar a transparência do modelo, você pode secar o filamento em uma caixa de secagem com antecedência ou ativar a função de secagem do modelo.
Seleção de placa de construção
Se você precisar imprimir um modelo transmissor de luz, é recomendável usar uma placa de construção lisa para garantir que a superfície inferior do modelo também seja mais lisa.
Seleção de bicos
Um bico maior significa linhas mais largas e menos caminhos de impressão, reduzindo assim os espaços entre os caminhos. Este tutorial usa um Bico de 0,4 mm como um exemplo para demonstrar as configurações de parâmetros relevantes.
2. Configurações do filamento

Aumentar a taxa de fluxo
Aumentar moderadamente a taxa de fluxo pode reduzir as flutuações de fluxo durante a impressão, diminuir o risco de entupimento e minimizar os espaços entre as linhas.

Aumentar a temperatura do bico
Uma temperatura mais alta do bico permite

Desligar o ventilador de resfriamento
Defina a velocidade do ventilador para 0 para permitir que o filamento esfrie naturalmente, evitando o encolhimento irregular do filamento causado pelo resfriamento rápido. Da mesma forma, a velocidade de impressão deve ser reduzida nas configurações do processo.

3. Configurações do processo
Altura da camada e largura da linha
Ajuste a altura da camada de acordo com as características do modelo:
- Uma altura de camada menor é benéfica para otimizar a suavidade da superfície do modelo e reduzir a dispersão de luz quando a luz entra e sai. É adequada para modelos que requerem pós-processamento, como lixamento e polimento, ou alguns modelos com paredes finas.
- Uma altura de camada maior pode reduzir as lacunas internas do modelo, melhorando a transmitância básica de luz e a eficiência de impressão.
Ajuste uniformemente a largura da linha para 0,5 mm, o que ajuda a reduzir caminhos de impressão e lacunas desnecessárias.

Paredes e preenchimento
- Defina o número de voltas de parede para 1.
- Defina o número de camadas de shell superior e inferior como 0.
- Use preenchimento retilíneo alinhado com densidade de 100%, e a direção pode ser definida como 0° ou 90°.


Velocidade
Recomenda-se usar uma velocidade de impressão lenta (20-40 mm/s) para dar a cada camada de filamento tempo suficiente para aderir.

Após a conclusão da impressão, você pode esperar a placa de construção esfriar antes de remover o modelo, o que ajuda a manter a suavidade da superfície inferior do modelo.
Conclusão
A impressão 3D de modelos transparentes usando a tecnologia FDM é uma tentativa interessante que requer paciência para ajustar vários parâmetros. Se você deseja obter peças impressas mais perfeitas, pode melhorar ainda mais a transparência por meio de métodos de pós-processamento, como lixamento, polimento e revestimento!




![[Qidi X-CF Pro, speziell für den Druck von Kohlefaser und Nylon entwickelt] - [QIDI Online Shop DE]](http://eu.qidi3d.com/cdn/shop/products/X-MAX3-3D-Printer-02.png?v=1763120465)
